> ## Documentation Index
> Fetch the complete documentation index at: https://docs.imagine.art/llms.txt
> Use this file to discover all available pages before exploring further.
# Scenes & poses
> Set where your model is shot and how they're standing, from a large preset library or your own reference photos.
**Shot settings** control the background and body position of a shot: **Set scene** for the location, and **Pose** for how the model is standing. Both work the same way — a large preset library, plus a way to bring your own reference.
Click **Set scene** (it shows the current background, e.g. "Beige studio") to open **Select background** — roughly 25 preset locations spanning studio backdrops, European architecture, city streets, and interiors, filterable by **All**, **Saved**, or **Personal**.
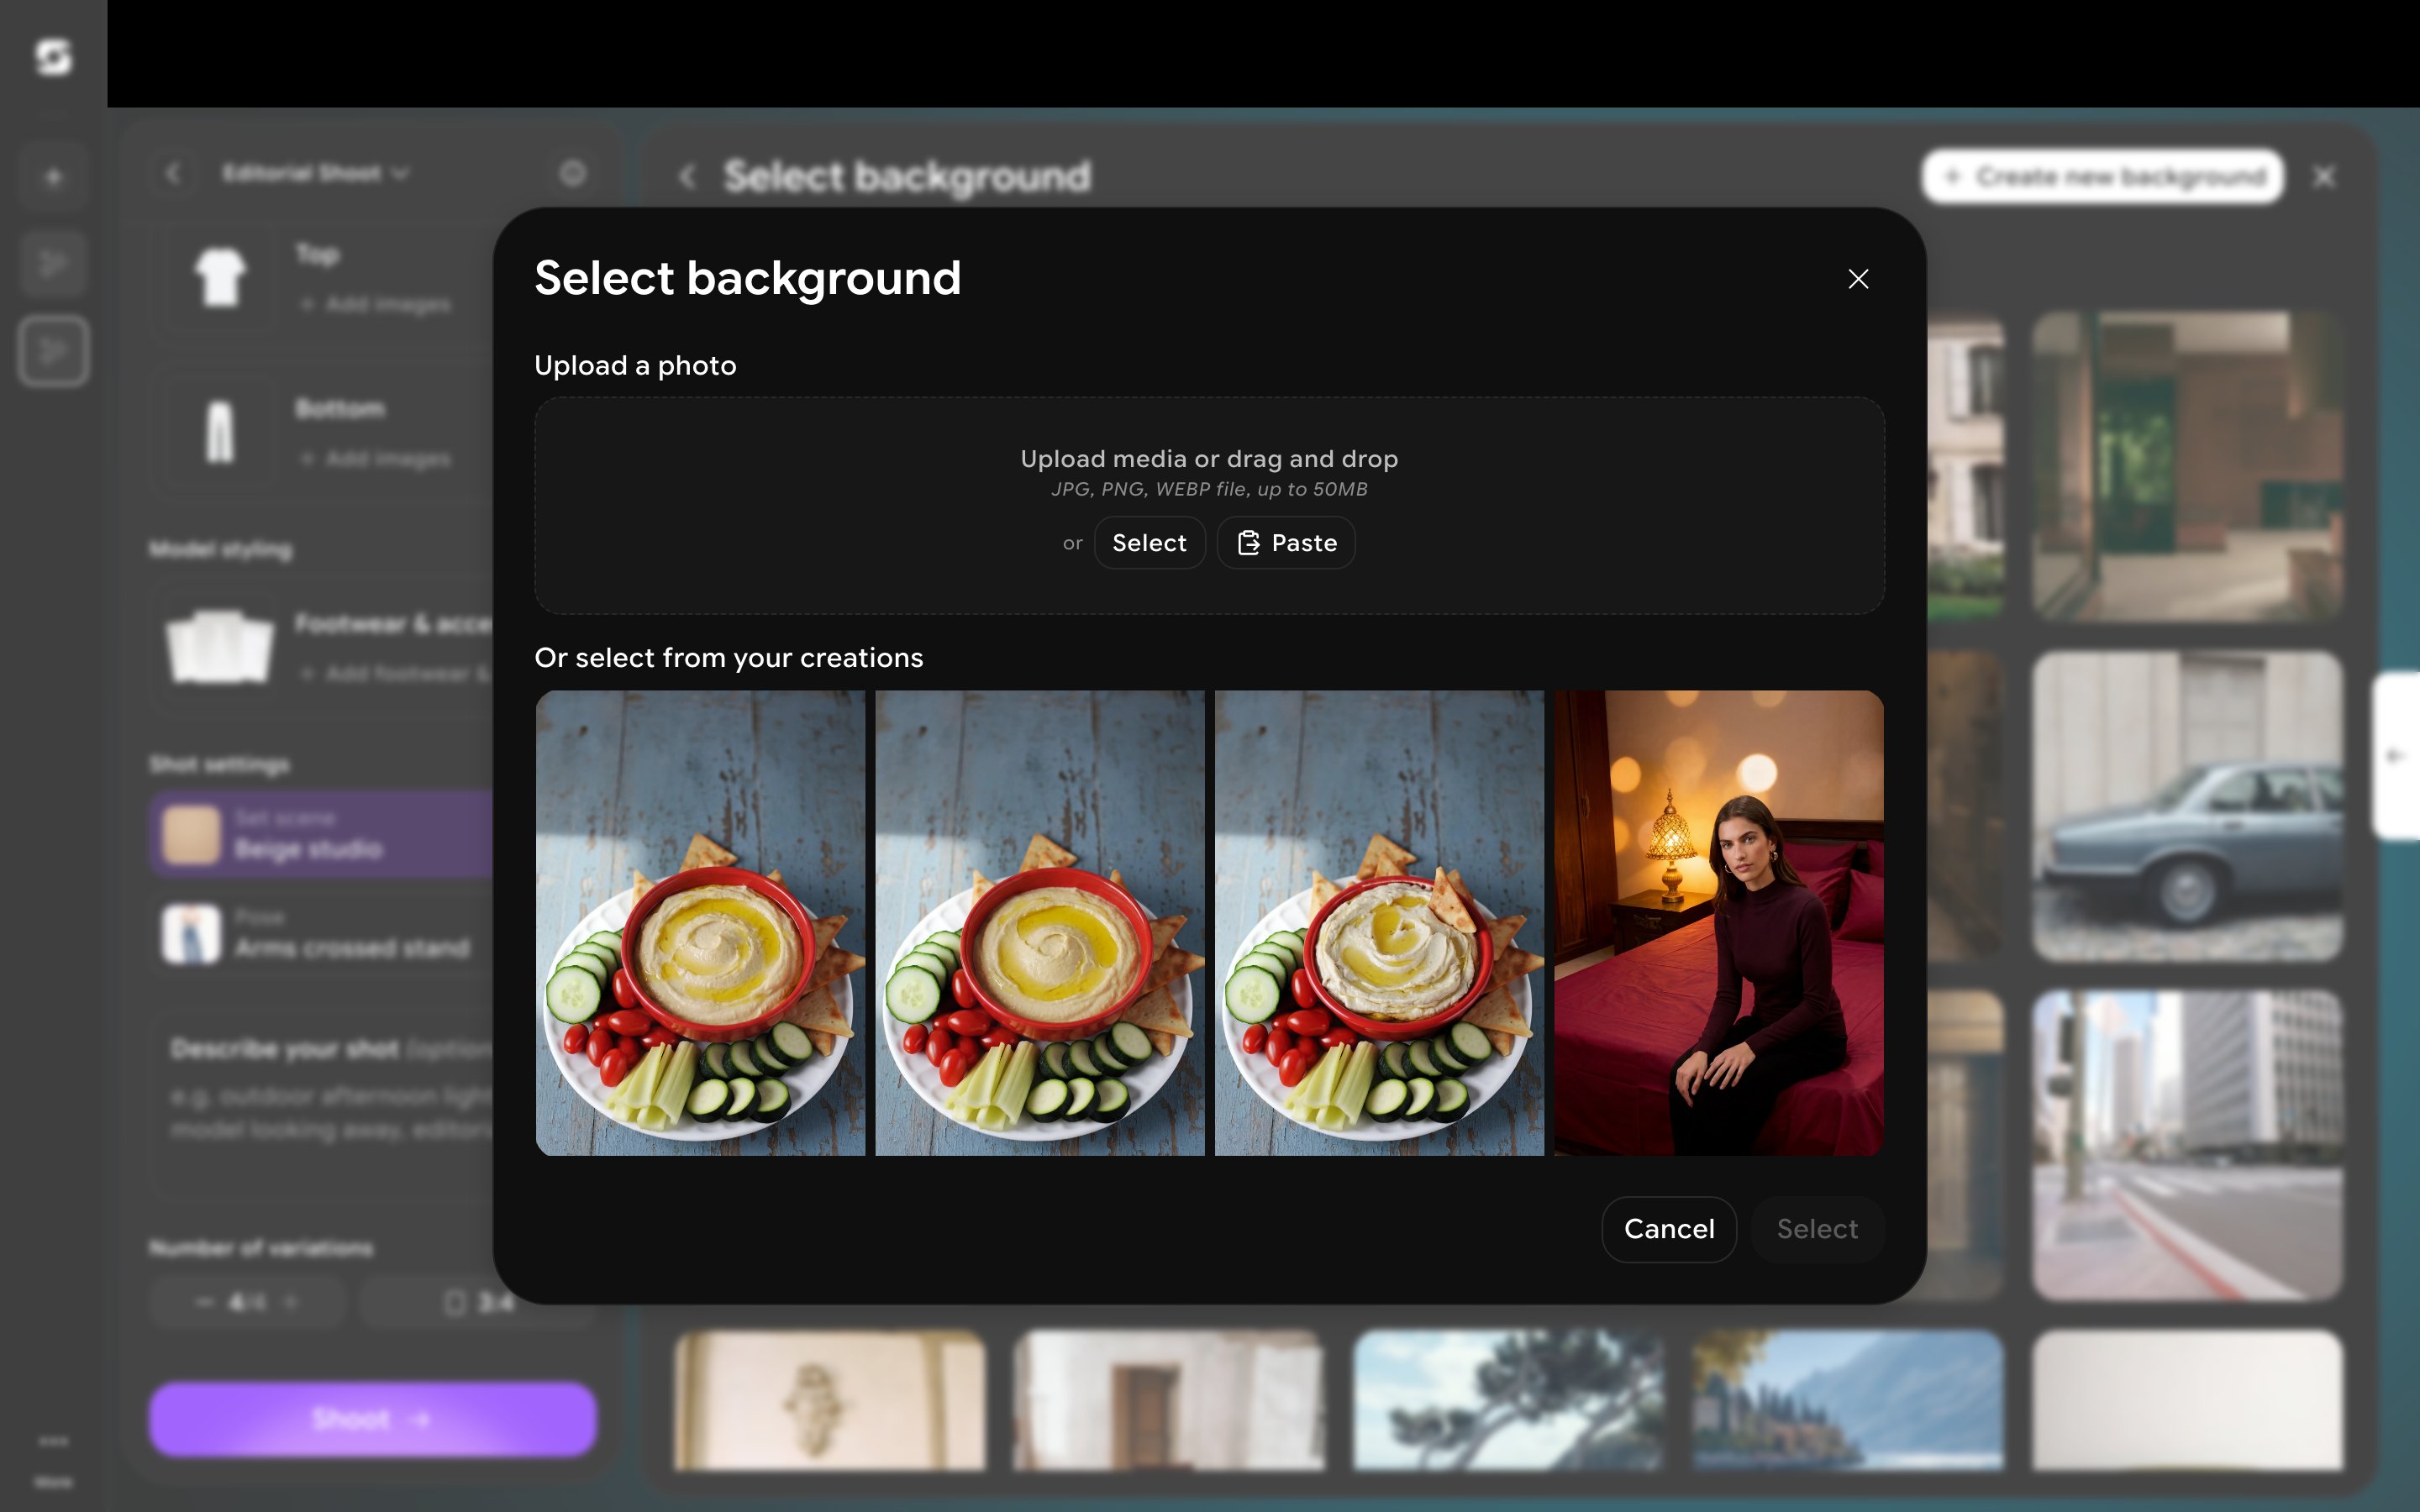
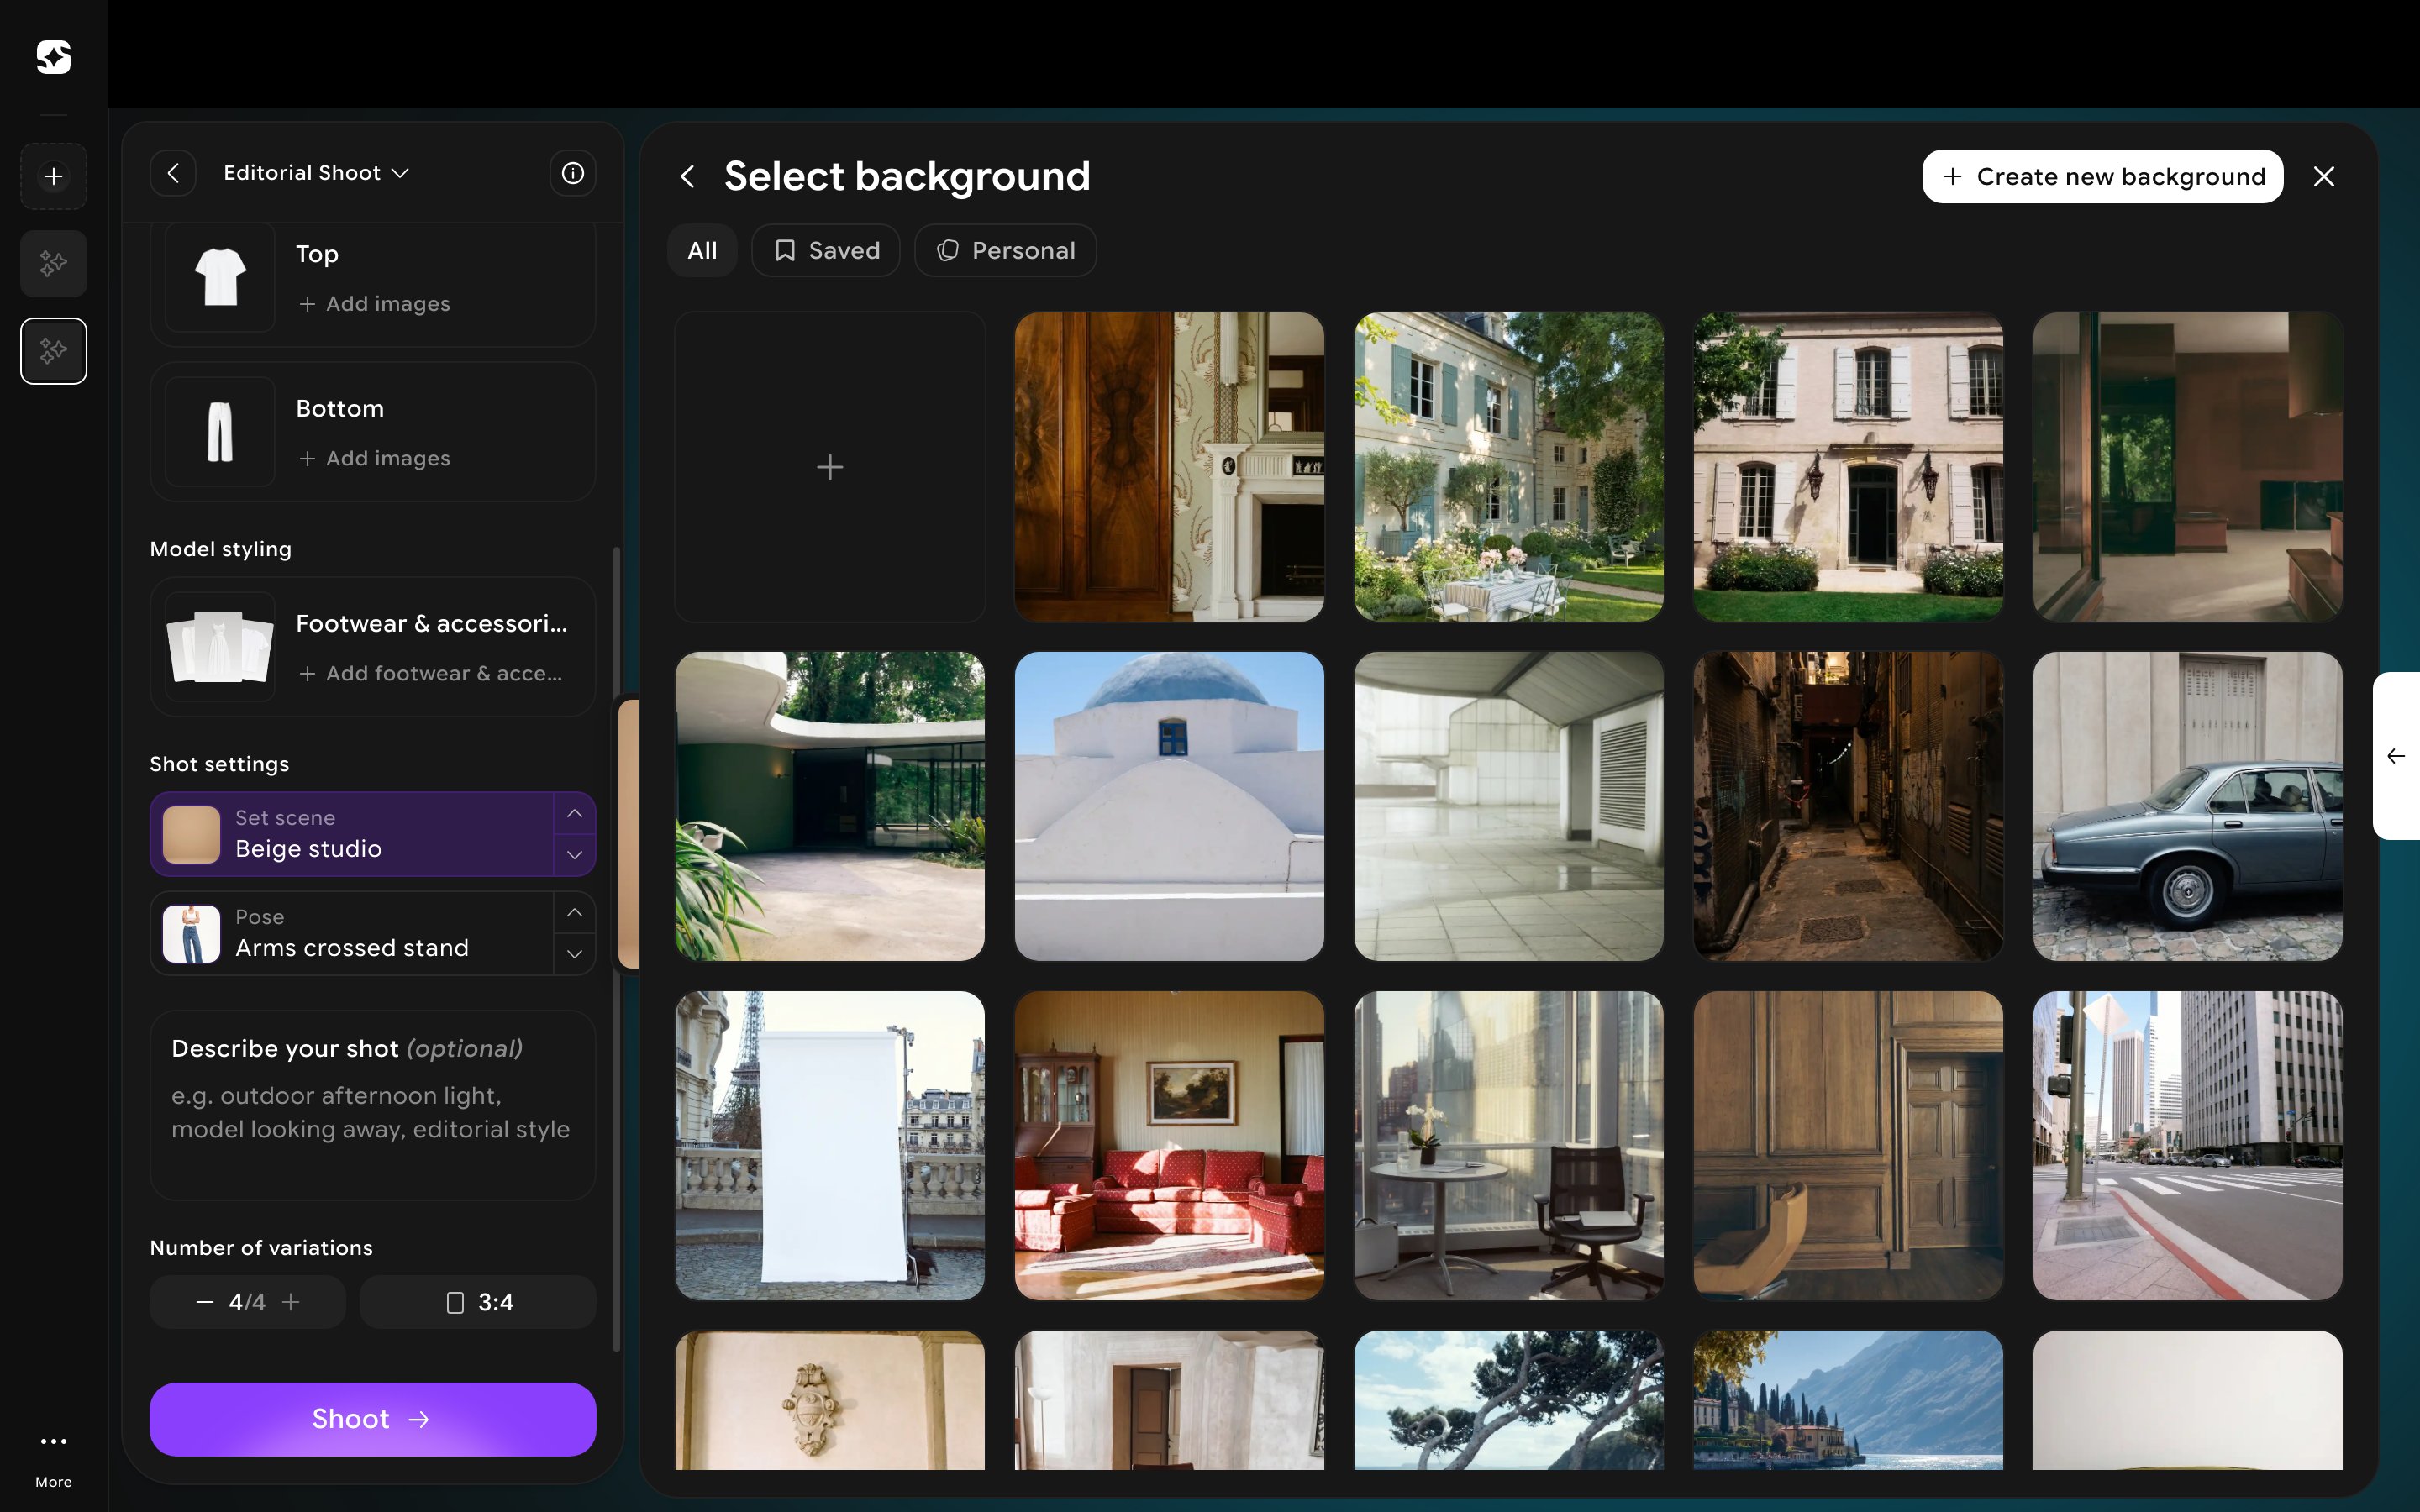 Click **Create new background** to upload a photo of your own location, or pick from images you've generated before. This is upload-only — there's no text-to-image option for backgrounds, so you need an actual photo or an existing creation to work from.
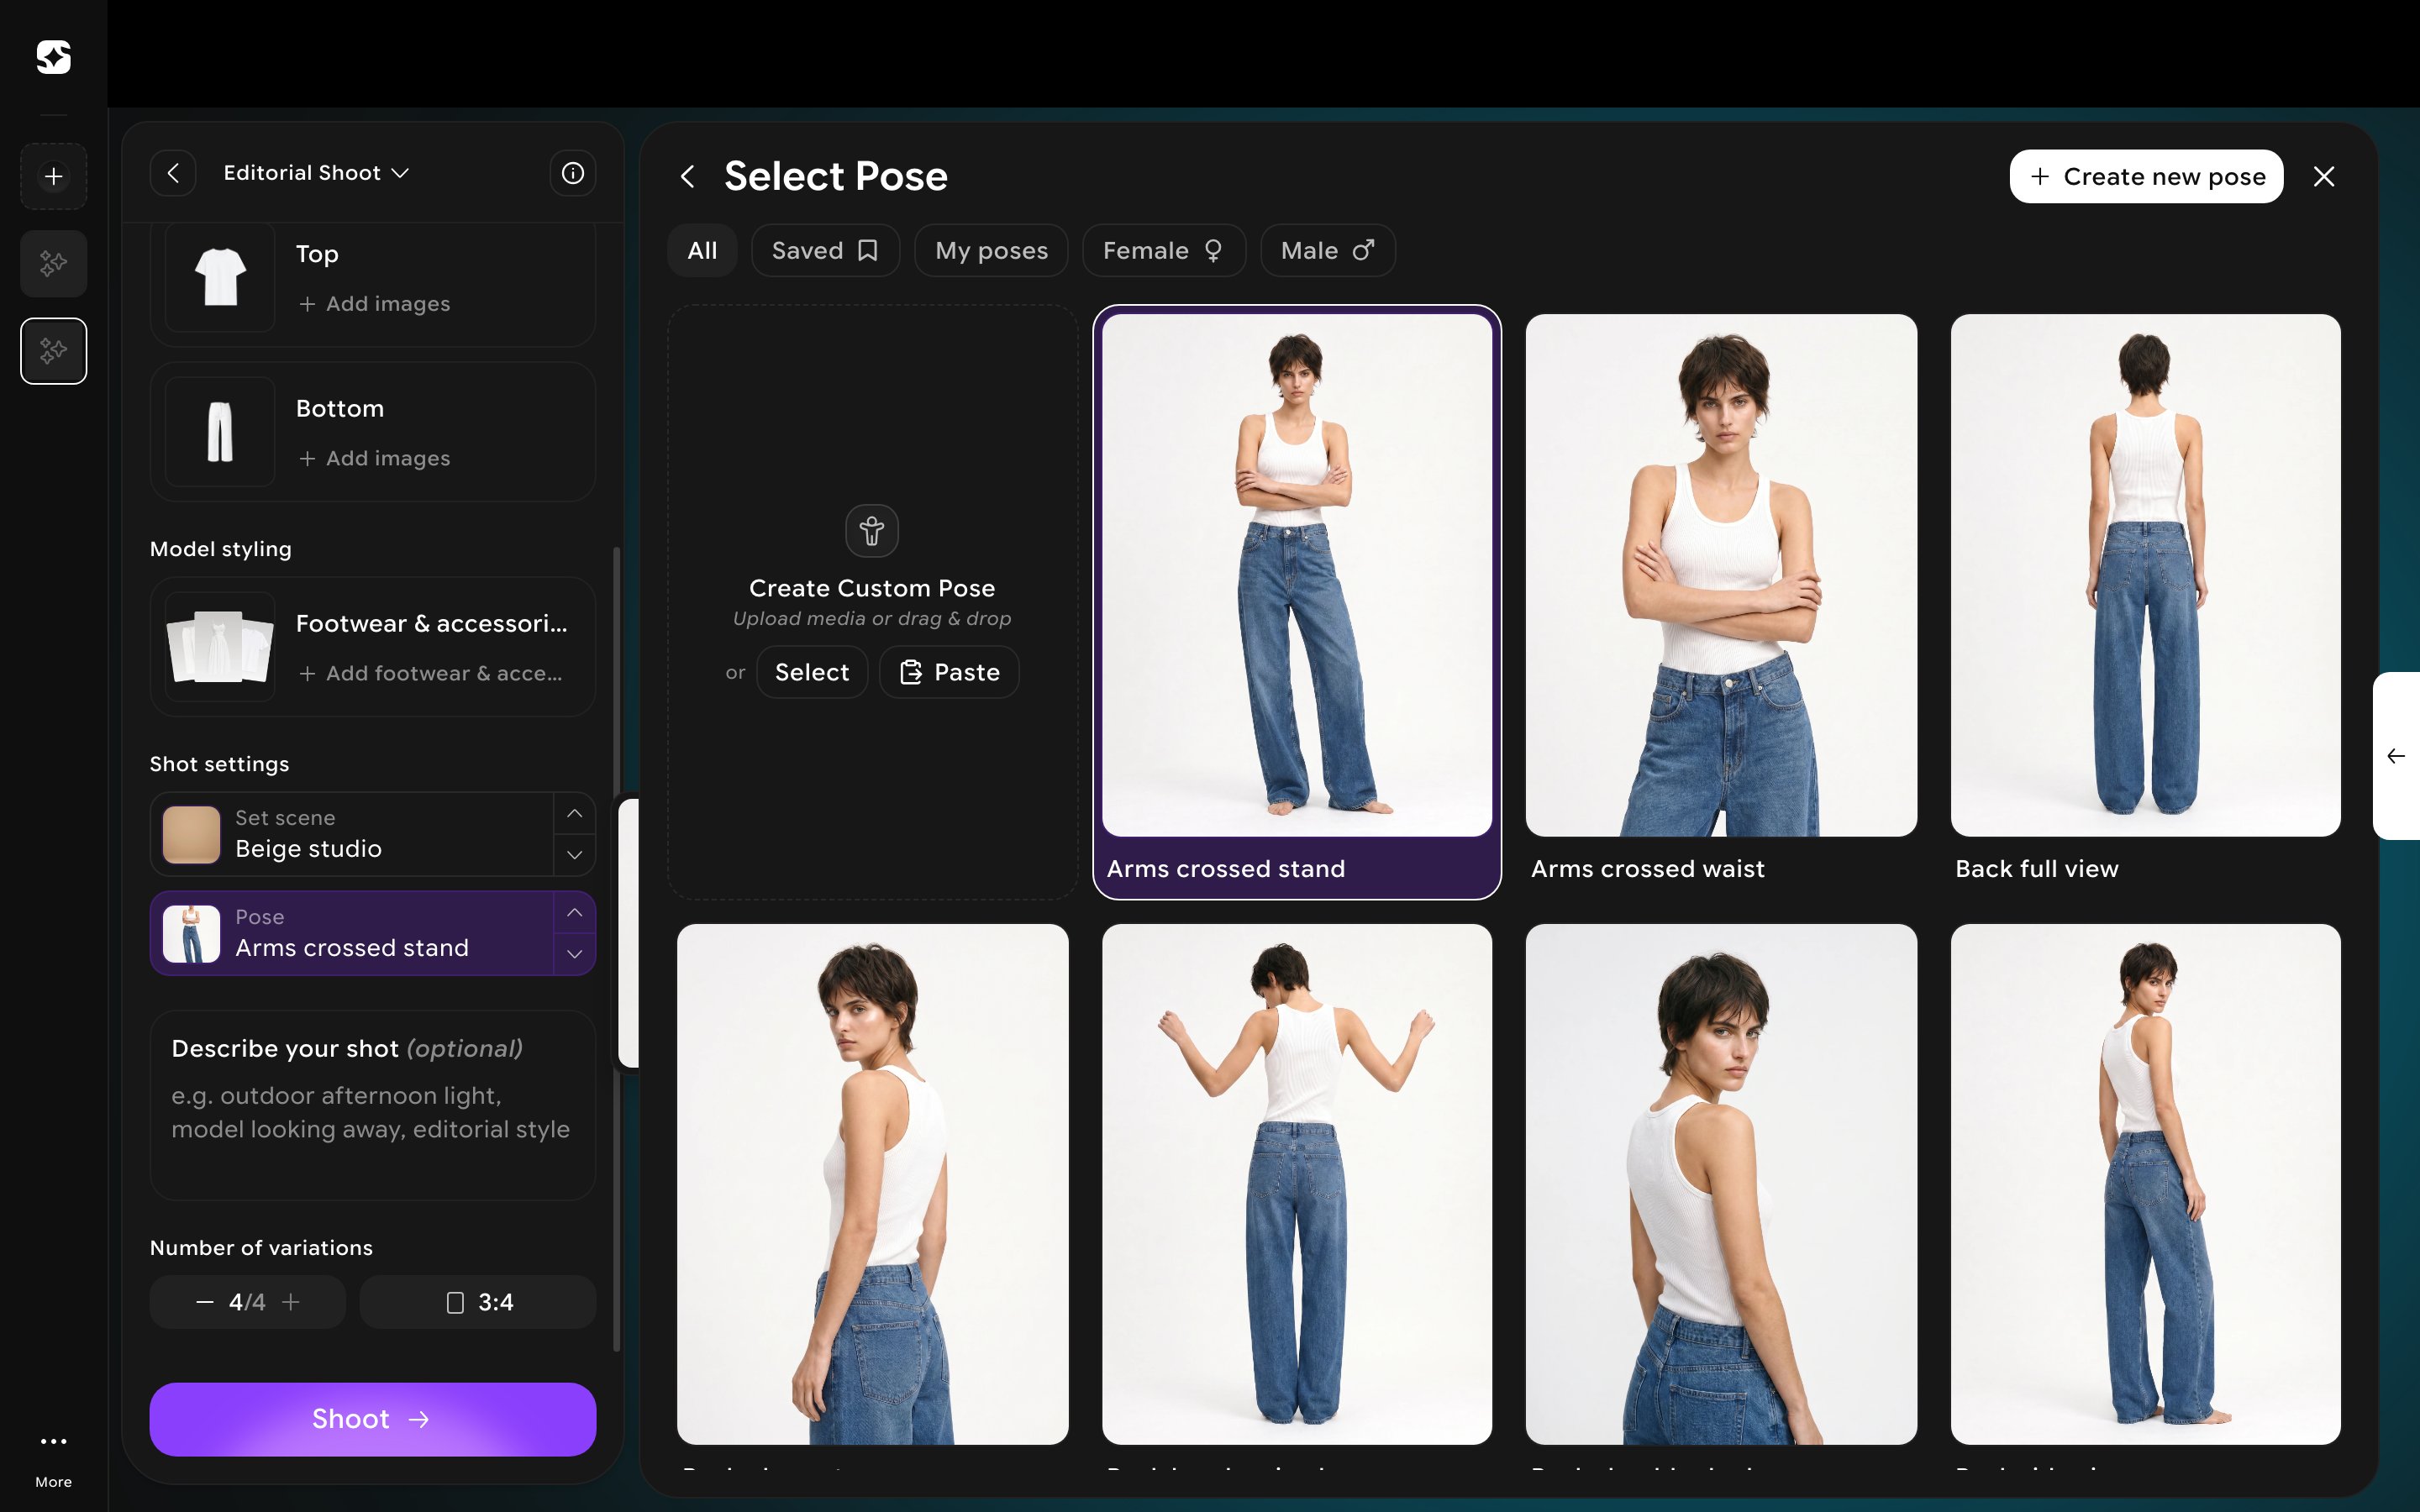
 Click **Pose** (it shows the current pose, e.g. "Arms crossed stand") to open **Select Pose** — roughly 90 preset poses covering standing, sitting, walking, and back-view shots, filterable by **All**, **Saved**, **My poses**, **Female**, or **Male**.
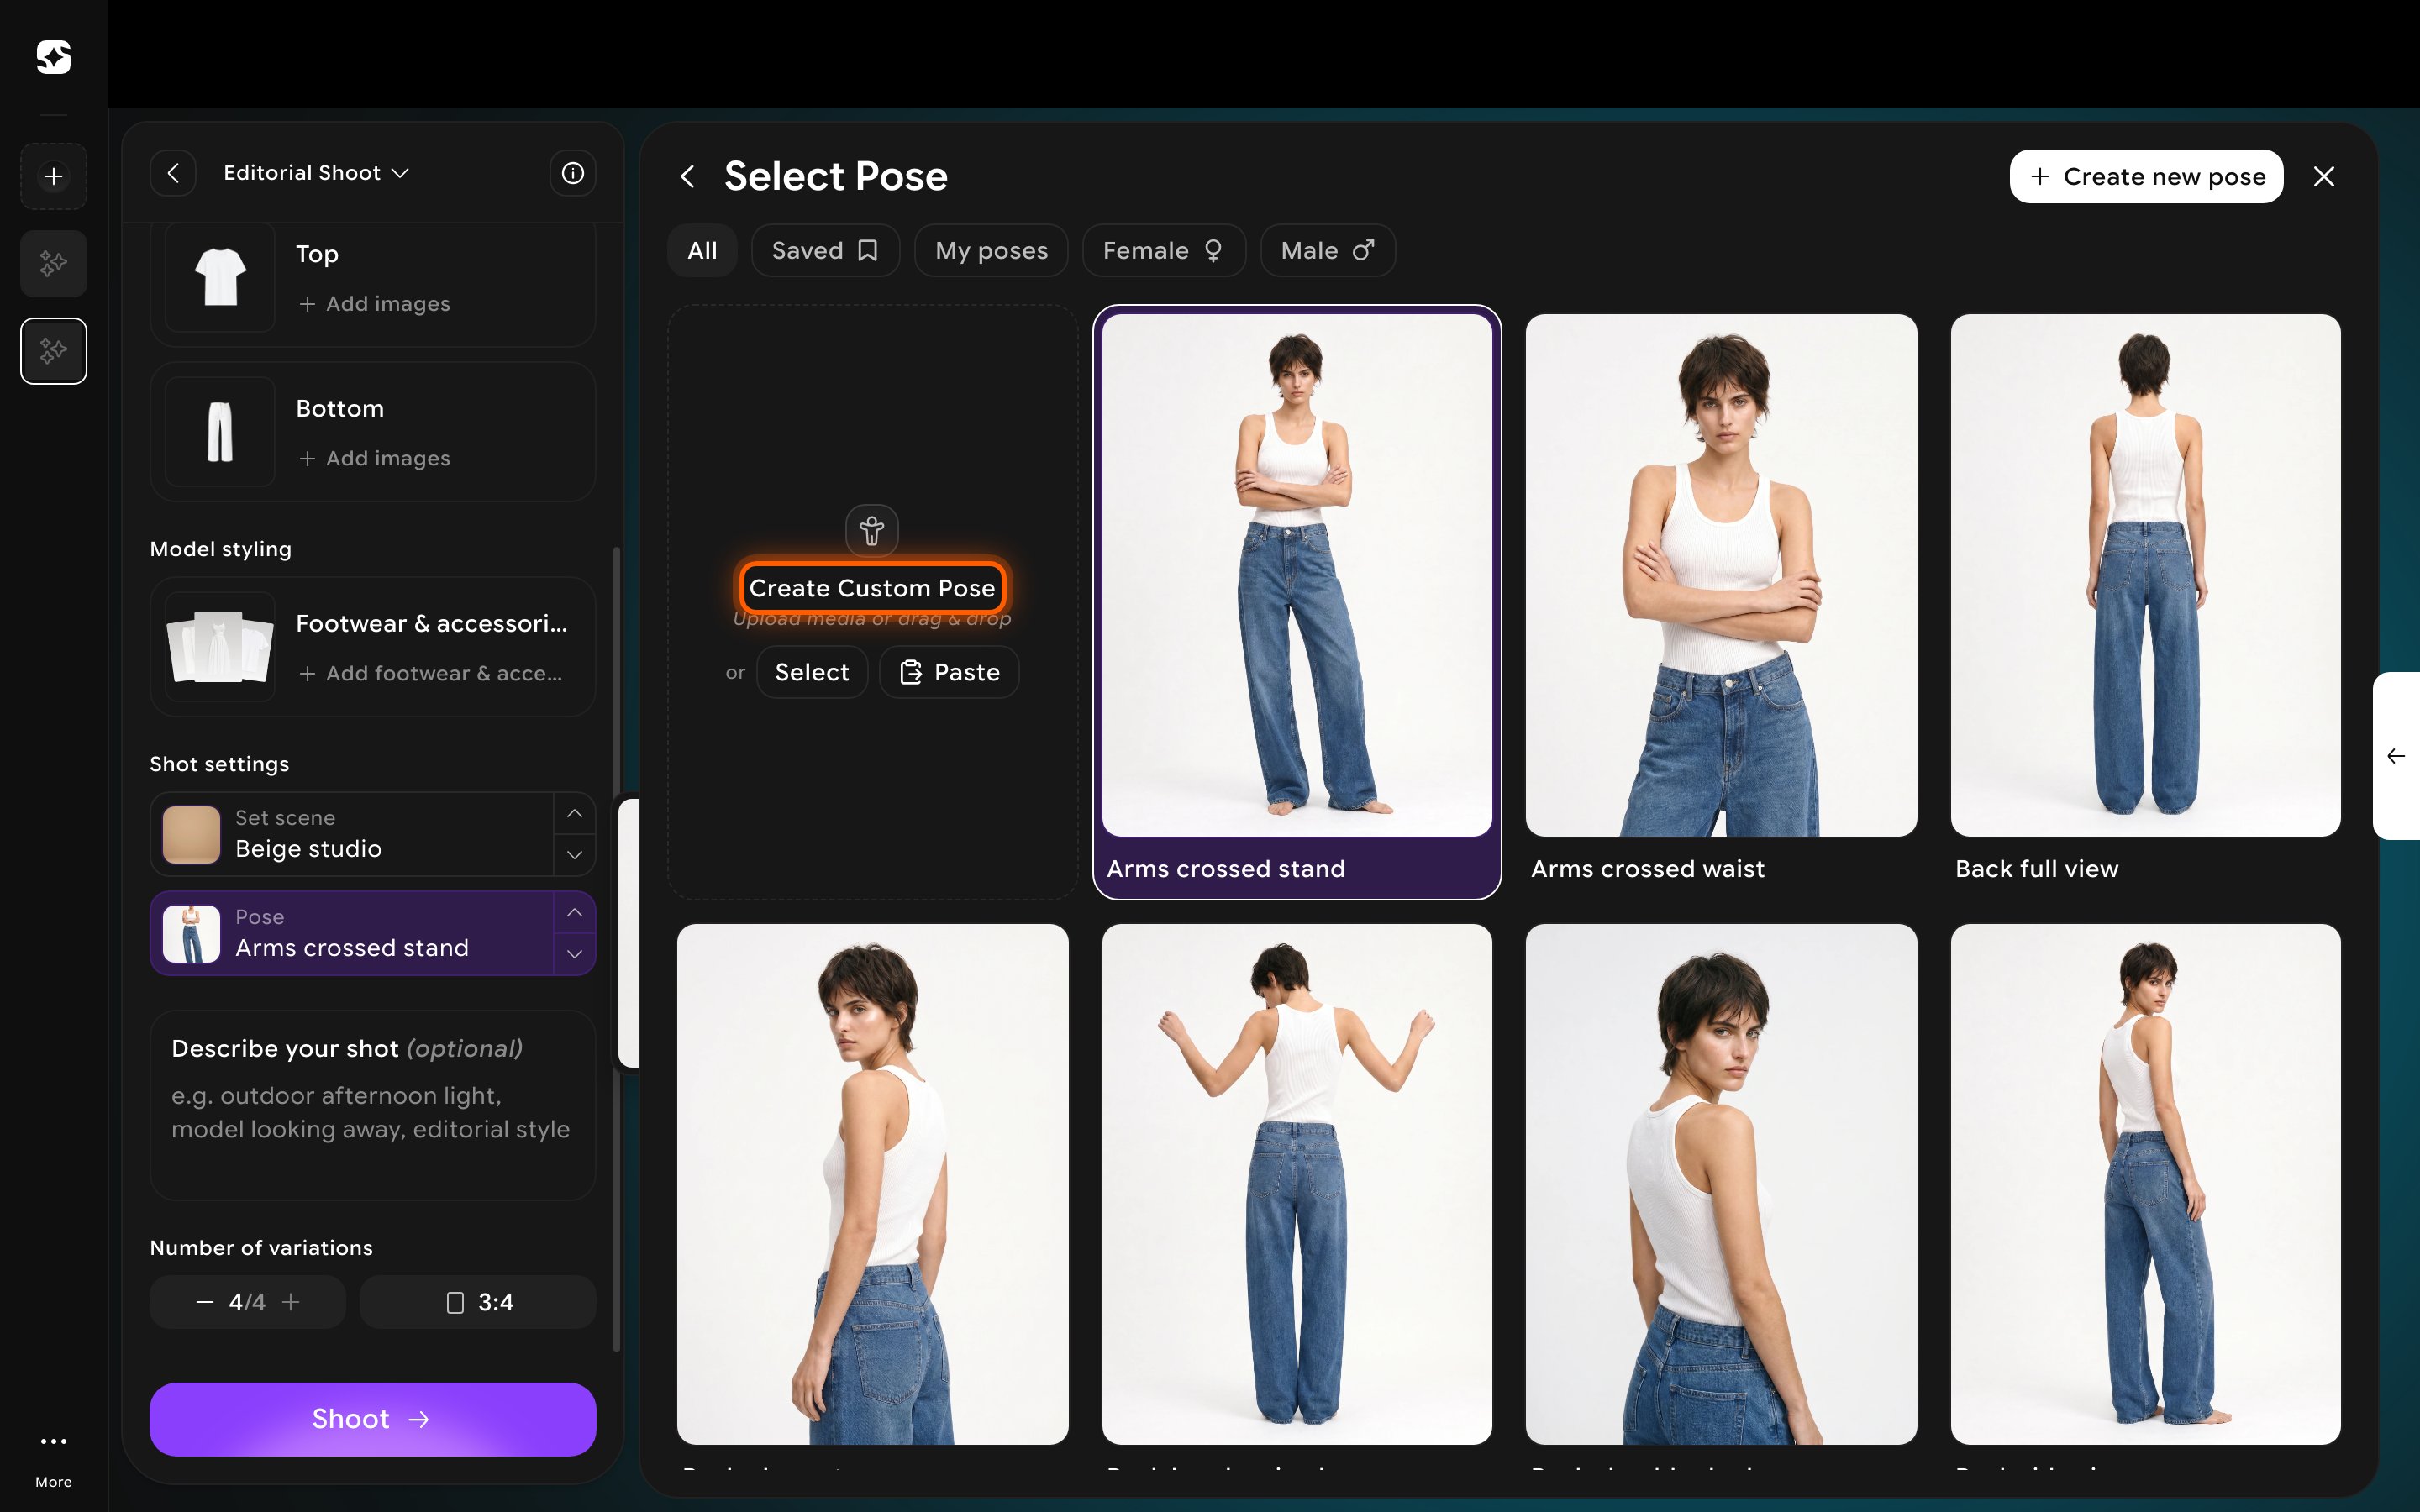
 Click **Create Custom Pose**, the first tile in the grid, to upload a photo of the pose you want the model to replicate. Like backgrounds, this is a bring-your-own-reference flow rather than a text description.
 You can also skip both pickers and describe the shot yourself in the optional **Describe your shot** text field, right below Set scene and Pose.