> ## Documentation Index
> Fetch the complete documentation index at: https://docs.imagine.art/llms.txt
> Use this file to discover all available pages before exploring further.
# Connectors
> Give the agent real access to your actual tools — Slack, Notion, Gmail, GitHub, and 30 more — with per-action permission control.
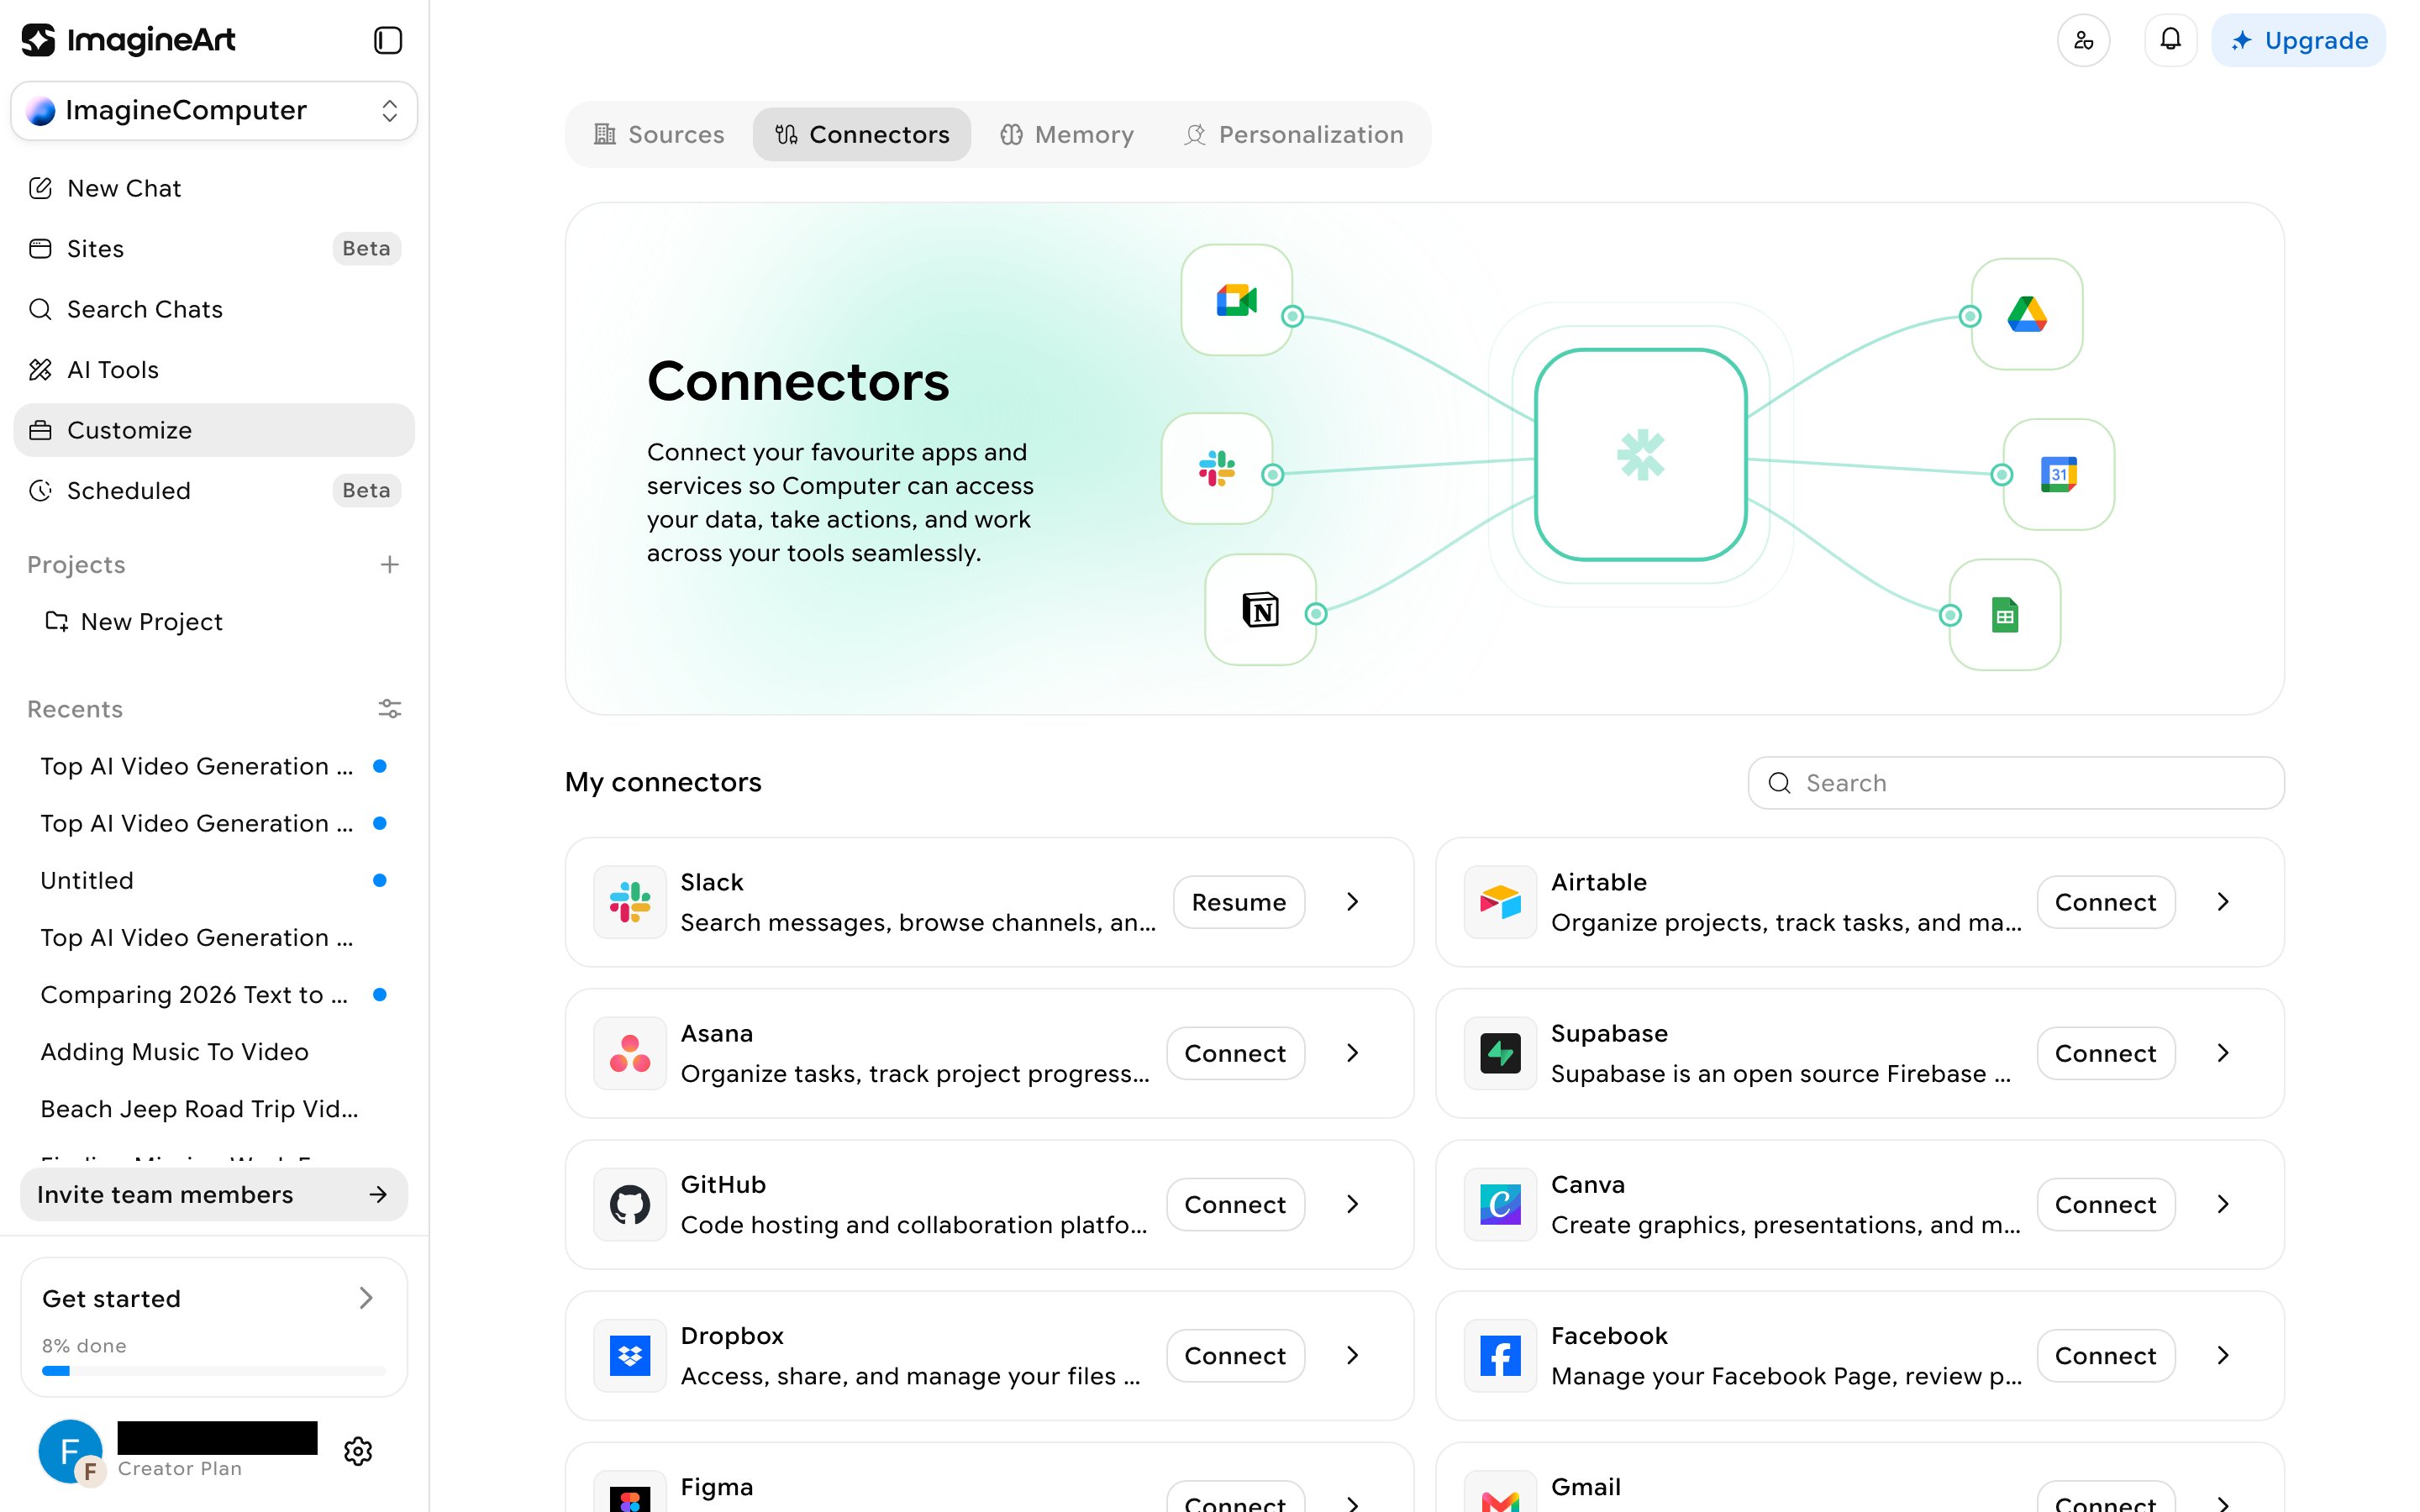
Connectors let the agent read and act on your real accounts instead of working from a description alone. Find them under **Customize → Connectors**.
A visual hub diagram sits above a searchable **My connectors** grid — 33 real integrations at last count, including Slack, Notion, Gmail, GitHub, Google Workspace (Docs/Drive/Sheets/Slides/Meet/Calendar/Classroom), HubSpot, Jira, Linear, QuickBooks, Sentry, Stripe, and more. There's no category grouping — just one searchable list.
 Click **Connect** on any connector. A confirmation modal shows the connector's name and description first — clicking **Connect** there redirects you to that provider's real OAuth sign-in page (confirmed for Slack: a genuine `slack.com` sign-in requesting a real, specific scope list). Nothing is faked or simulated — you're authorizing a real third-party connection.
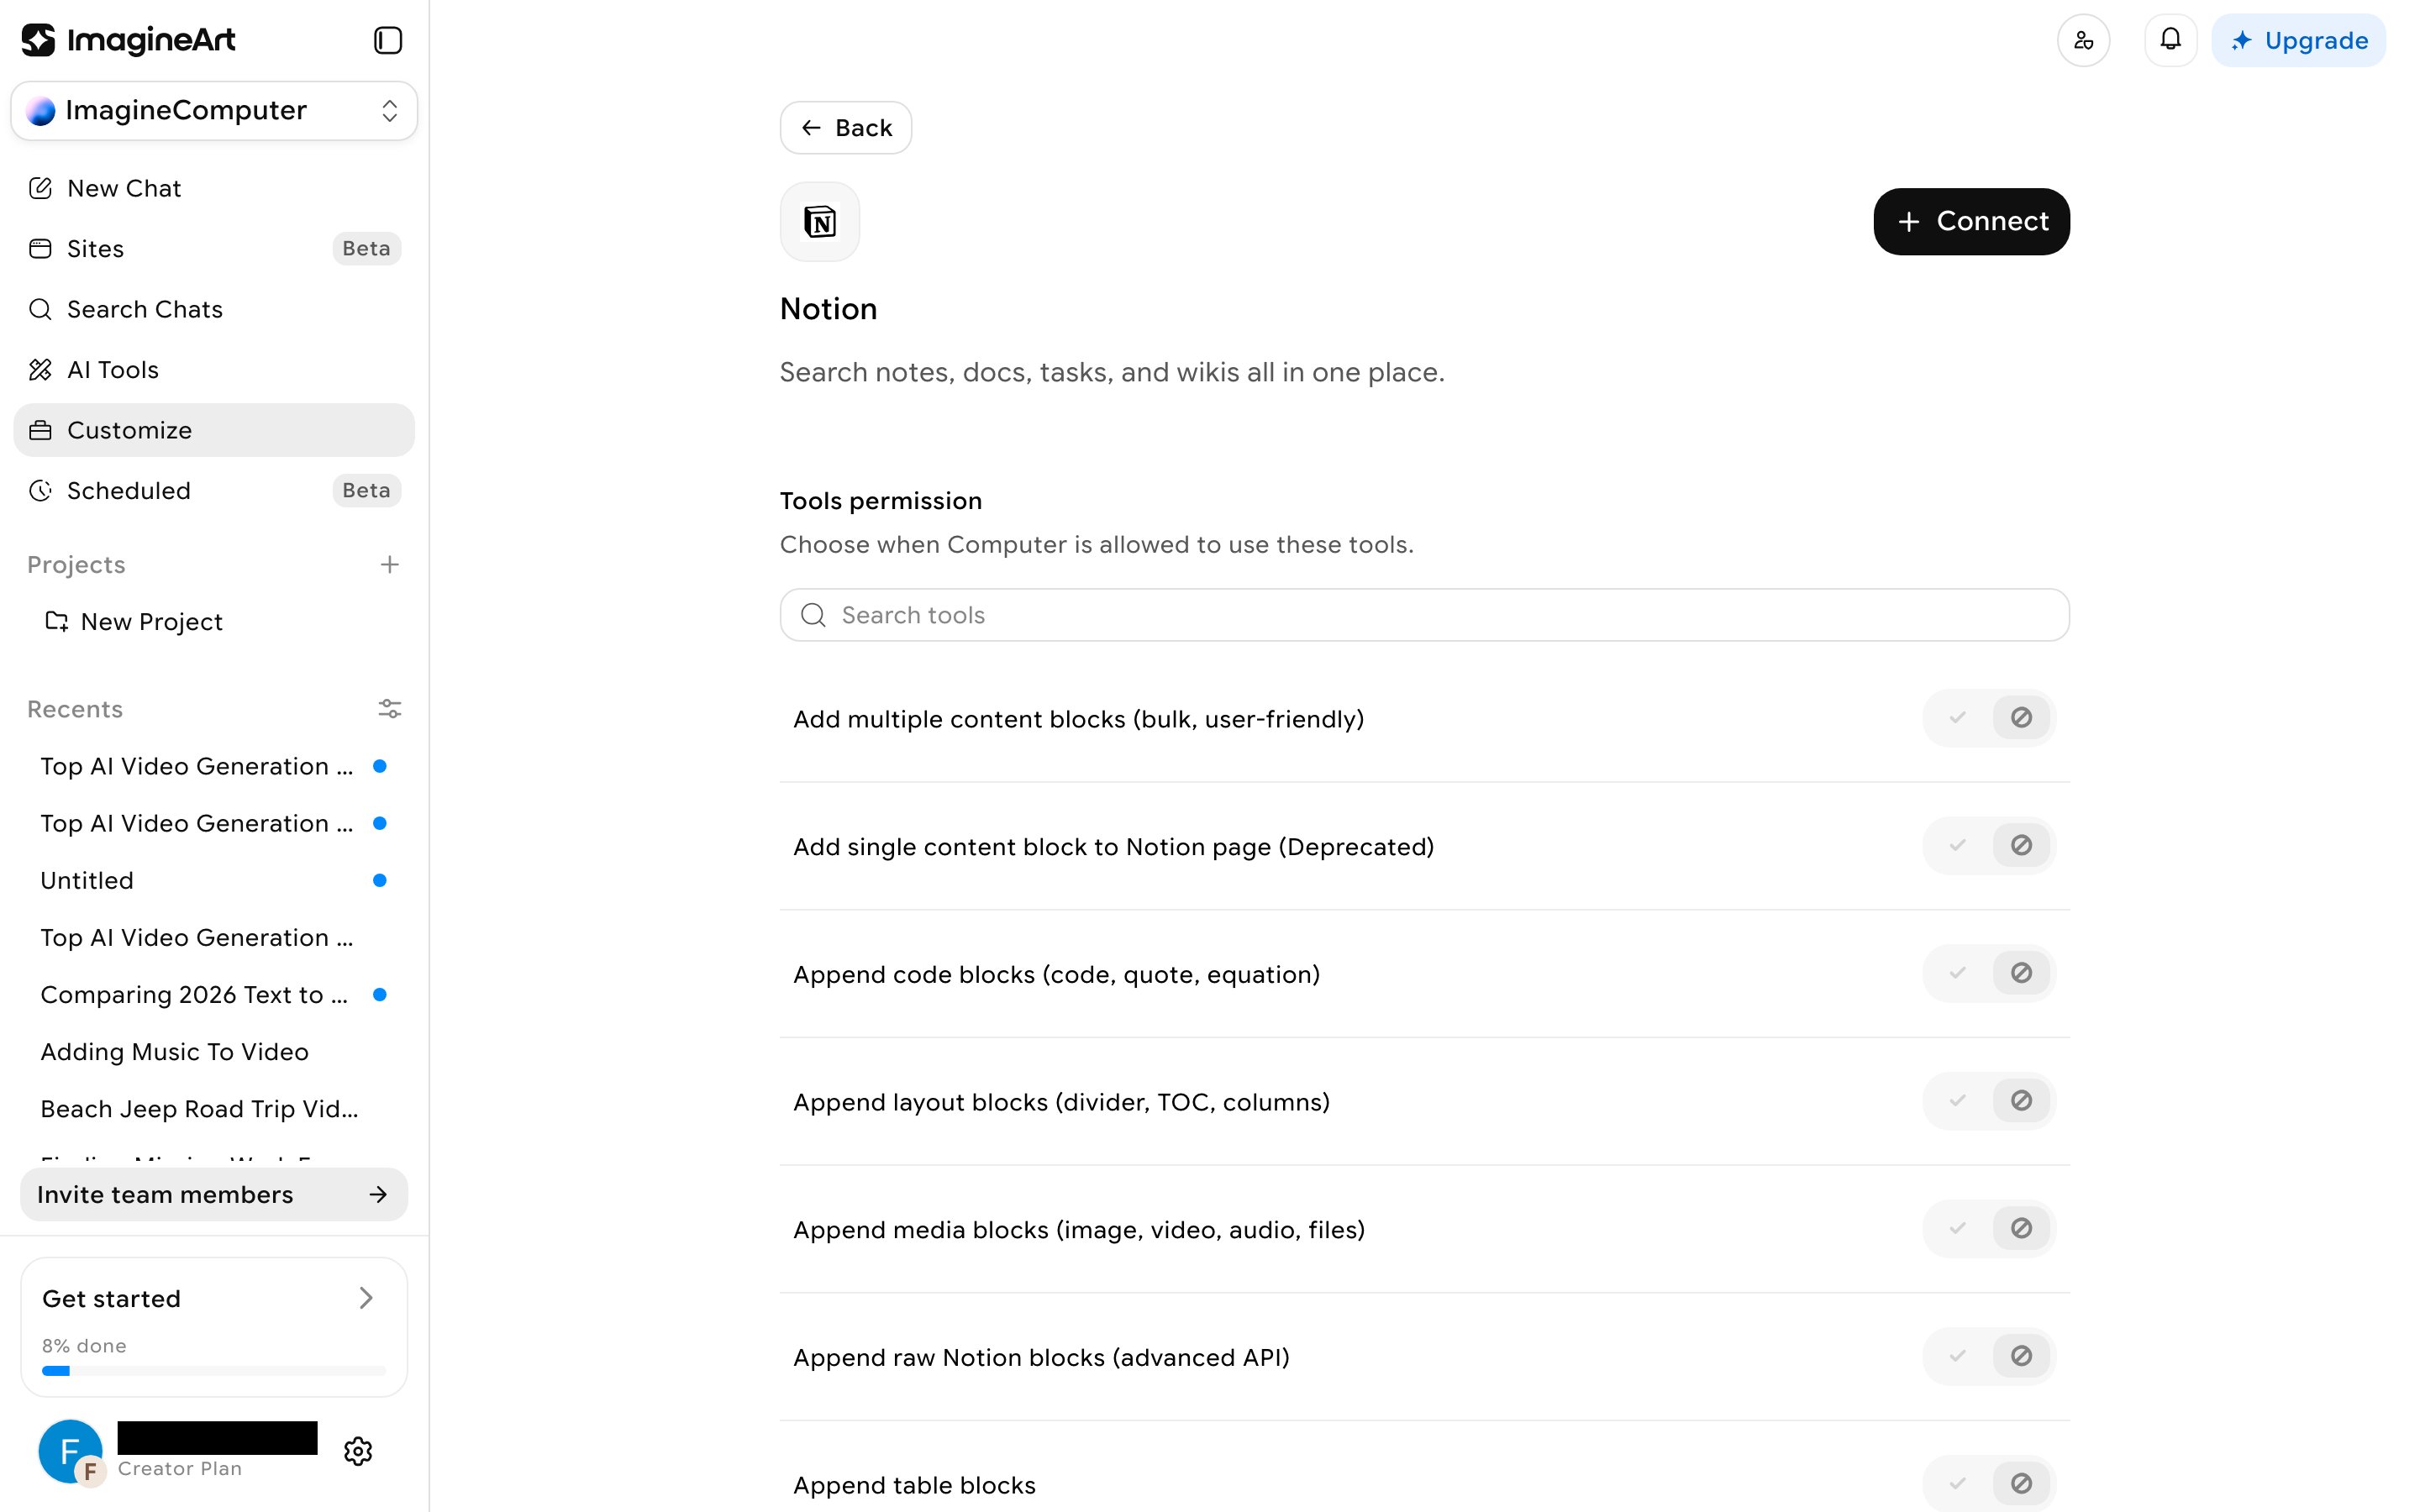
Click into any connector (its name or the chevron on its row) to see **Tools permission** — every individual action the connector could take (for Notion: adding content blocks, appending code/media/table blocks, creating databases, and more), each with its own allow/deny toggle and a search box to filter the list. This is real per-action scoping, not a single on/off switch.
Click **Connect** on any connector. A confirmation modal shows the connector's name and description first — clicking **Connect** there redirects you to that provider's real OAuth sign-in page (confirmed for Slack: a genuine `slack.com` sign-in requesting a real, specific scope list). Nothing is faked or simulated — you're authorizing a real third-party connection.
Click into any connector (its name or the chevron on its row) to see **Tools permission** — every individual action the connector could take (for Notion: adding content blocks, appending code/media/table blocks, creating databases, and more), each with its own allow/deny toggle and a search box to filter the list. This is real per-action scoping, not a single on/off switch.
 ## Using a connector in a chat
There's no `@`-mention syntax for connectors. Instead, the prompt bar has a dedicated icon that opens a **Search connectors** picker — a compact version of the same list, with inline **Connect** for anything not yet linked, and a **Manage Connectors** link back to the full settings page.
Connect only what a given task actually needs. The per-action Tools permission list means you can, for example, let the agent read from Slack without giving it permission to post messages — set that up once per connector rather than re-deciding it in every chat.
## Using a connector in a chat
There's no `@`-mention syntax for connectors. Instead, the prompt bar has a dedicated icon that opens a **Search connectors** picker — a compact version of the same list, with inline **Connect** for anything not yet linked, and a **Manage Connectors** link back to the full settings page.
Connect only what a given task actually needs. The per-action Tools permission list means you can, for example, let the agent read from Slack without giving it permission to post messages — set that up once per connector rather than re-deciding it in every chat.