> ## Documentation Index
> Fetch the complete documentation index at: https://docs.imagine.art/llms.txt
> Use this file to discover all available pages before exploring further.
# Video Effects
Video Effects transforms static images into dynamic videos by applying realistic visual effects. Rather than generating a scene from a text prompt, you start from an image and select the type of effect you want to add. The result is a short video clip that brings your image to life with motion, lighting, and cinematic transitions.
## Available effect types
Video Effects supports a range of visual enhancements that you can apply to your input image:
Add natural movement to elements in the scene — camera pans, zooms, parallax depth, flowing water, swaying foliage, or other organic motion.
Introduce dynamic lighting changes such as flickering light sources, beams of light, reflections on surfaces, or shifting time-of-day illumination.
Apply signature cinematic looks — dramatic push-ins, slow reveals, depth-of-field shifts, or stylised camera movements that add production value.
Overlay weather and atmospheric elements such as rain, snow, fog, fire sparks, or particles to add mood and environmental character.
## How to apply video effects
Navigate to [Video Studio](https://www.imagine.art/video) and select **Text to Video** to begin.
At the top of the Video Generation panel, you have the option to select your effect.
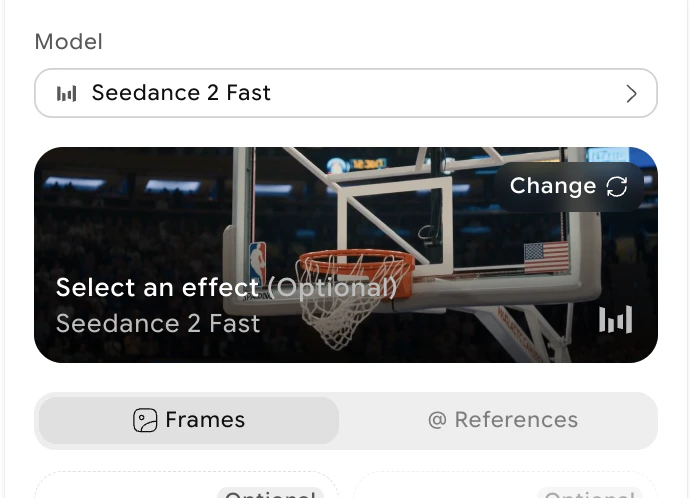 Try multiple effects on the same image to compare results before committing credits. Each effect produces a distinct visual style, and the best choice depends on the mood and content of your source image.
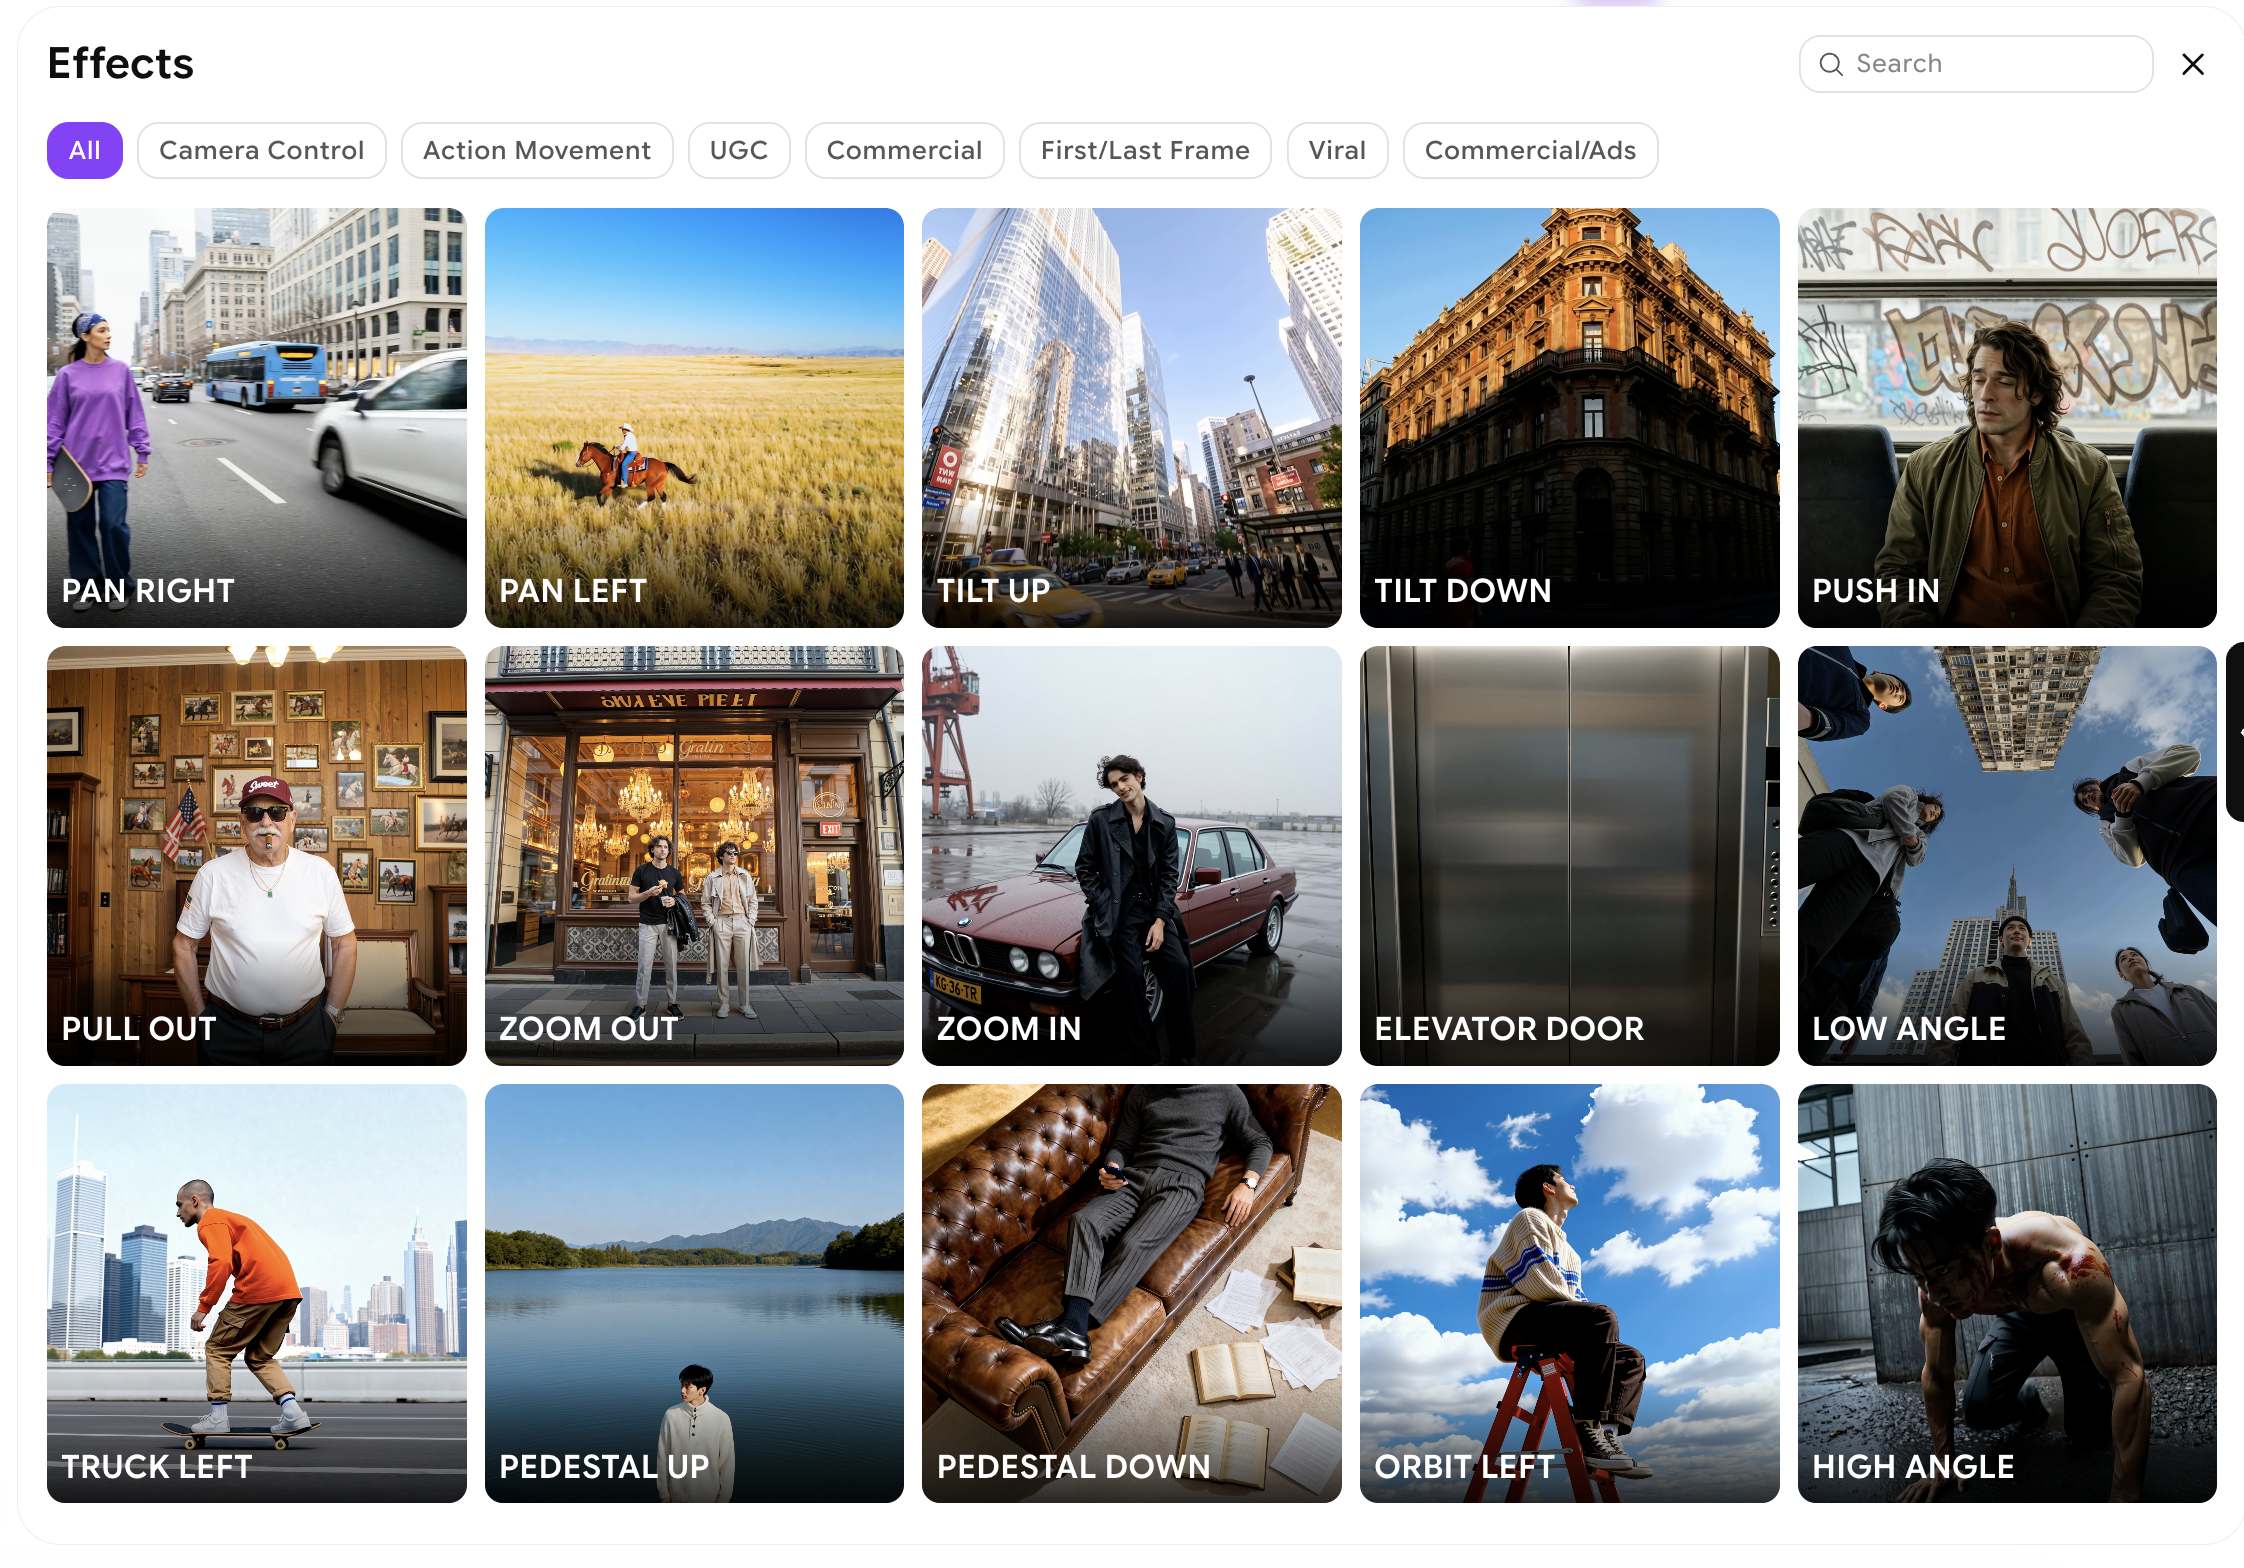
Then you can select from any one of our pre-existing styles to help you achieve your vision:
Try multiple effects on the same image to compare results before committing credits. Each effect produces a distinct visual style, and the best choice depends on the mood and content of your source image.
Then you can select from any one of our pre-existing styles to help you achieve your vision:
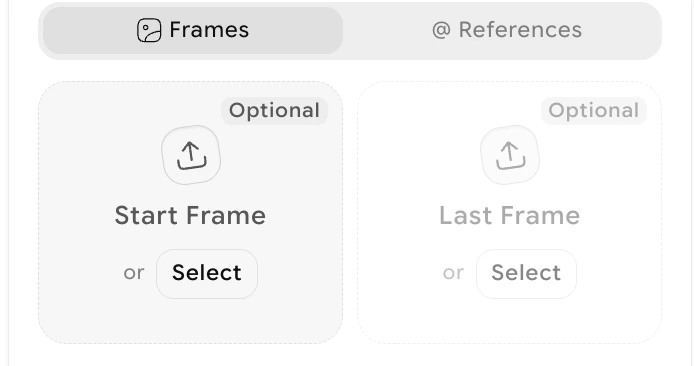
 Upload the image you want to apply the effect to. Use a clear, well-composed image for the best output.
 Choose the **aspect ratio** and **generation settings** (duration and resolution) for your output video.
| Aspect ratio | Best for |
| ----------------- | ----------------------------------- |
| **16:9** | Landscape, YouTube, presentations |
| **9:16** | Portrait, TikTok, Instagram Stories |
| **1:1** | Square, Instagram feed |
| **4:3** / **3:4** | Tablet, poster formats |
Click **Generate**. The AI applies your selected effect to the image and produces a dynamic video clip. Generation typically completes within 30–60 seconds.
## What to do next
Add 5 more seconds of content to the end of your effects video.
Use natural language to change specific elements in your generated video.
Generate a new video from scratch with a text prompt.
See credit costs for Video Effects generations.
Choose the **aspect ratio** and **generation settings** (duration and resolution) for your output video.
| Aspect ratio | Best for |
| ----------------- | ----------------------------------- |
| **16:9** | Landscape, YouTube, presentations |
| **9:16** | Portrait, TikTok, Instagram Stories |
| **1:1** | Square, Instagram feed |
| **4:3** / **3:4** | Tablet, poster formats |
Click **Generate**. The AI applies your selected effect to the image and produces a dynamic video clip. Generation typically completes within 30–60 seconds.
## What to do next
Add 5 more seconds of content to the end of your effects video.
Use natural language to change specific elements in your generated video.
Generate a new video from scratch with a text prompt.
See credit costs for Video Effects generations.