

1
Start a Lookbook shoot
Go to imagine.art/fashion-studio and click Lookbook under Tools. This opens a new project in the Lookbook editor.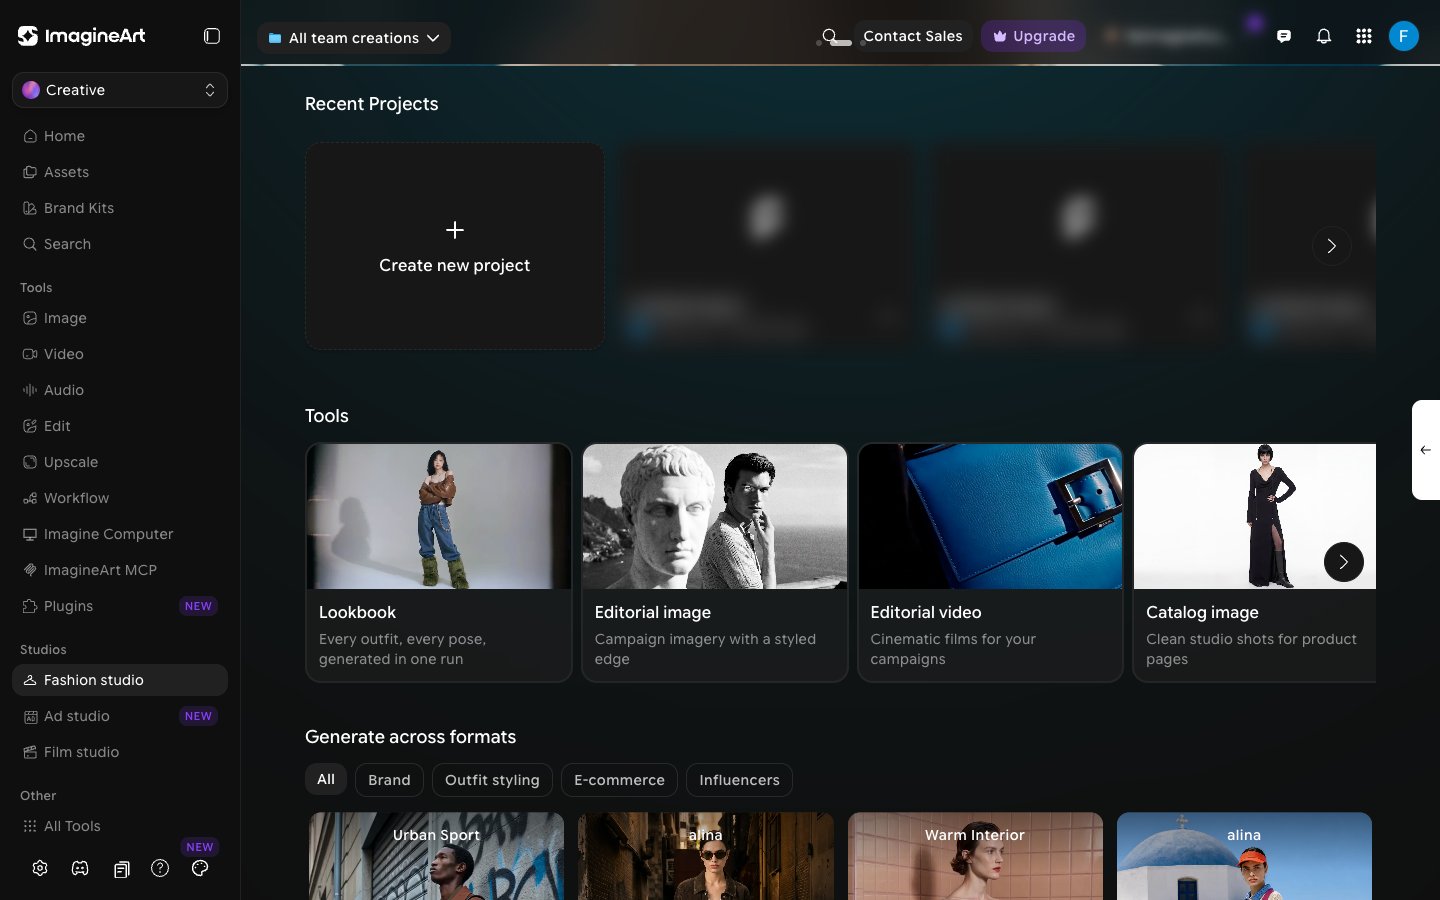
2
Pick a model
Under Model, pick the model who will wear every look. One model appears across the whole lookbook.
3
Add your outfits
Under Outfit, click Pick Outfit. Each row in the Outfit panel is one look, with slots for Top, Bottom, and Footwear. Click a slot to choose a garment from the library, or click Create New in the picker to add your own (see Choosing an outfit).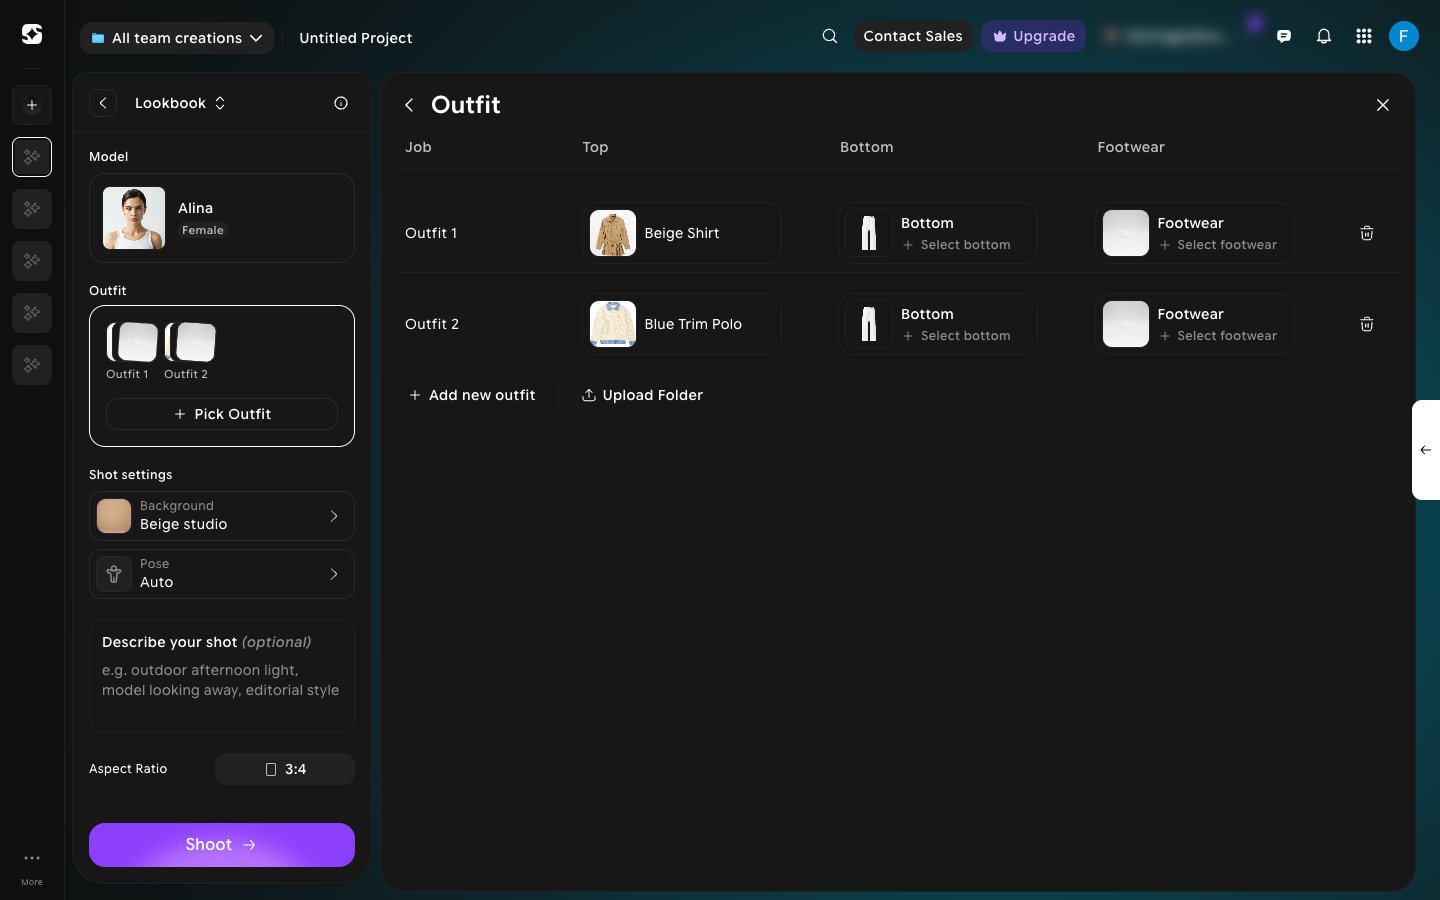
- Click Add new outfit to add another look.
- Click Upload Folder to bring in garments from a folder.
- Click the trash icon at the end of a row to remove that look.
4
Choose a background and poses
Under Shot settings, click Background to pick the set for the shoot. Then click Pose and select every pose you want. In Lookbook mode you can select more than one pose. Each selected pose is outlined, and the Pose row shows the first one plus +N more.Leave Pose on Auto to let Fashion Studio choose.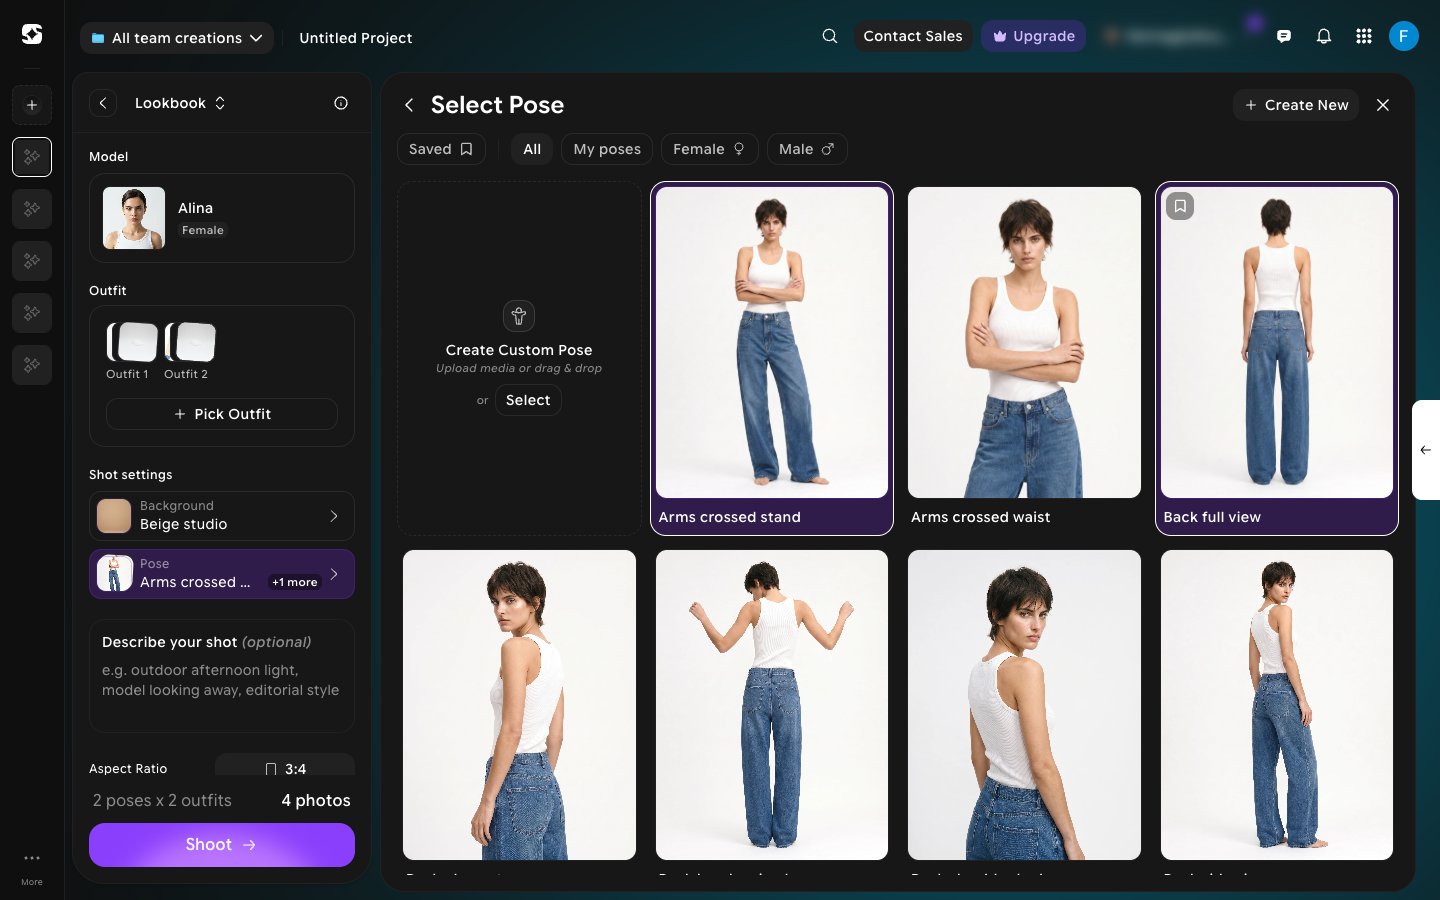
5
Check the batch and shoot
Optionally, add details in Describe your shot, and set the Aspect Ratio (1:1, 4:3, 3:4, 16:9, 9:16, 3:2, 2:3, or 21:9).Above Shoot, a summary shows the size of the batch — for example, 2 poses x 2 outfits gives 4 photos. Click Shoot to generate the whole lookbook in one run.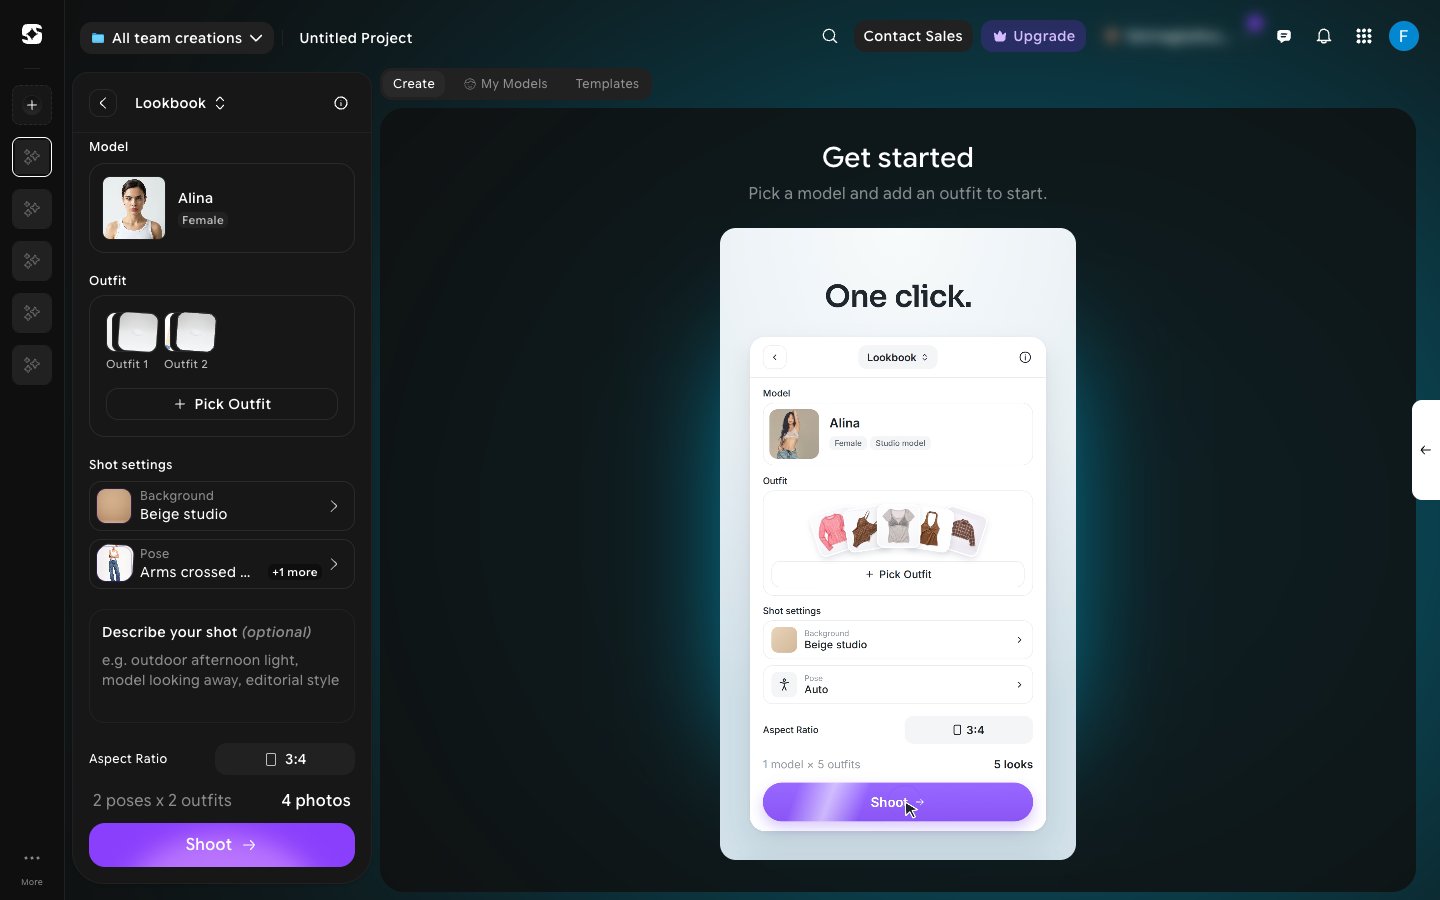
Want one look at a time instead? Use an Editorial shoot or a Catalog shoot.