

1
Switch to Edit mode
Click Edit under Mode. Like Video mode, this replaces the entire left panel — Model, Choose outfit, Model styling, and Shot settings from Image mode aren’t part of it. You need a reference image before anything else appears.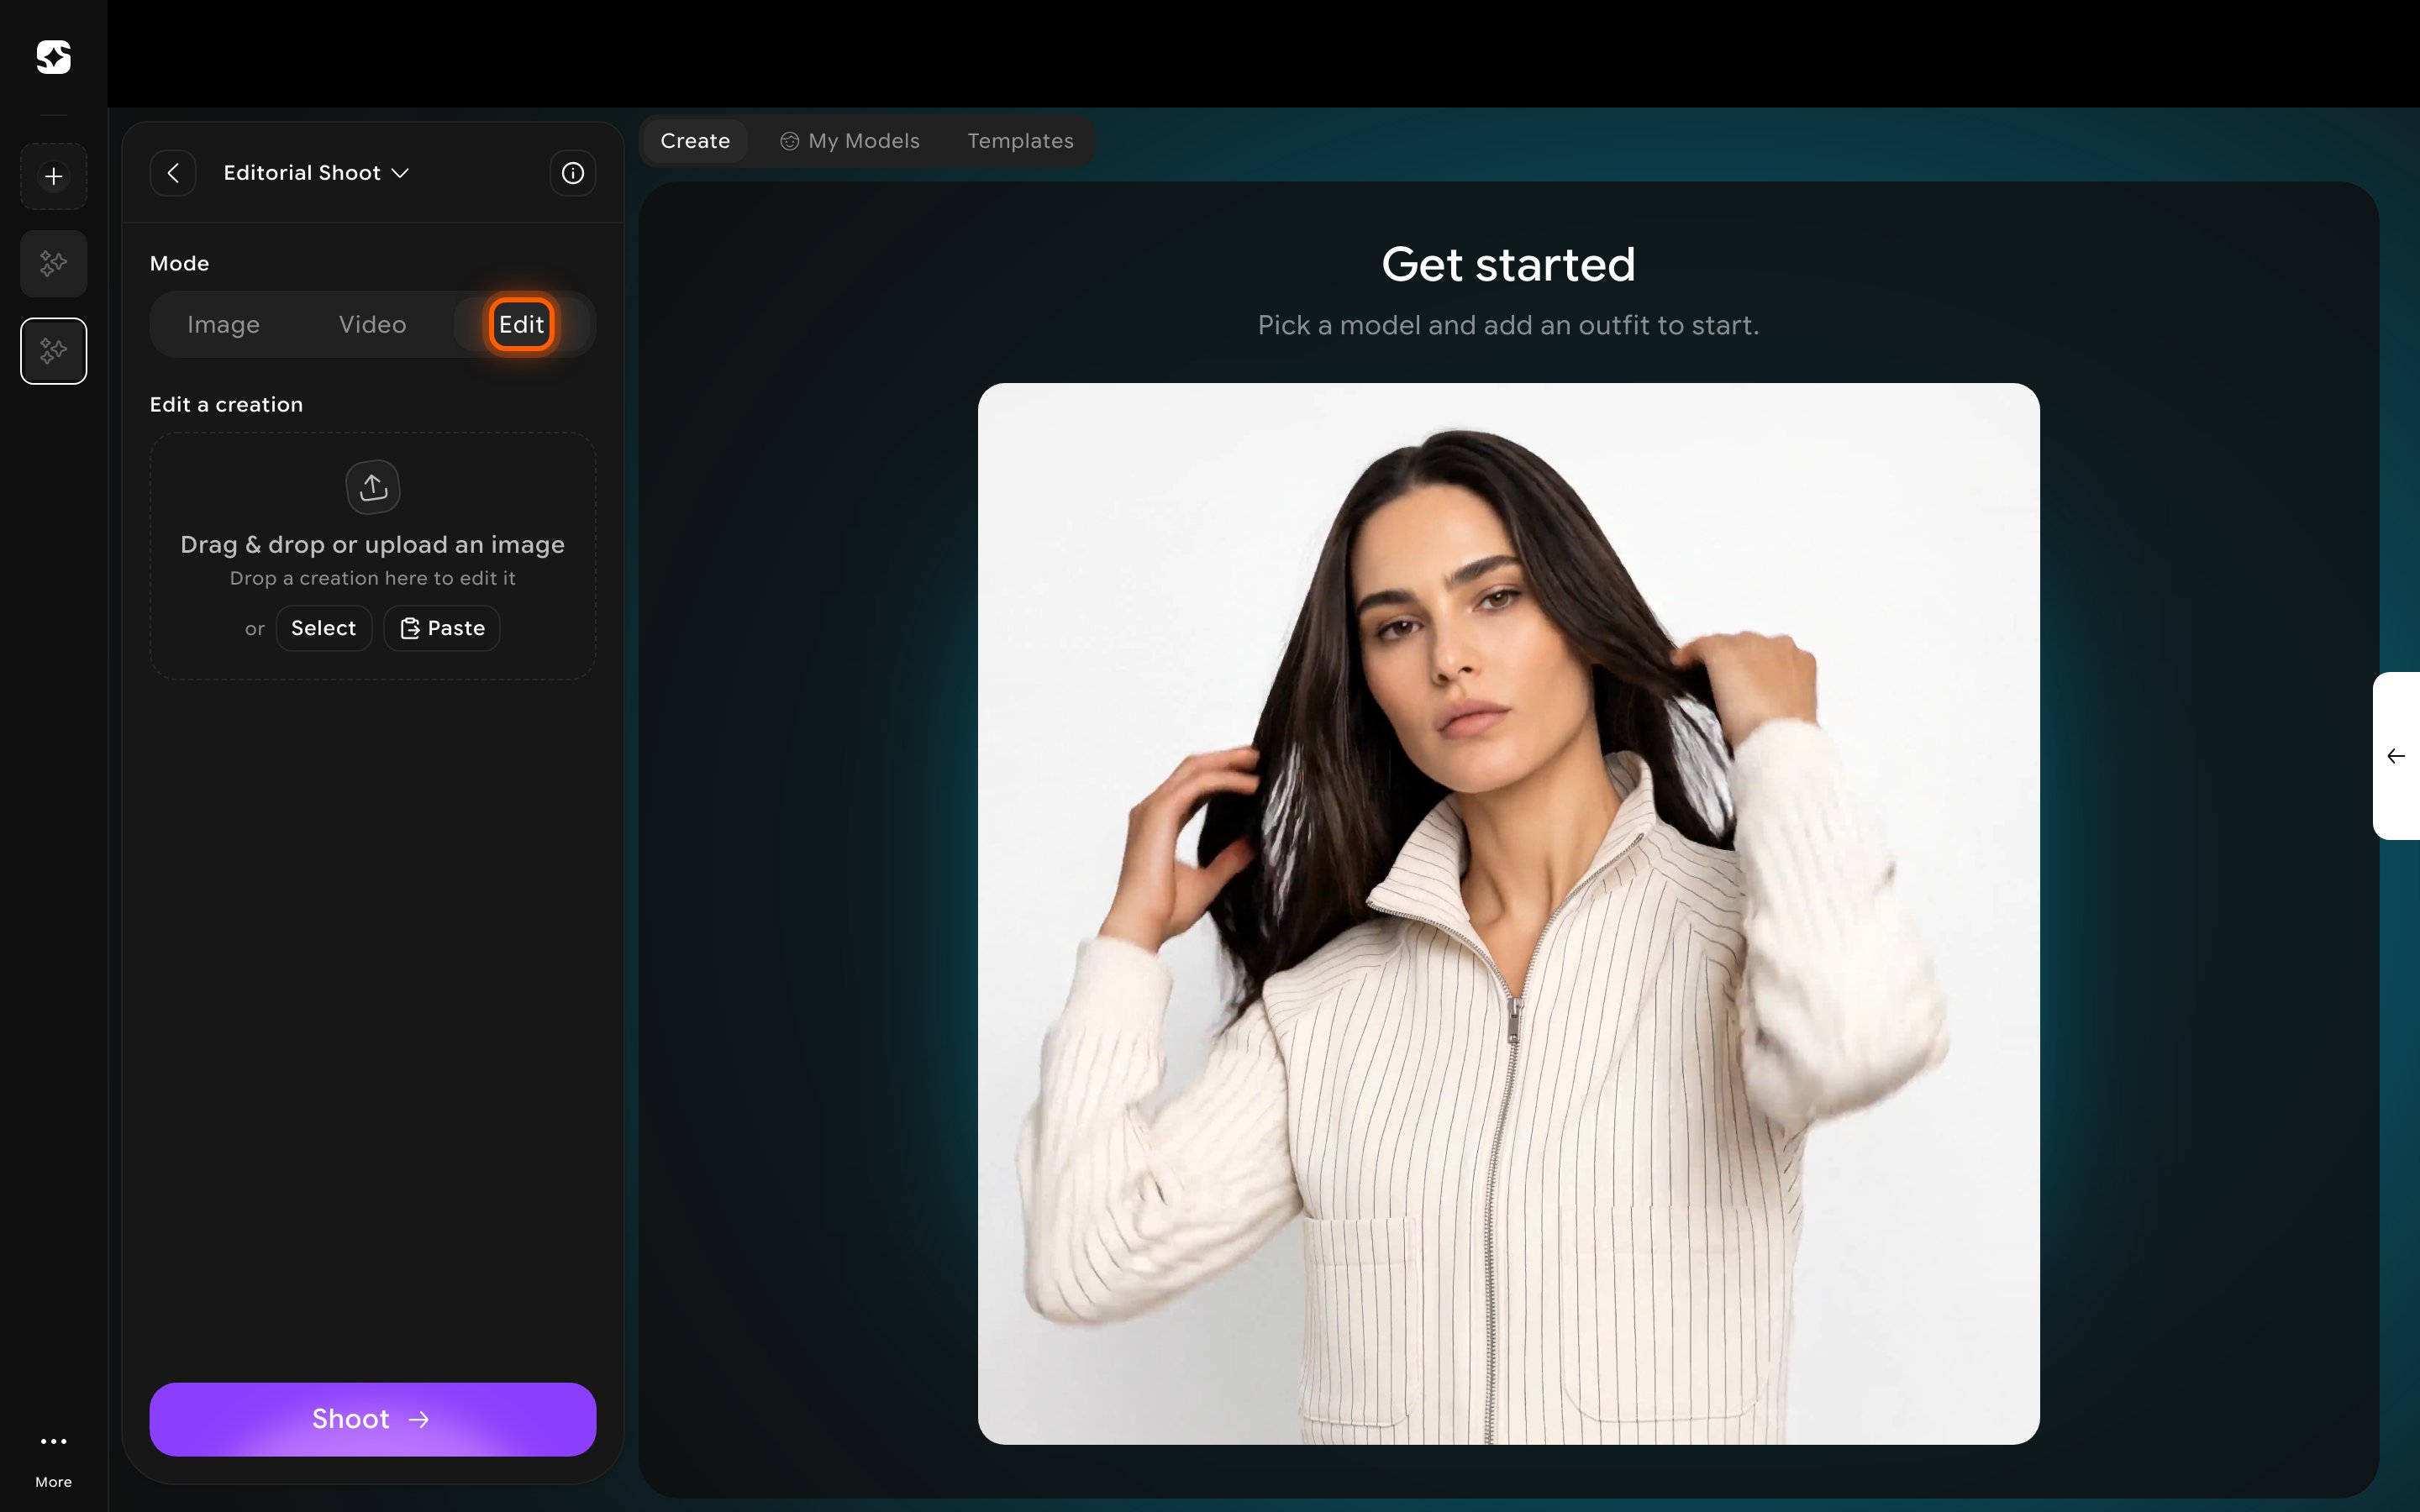
2
Pick a reference image
Click Select to open Select Assets, and choose an image from Recent uploads or My creations — or upload a new one directly. You can add a second reference image afterward (for example, a model shot plus a separate garment photo) using the + tile next to it.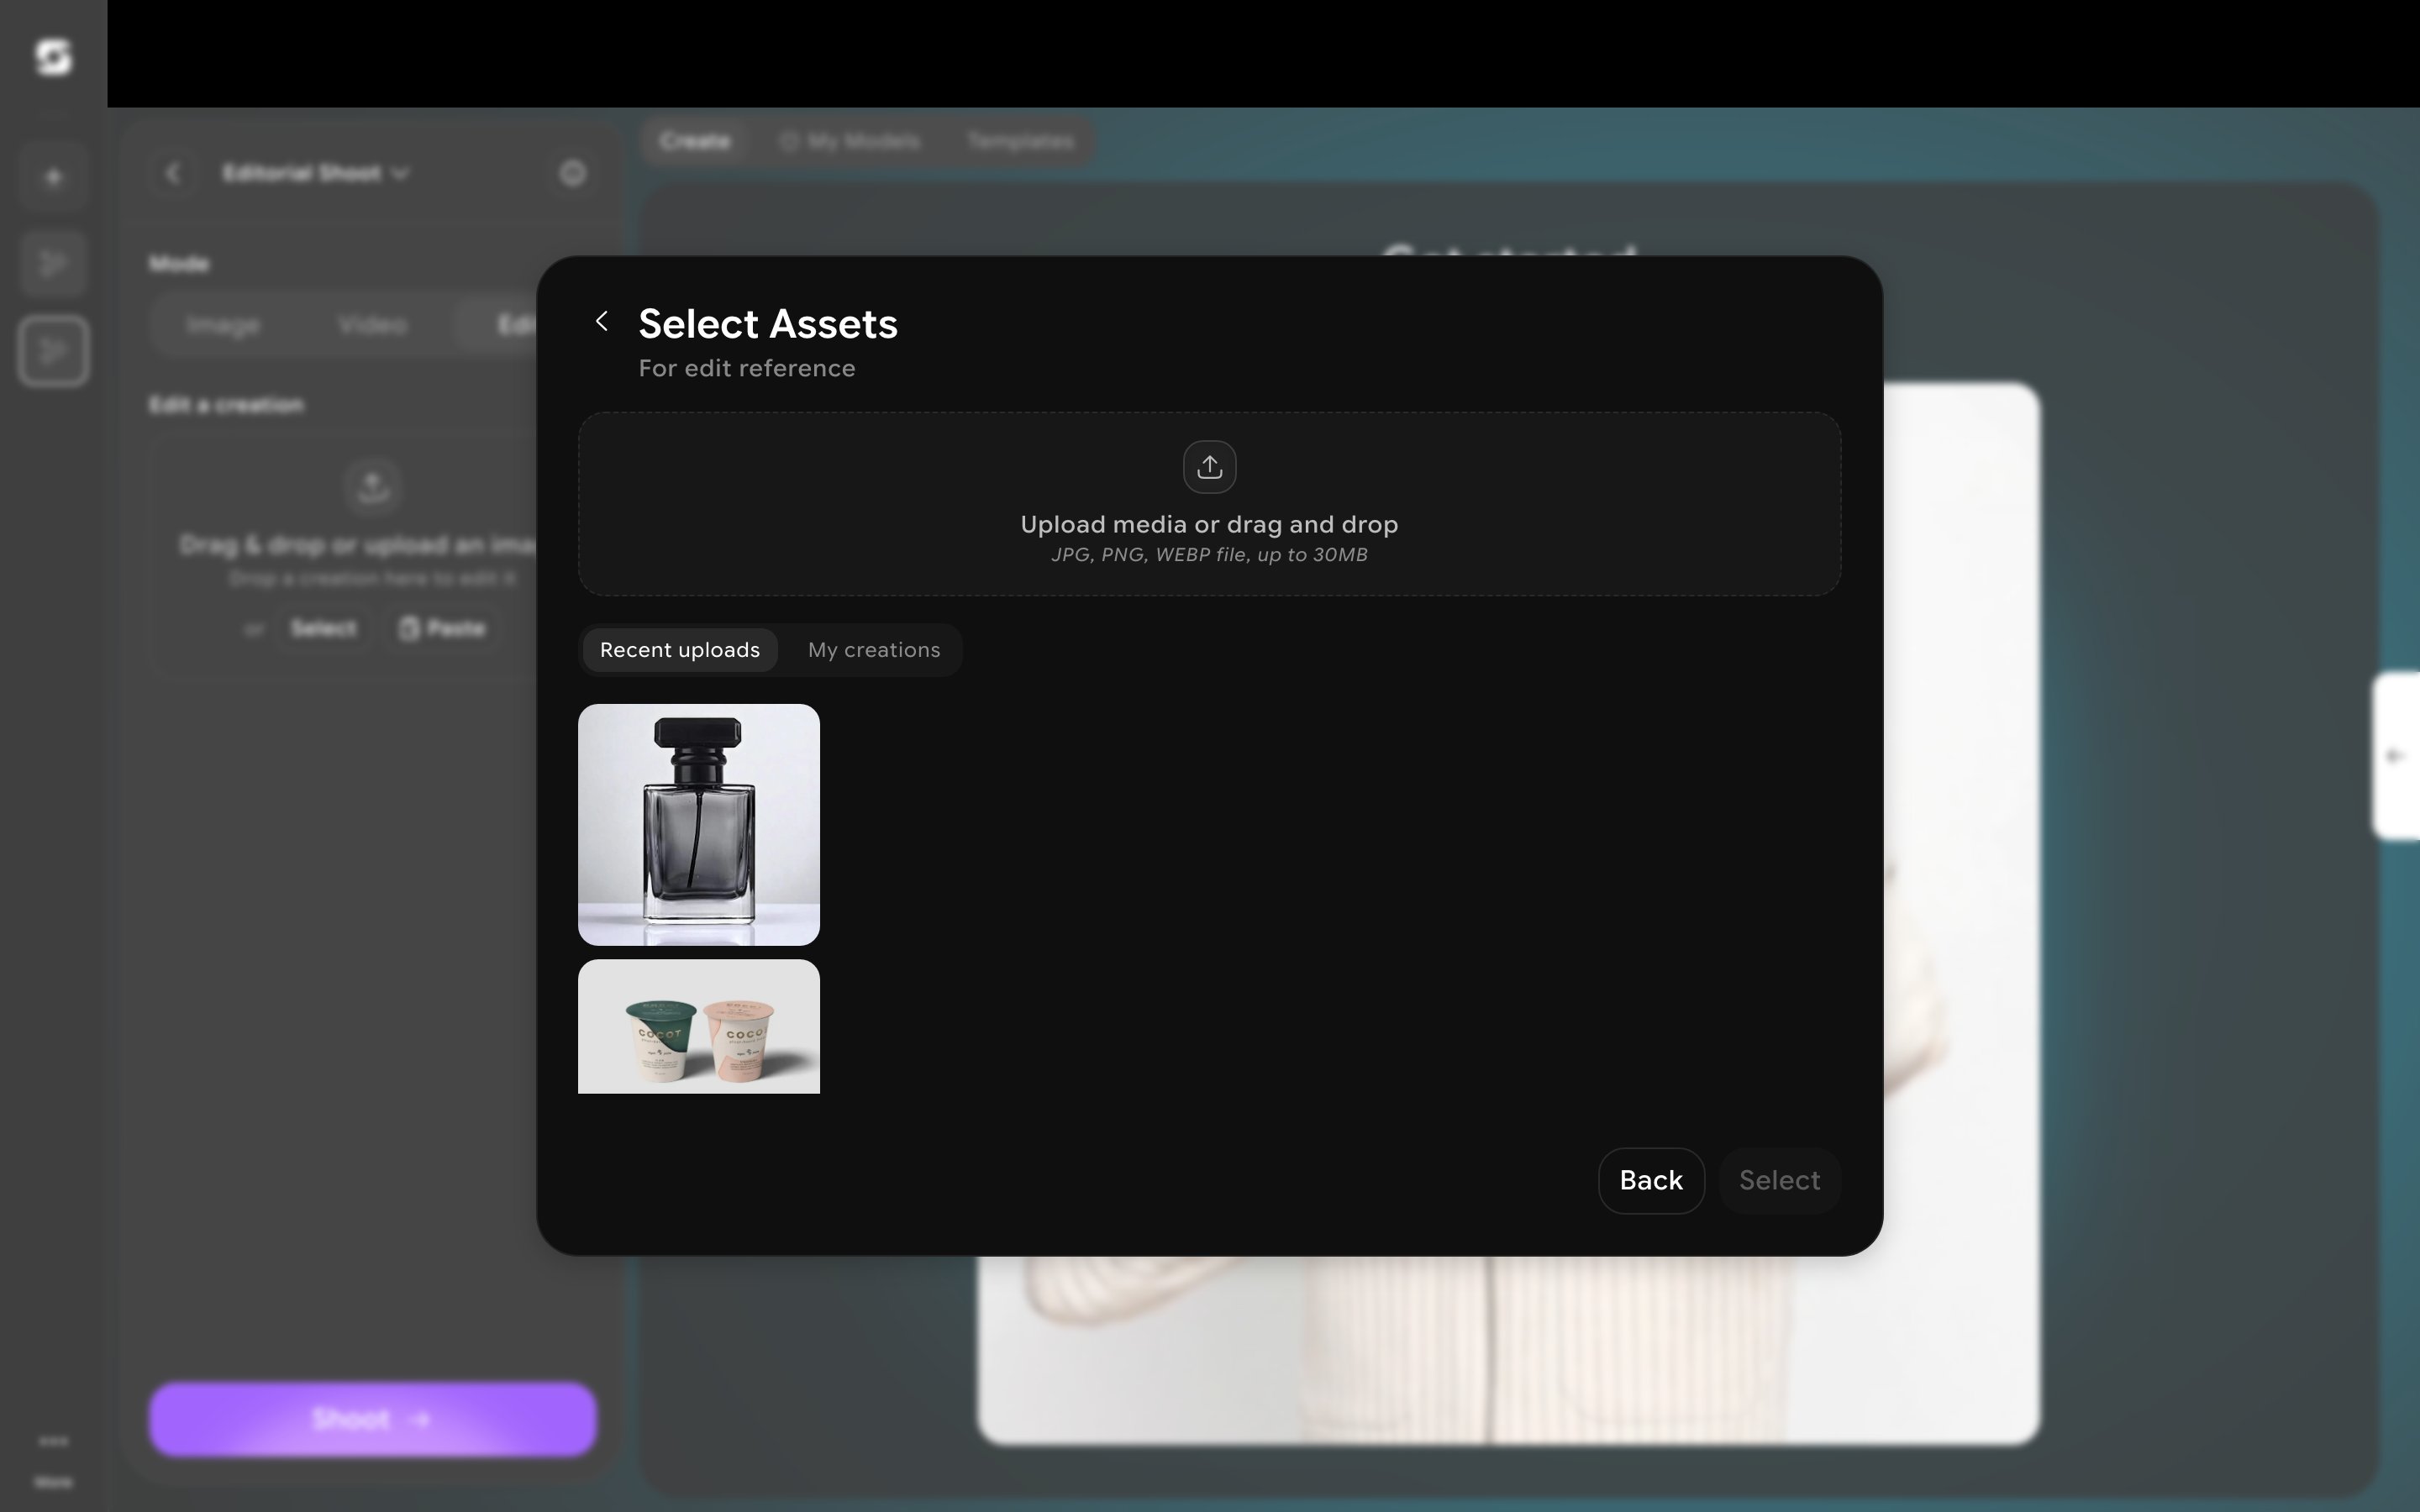
3
Describe the edit and generate
With a reference image in place, the panel adds Shot settings (Set scene, Camera angle), Number of variations, aspect ratio, and an optional Describe your shot field — this is where you say what should change (e.g. “outdoor afternoon light, model looking away, editorial style”). Click Shoot to generate.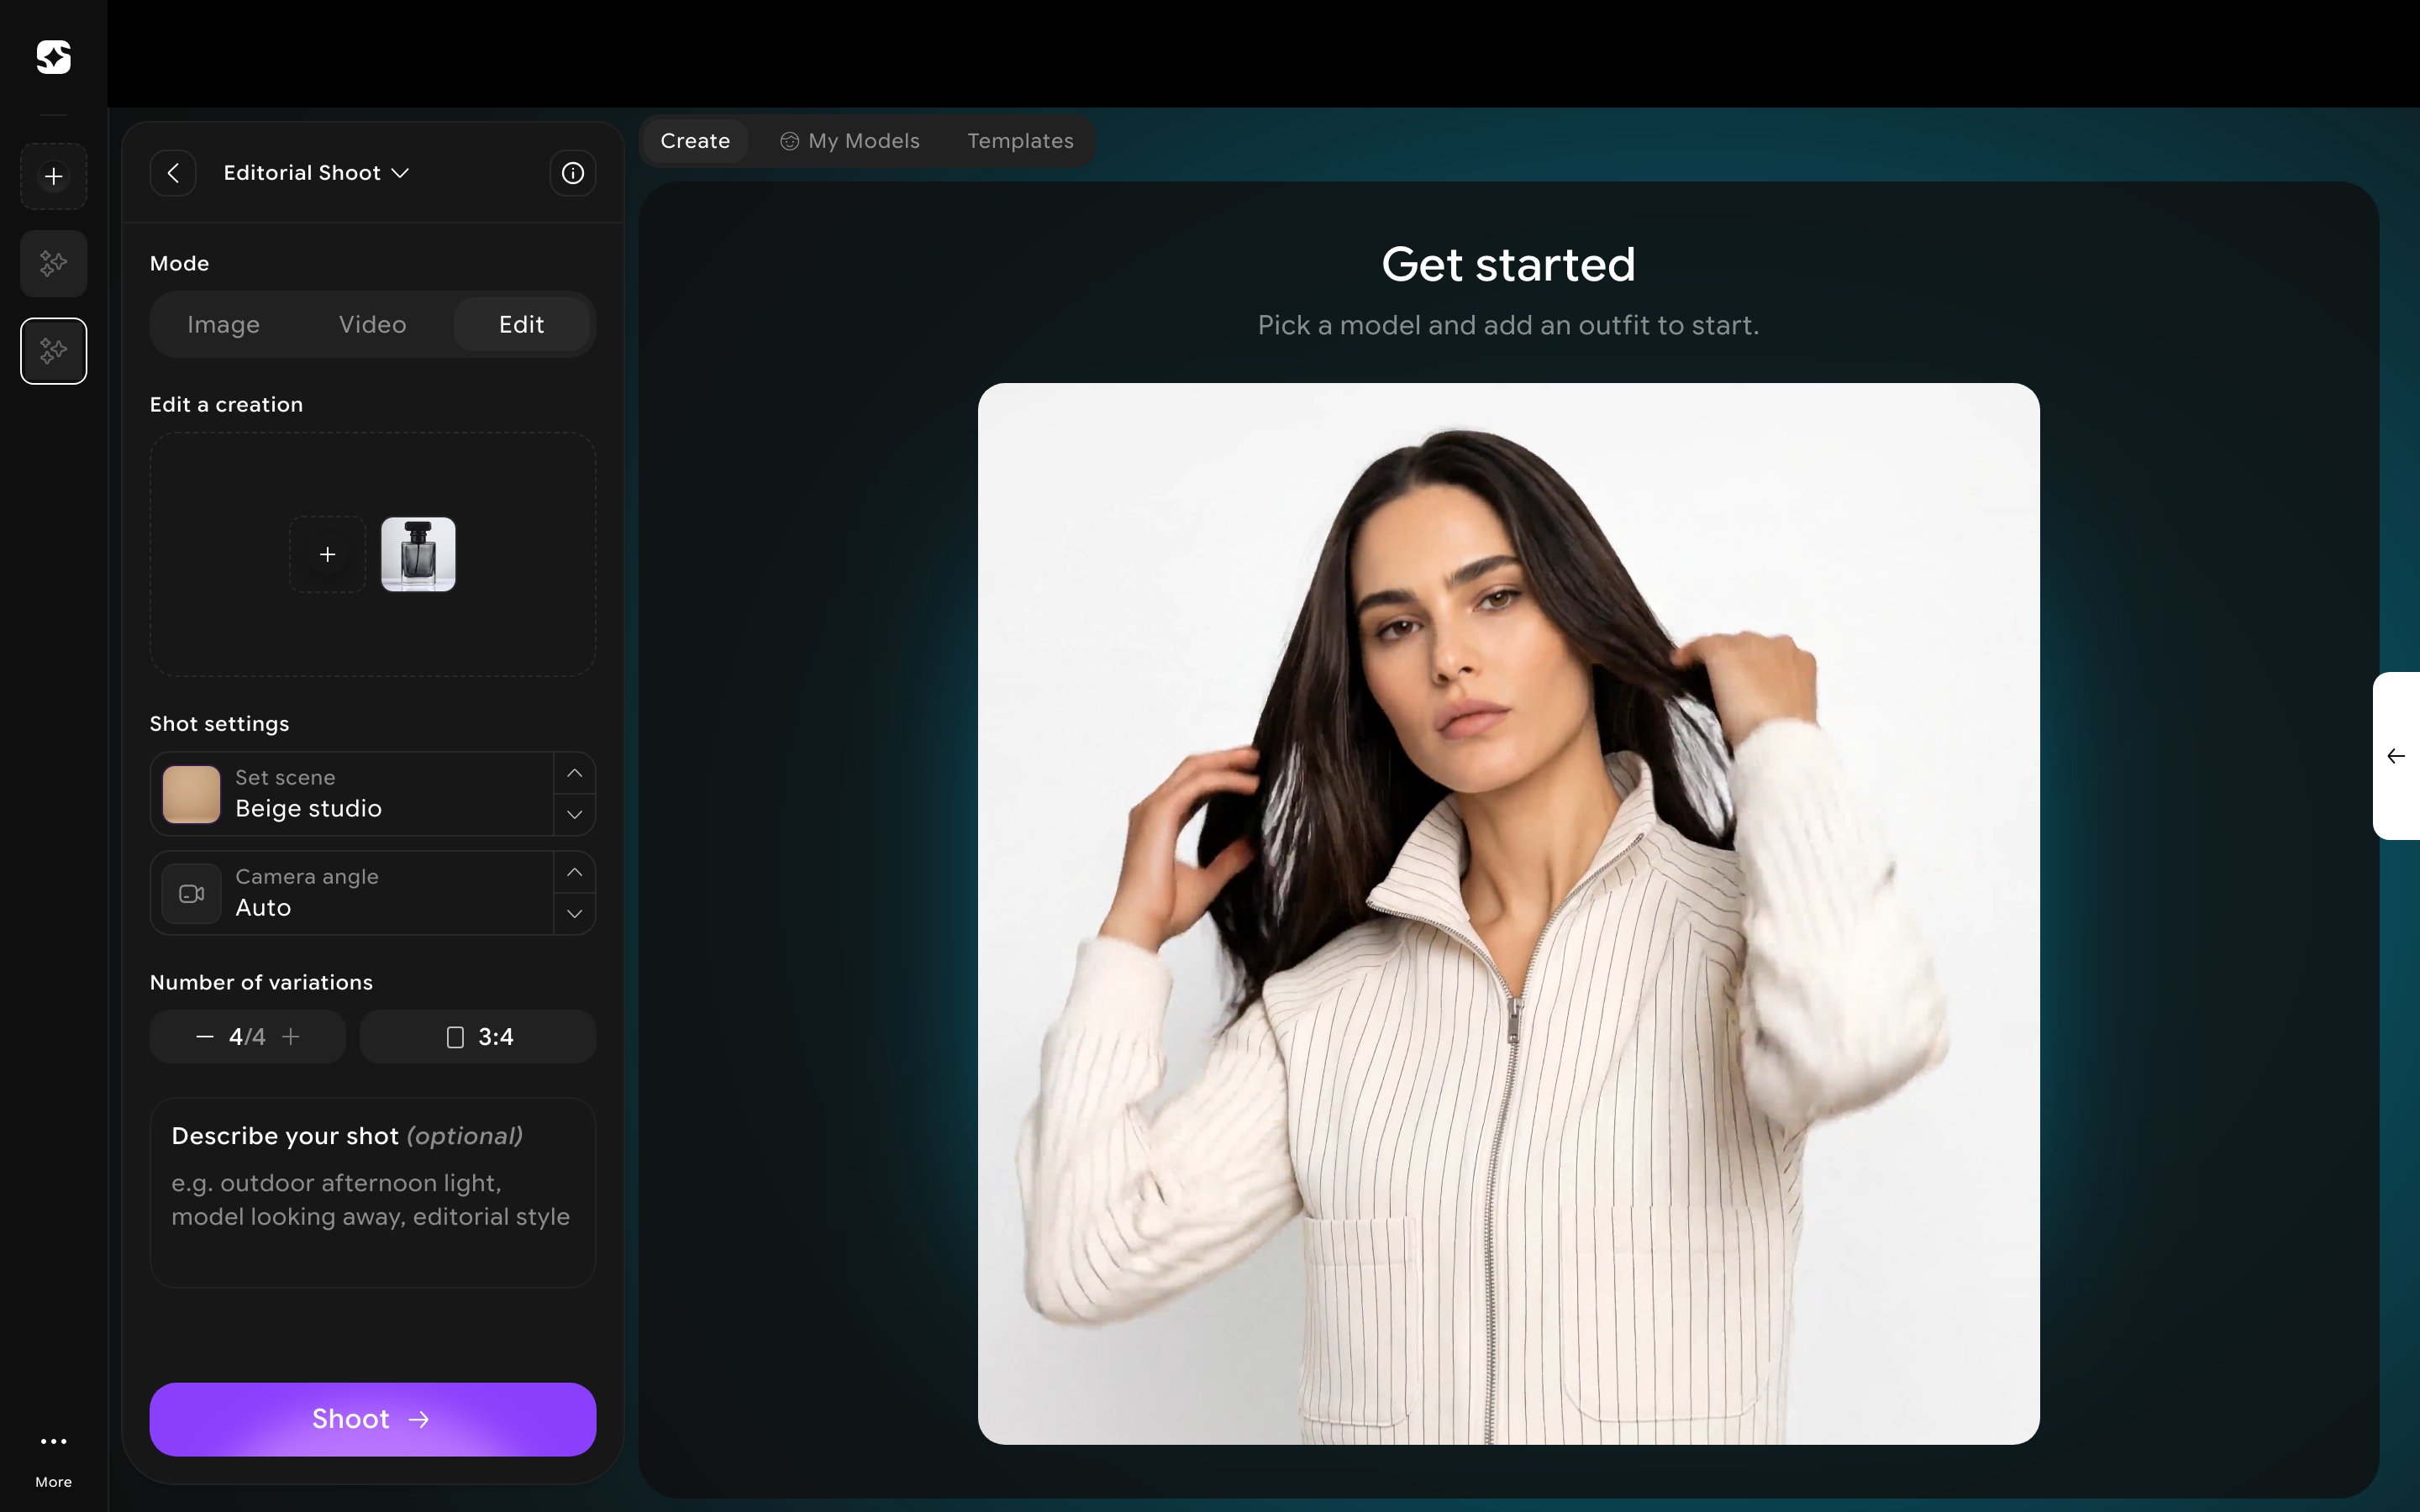
There’s no brush, mask, or region-select tool. If you want a specific change (a different background, a swapped garment), describe it in Describe your shot rather than looking for a dedicated tool icon.