Open Startup
Go to imagine.art/computer/startup, or click Startup in the Imagine Computer sidebar. You can also click the Startup card under Get started with Tools on the Imagine Computer home.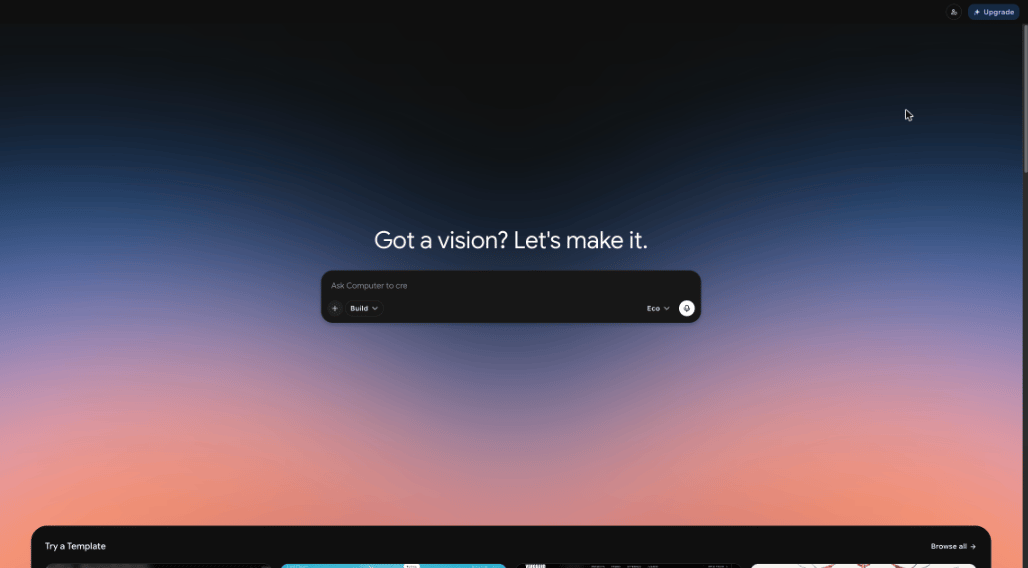
Describe what to build
1
Write your prompt
Type what you want in the prompt box, for example a landing page for your product, a survey app, or an internal tool. Be specific about the pages, sections, and style you want.
2
Choose Plan or Build
Click the mode dropdown next to + to pick how Startup starts: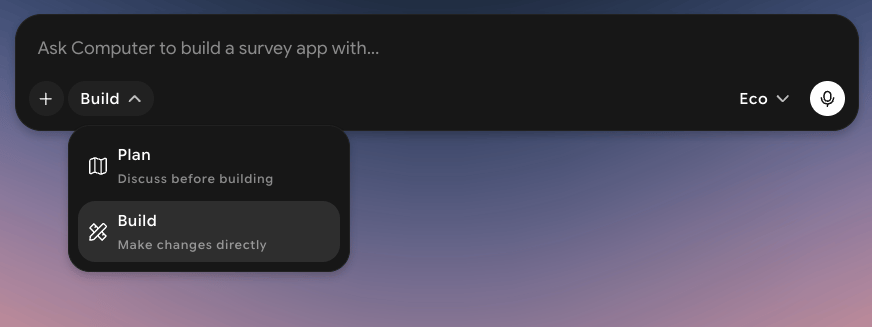
- Plan: discuss the idea before building.
- Build: make changes directly.
3
Pick a tier
Click the tier dropdown on the right of the prompt box: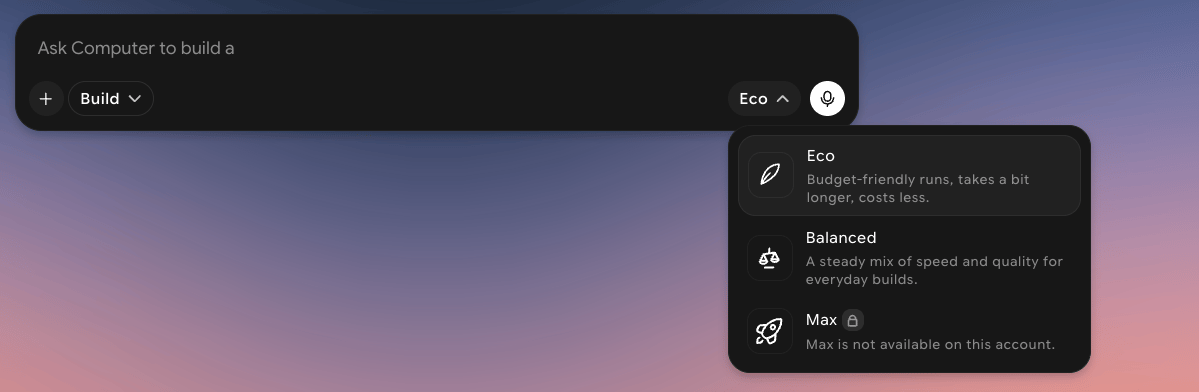
4
Add files or connect tools
Click + in the prompt box to add more context: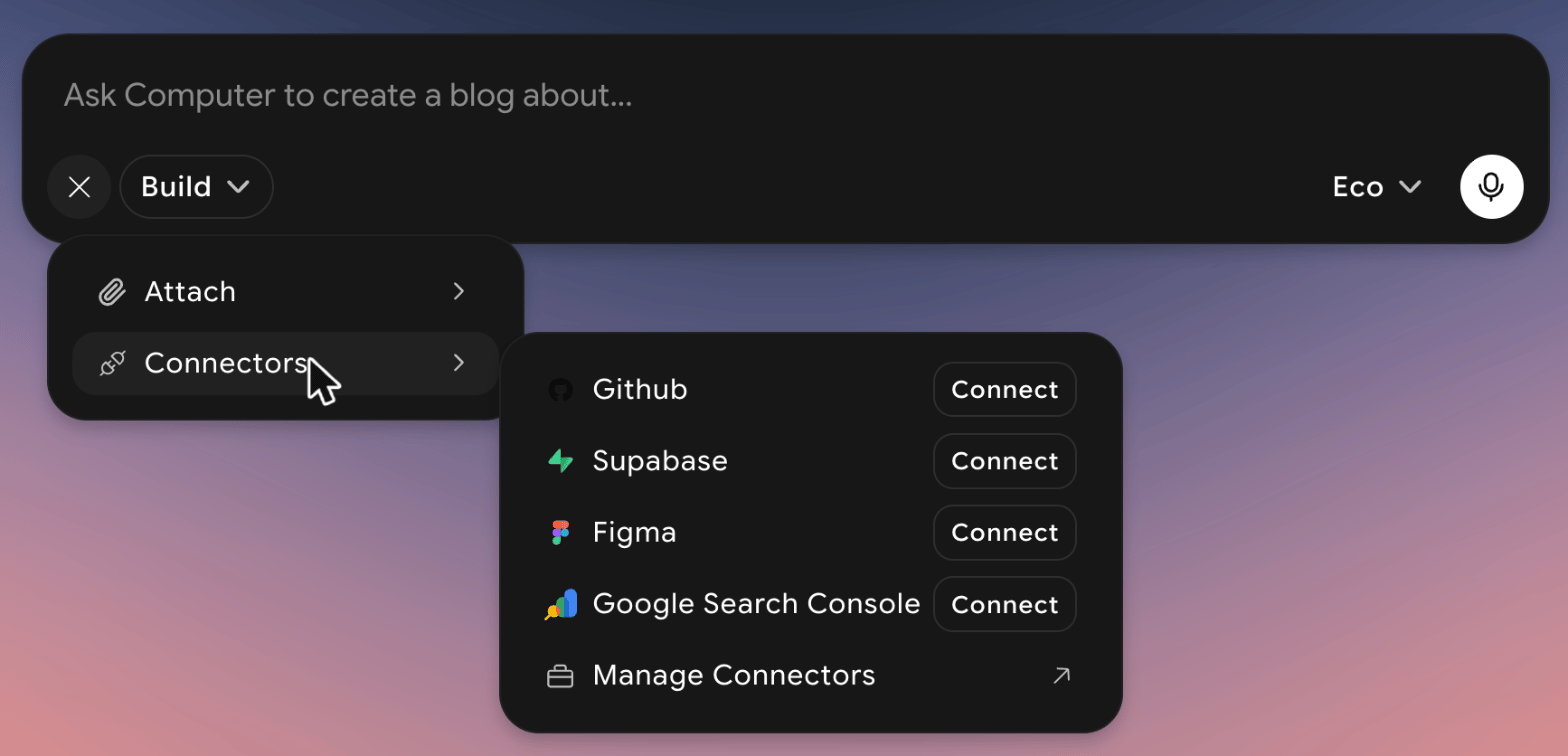
- Attach: add a File, or Take a screenshot.
- Connectors: connect Github, Supabase, Figma, or Google Search Console, or click Manage Connectors.
5
Send the prompt
Send your prompt to start the project. You can also click the microphone button to speak your prompt instead.
Watch the build
After you send your prompt, Startup opens the project. The chat shows each step as the agent works, and a To-dos list in the top right tracks progress, for example 1 / 3 Complete.1
Choose a visual direction
Early in the build, Startup asks Which visual direction should this app take? and shows several design directions, each with a name, a preview board, and a short description. Click one and click Next. You can also click See more for more options, or Skip to let Startup choose.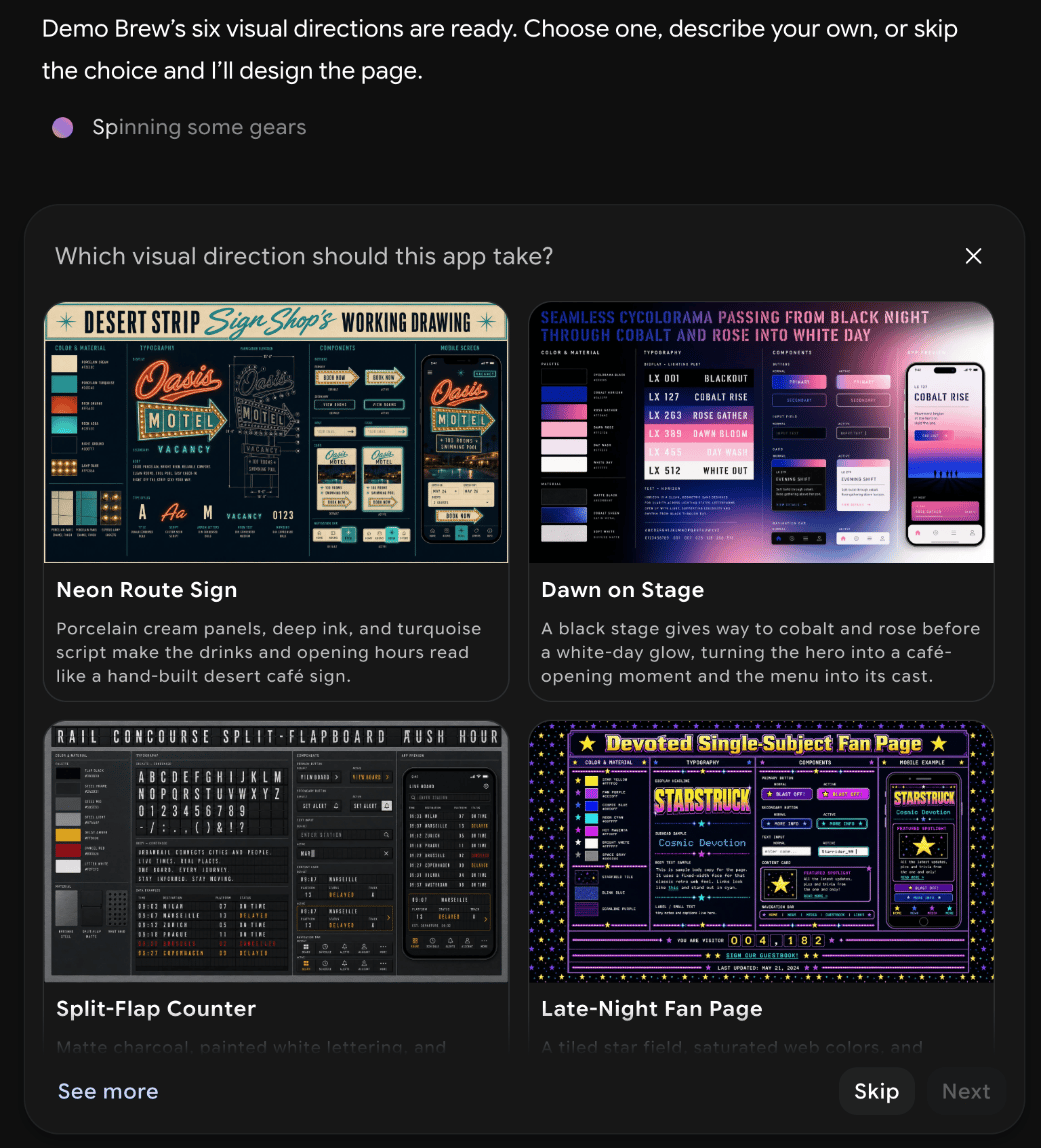
2
Let it build
Startup sets up the project, writes the code, and checks it. You can type in the prompt box at any time to change direction. When it’s done, it summarizes what it built and suggests Follow up prompts, such as adding a contact form.
The project editor
When the build finishes, the project opens in a split view: the chat on the left and your site on the right.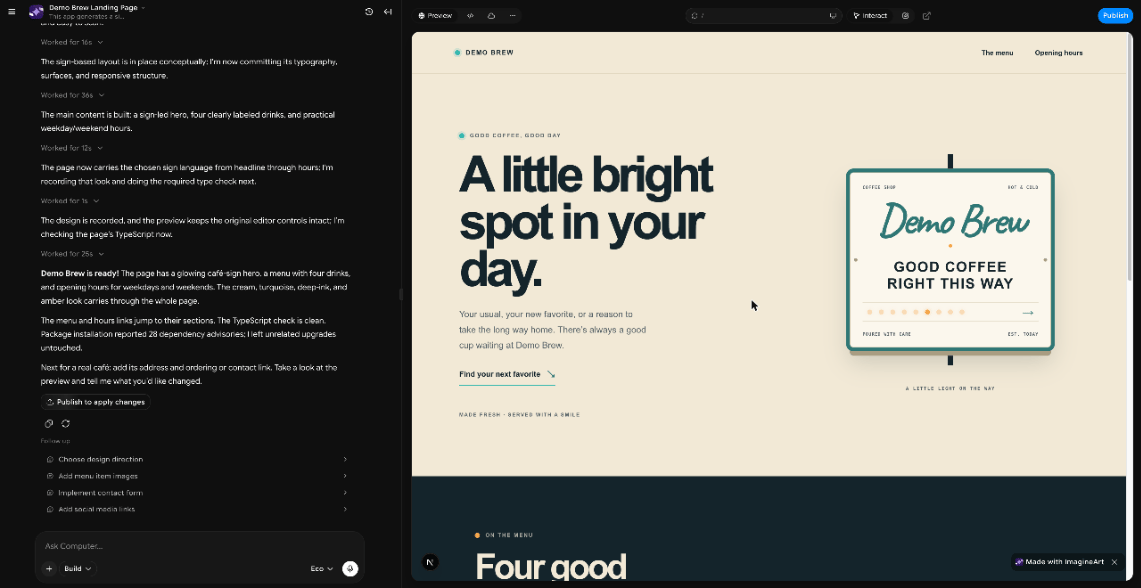
To change the site, describe what you want in the chat. After each build, the chat also shows a Publish to apply changes button that publishes the latest version.
Published projects appear under Deployed in the Startup sidebar.
Start from a template
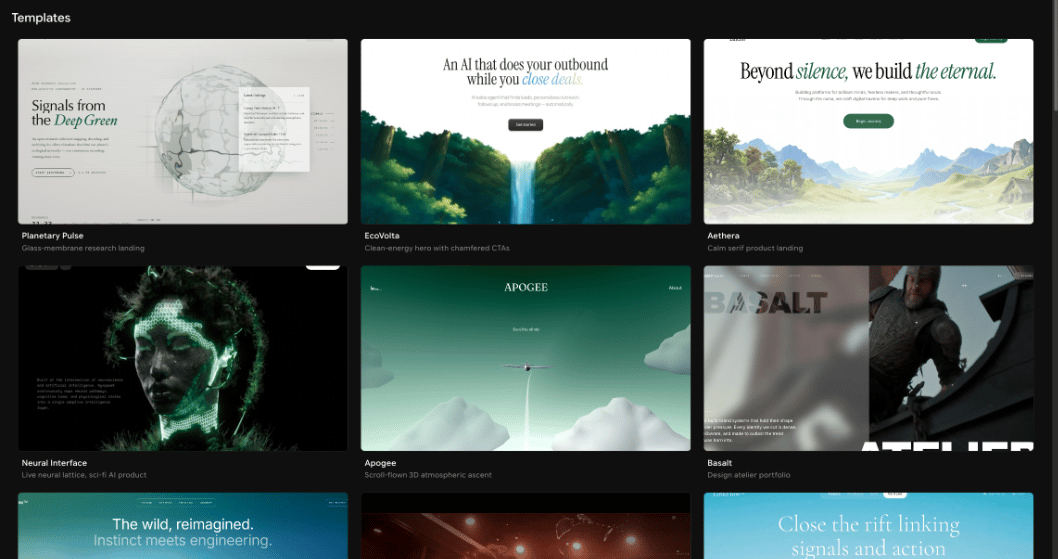
Below the prompt box, Try a Template shows a few ready-made site designs. Click Browse all to open the full Templates gallery. Each template has a name and a short description, for example Planetary Pulse (glass-membrane research landing), EcoVolta (clean-energy hero), or LinkFlow (serif-led SaaS with pricing tiers).