

6.1 — The control panel and the @ shortcut
The workspace is built around a set of structured cards — Template, Product, Avatar, Hook, Background — plus an optional Describe your advertisement text field below them. You don’t need to write a full brief in prose; picking the right combination of cards does most of the work, and the text field is for anything the cards don’t cover.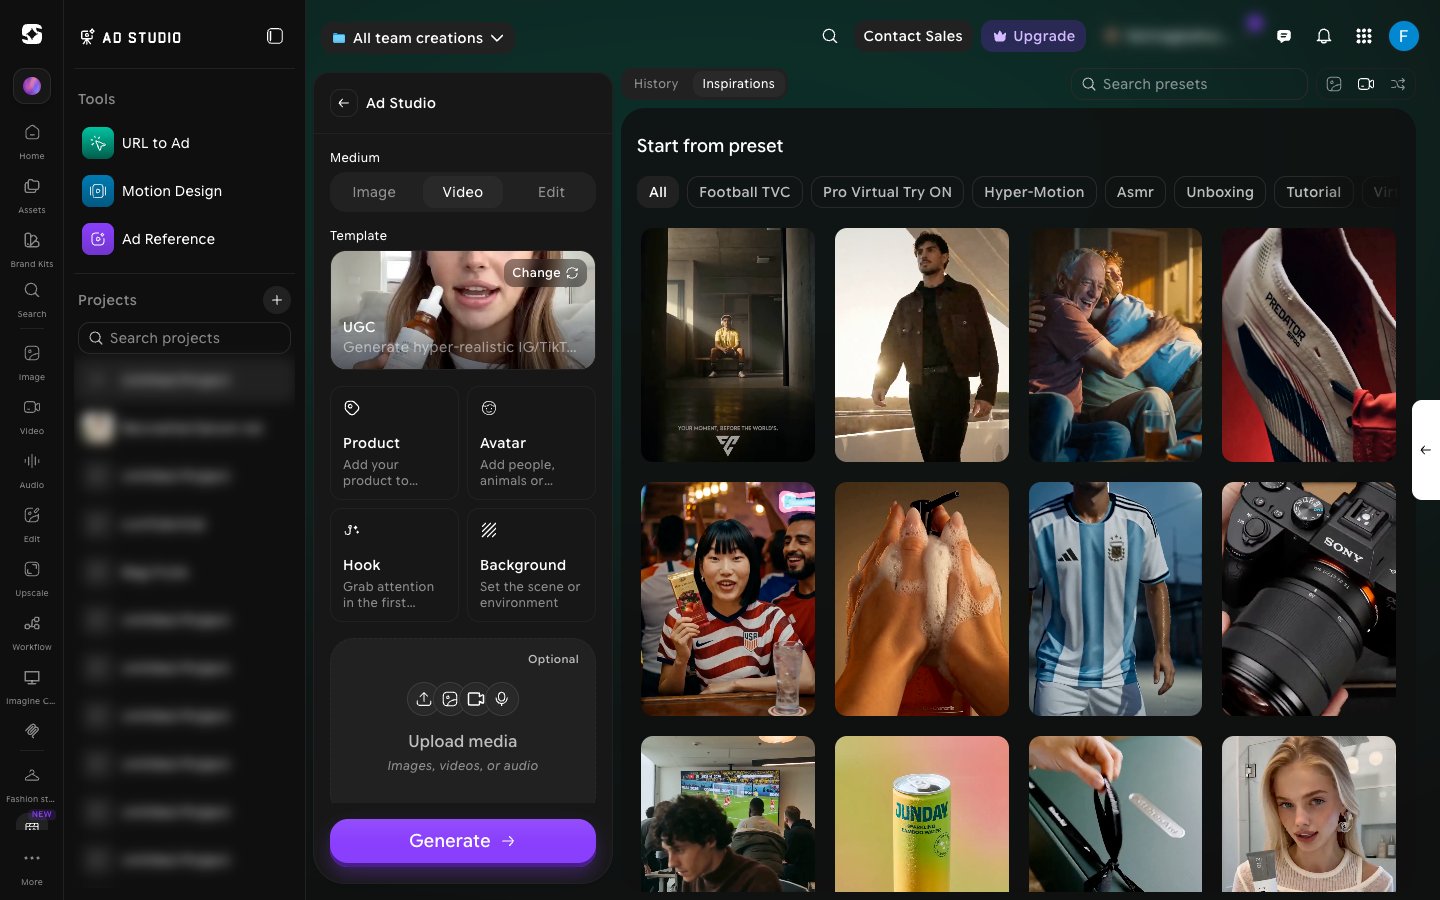
The @ shortcut
Typing @ in the Describe your advertisement field opens a dropdown of your saved avatars and products to mention by name — the system then uses your actual uploaded assets instead of guessing from a text description. This matters more than it sounds: it’s the difference between a generic ad and an ad that actually shows your product.Try this — Add one product and one avatar first, then type @ in the description field and pick them by name. You’ll see how much more specific the output becomes when the system has actual assets to work with.
6.2 — Choosing the right format
Template is the format decision — it determines the entire visual and structural language of the ad. Click Change on the Template card to open Choose a format. Ad Studio currently offers 8 formats: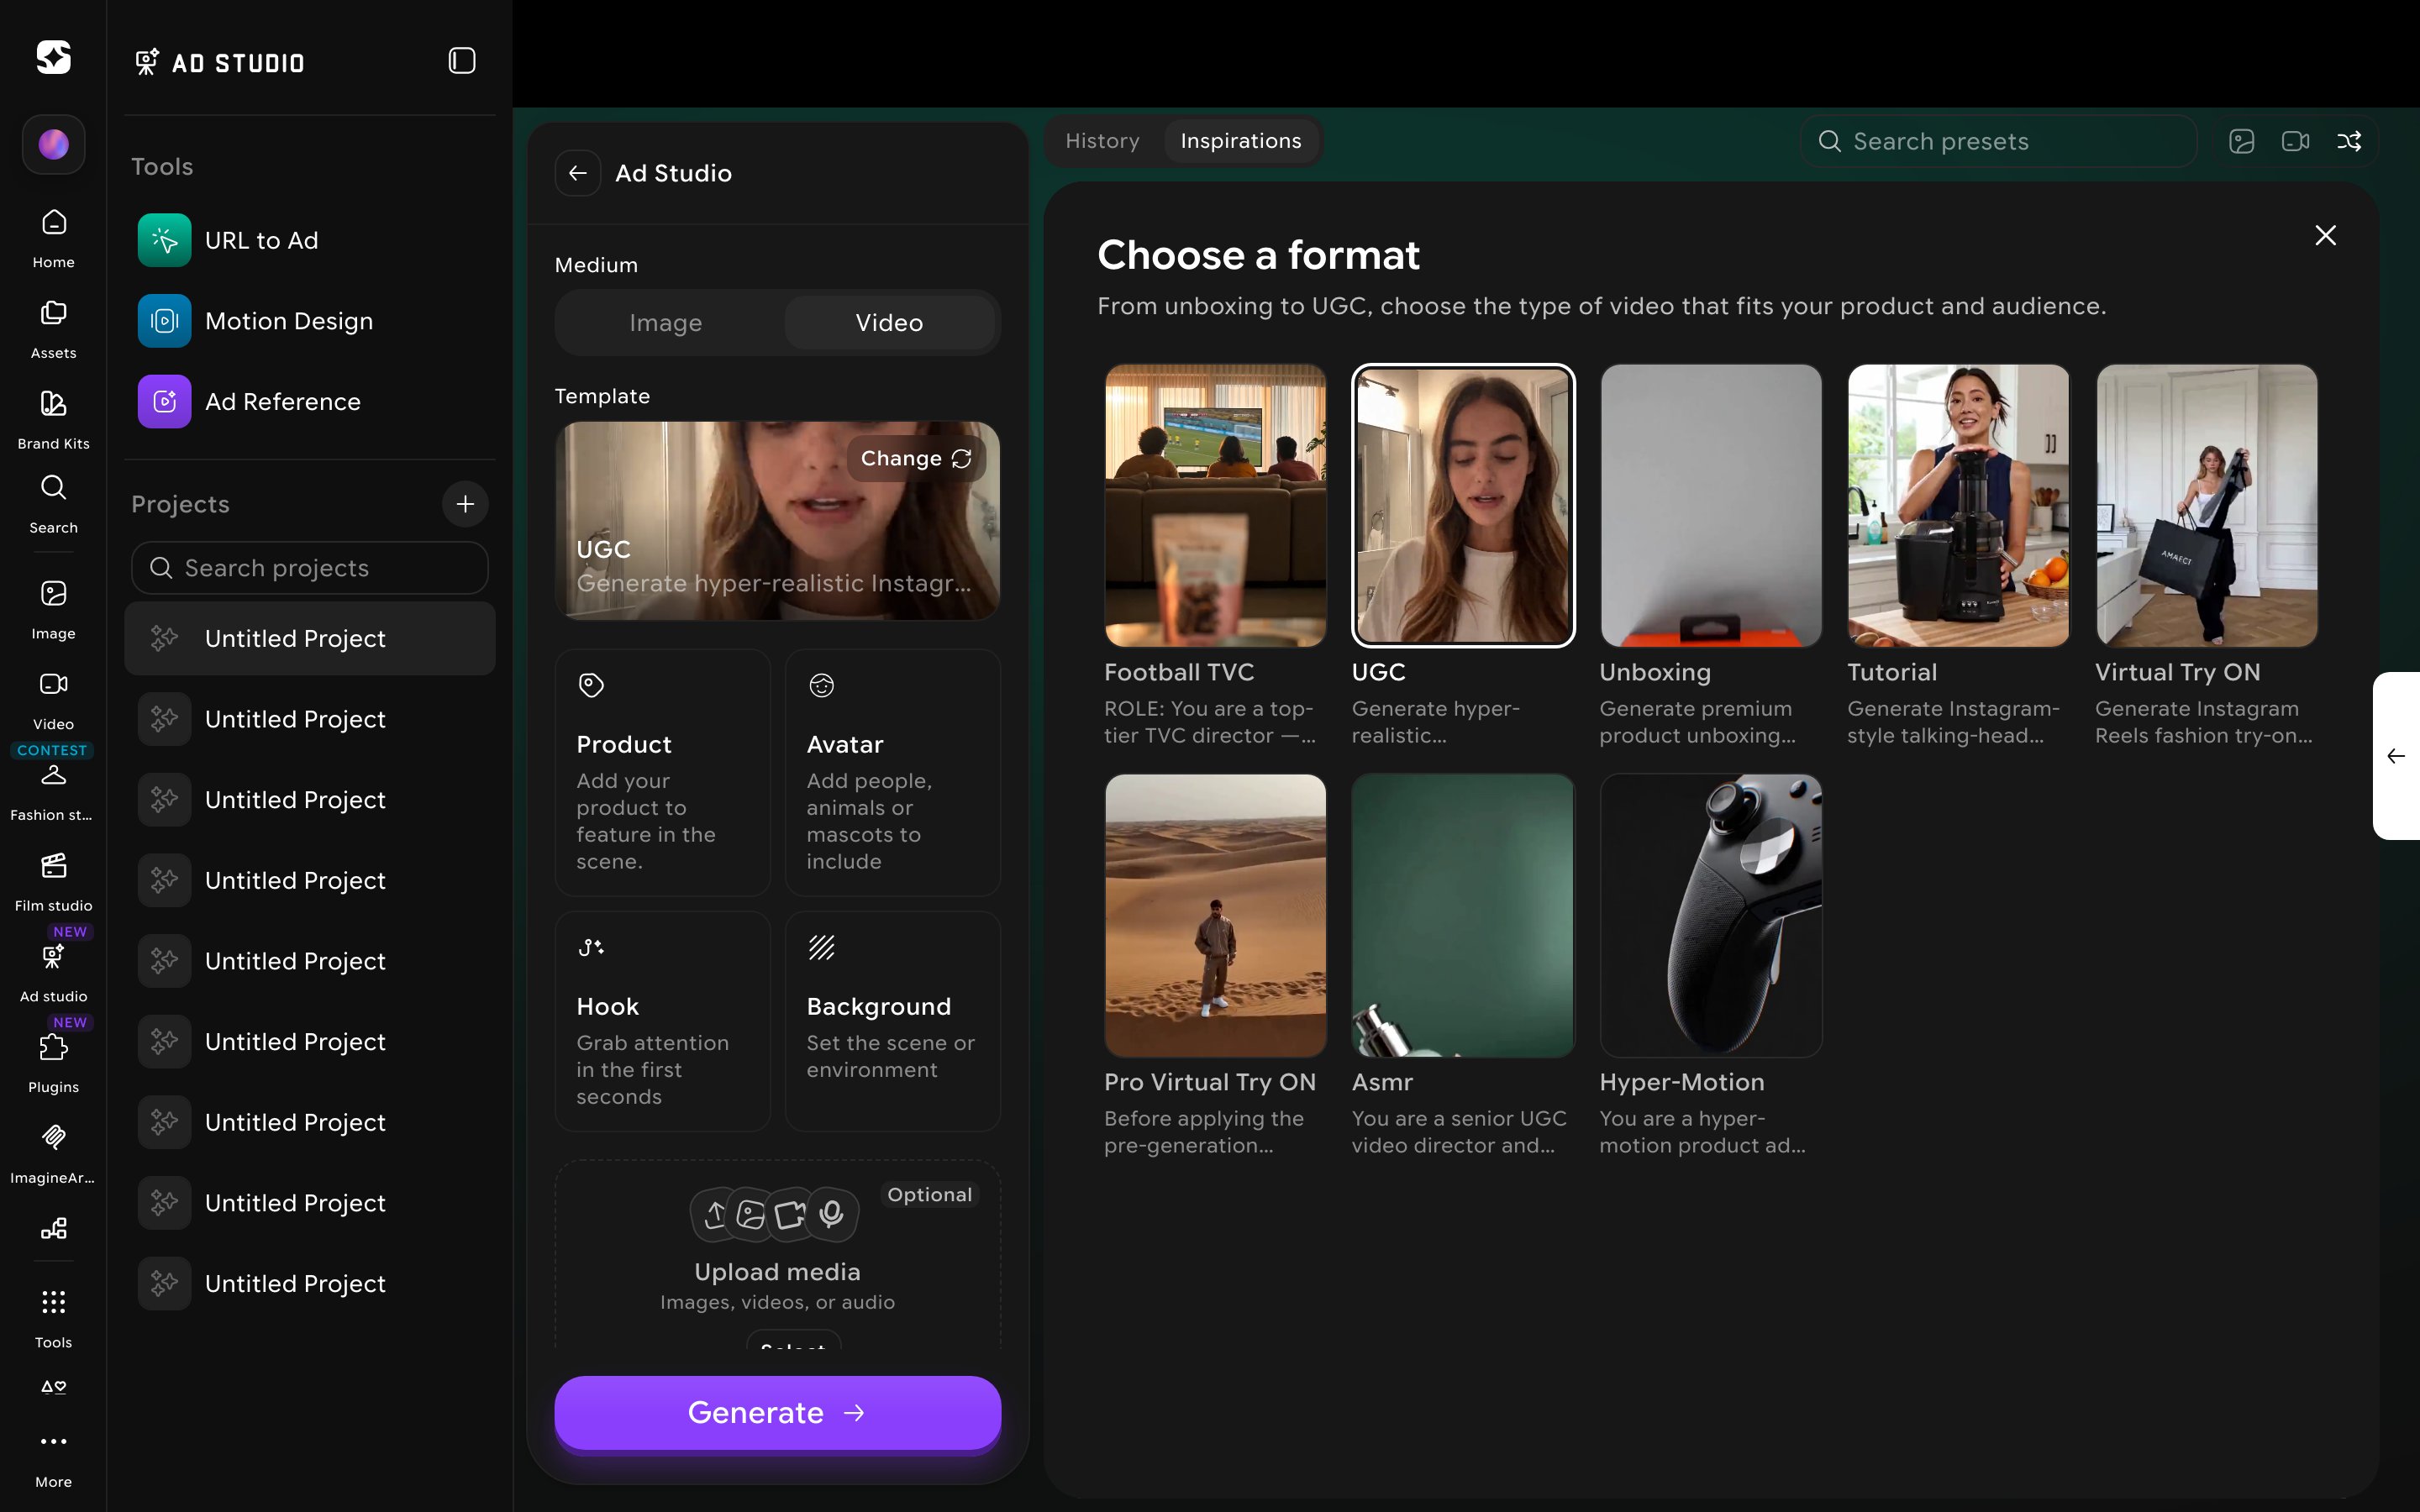
6.3 — Picking a hook
Click the Hook card to open Pick your hook. Rather than a set of psychological “archetypes,” Ad Studio’s hooks are literal, named moments you can drop into the first few seconds of your ad — filterable by All, Stunt, Subtle, and a seasonal World Cup tab.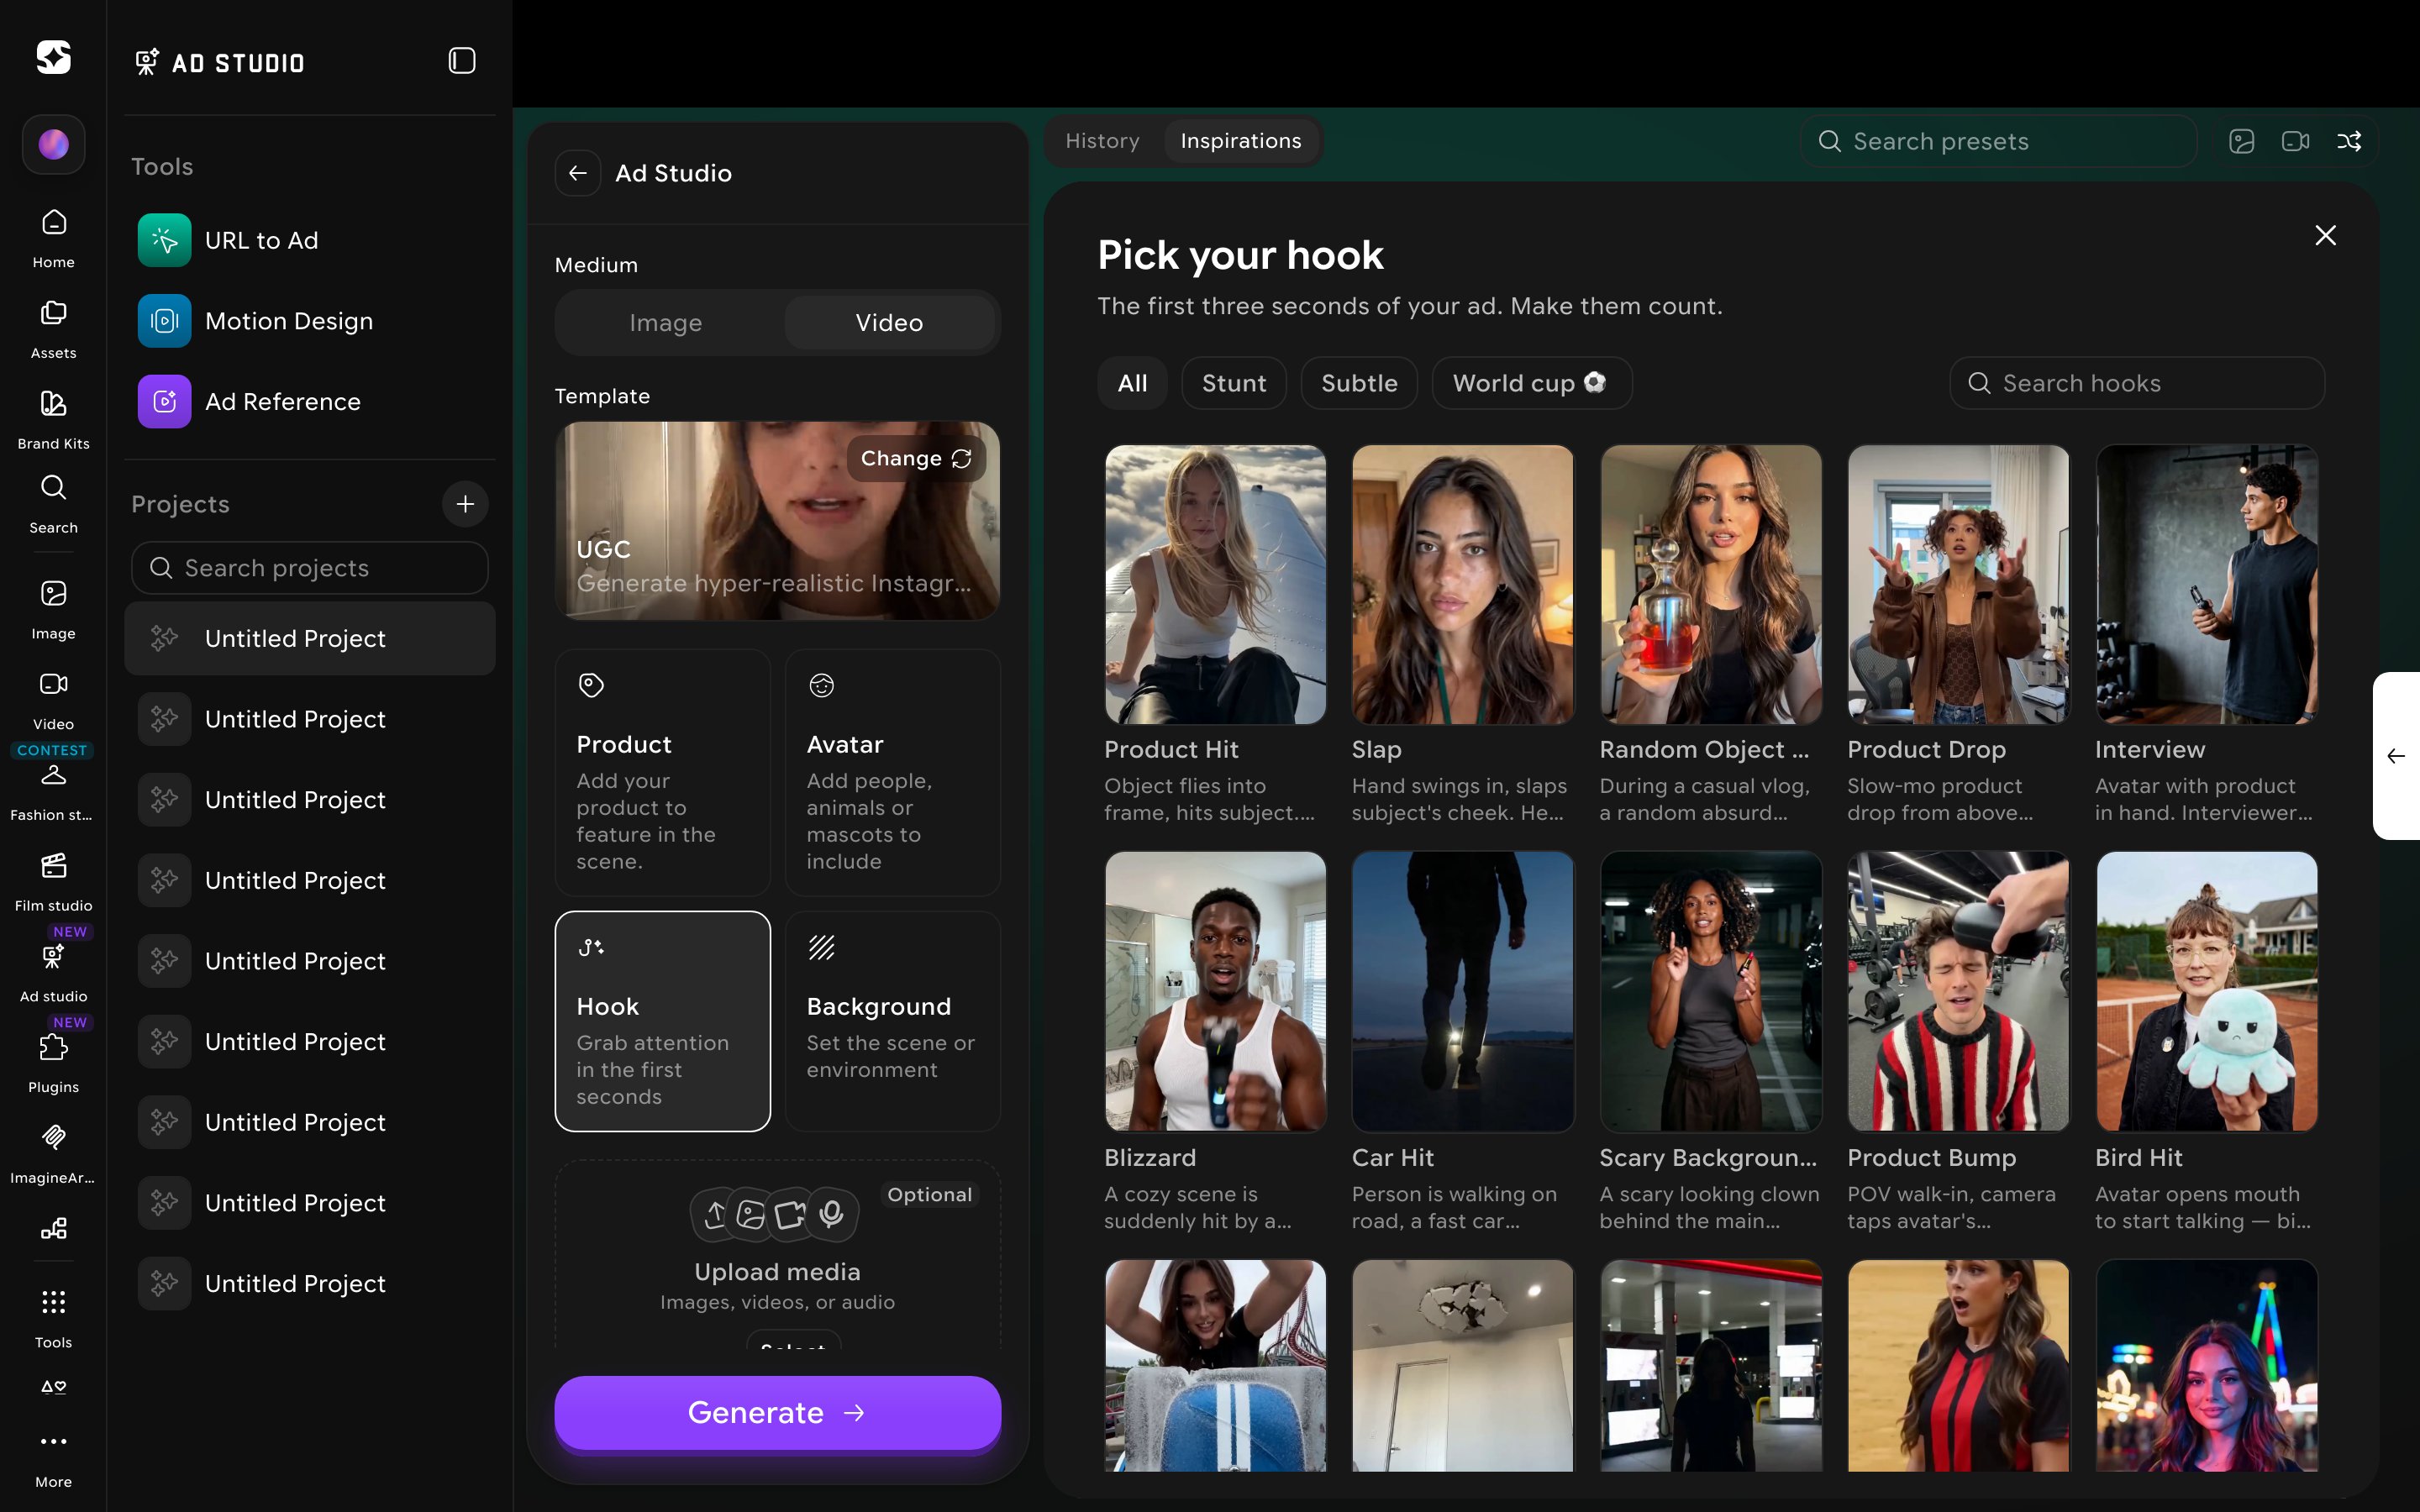
There are roughly 30 hooks in total, split across the Stunt and Subtle tabs — browse the picker itself for the full set, since new ones (like the World Cup tab) get added over time.
6.4 — Setting the scene
Click the Background card to open Set the scene. Settings are filterable by All, Unrealistic, Realistic, and a seasonal World Cup tab, with dozens of named, literal locations rather than broad categories: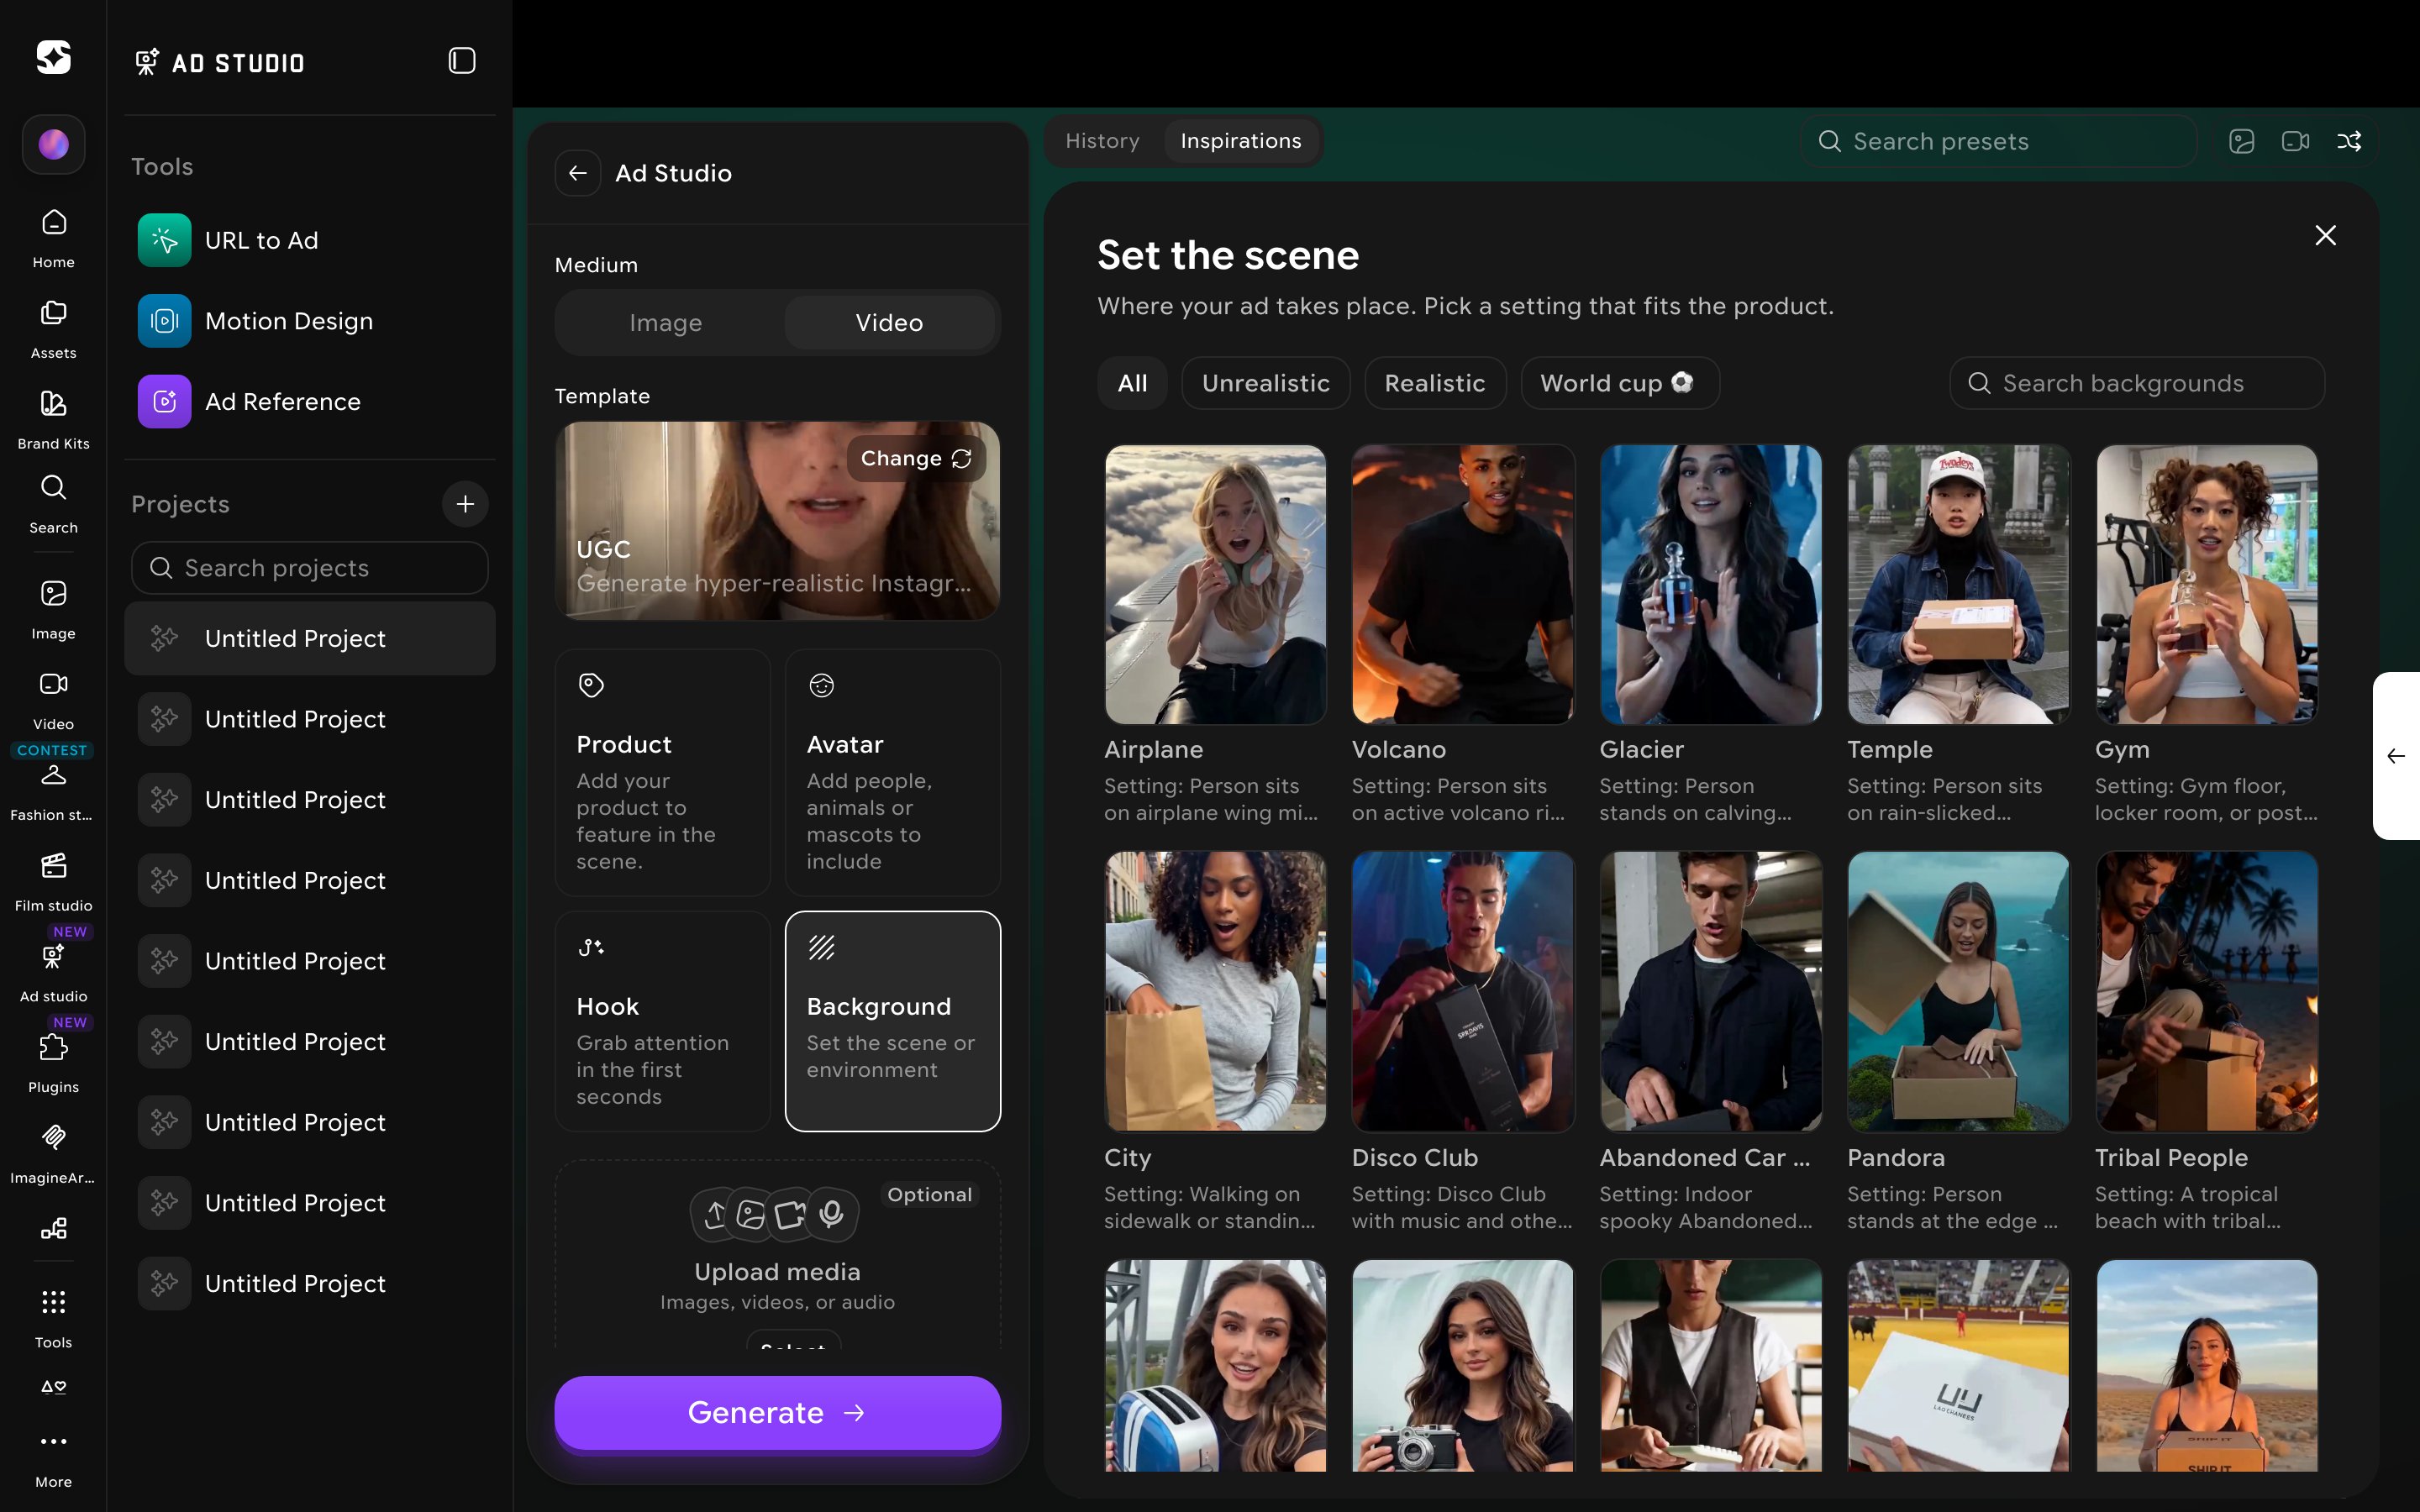
6.5 — Output settings (aspect ratio, quality, duration)
Below the description field, three pills control aspect ratio, quality, and duration.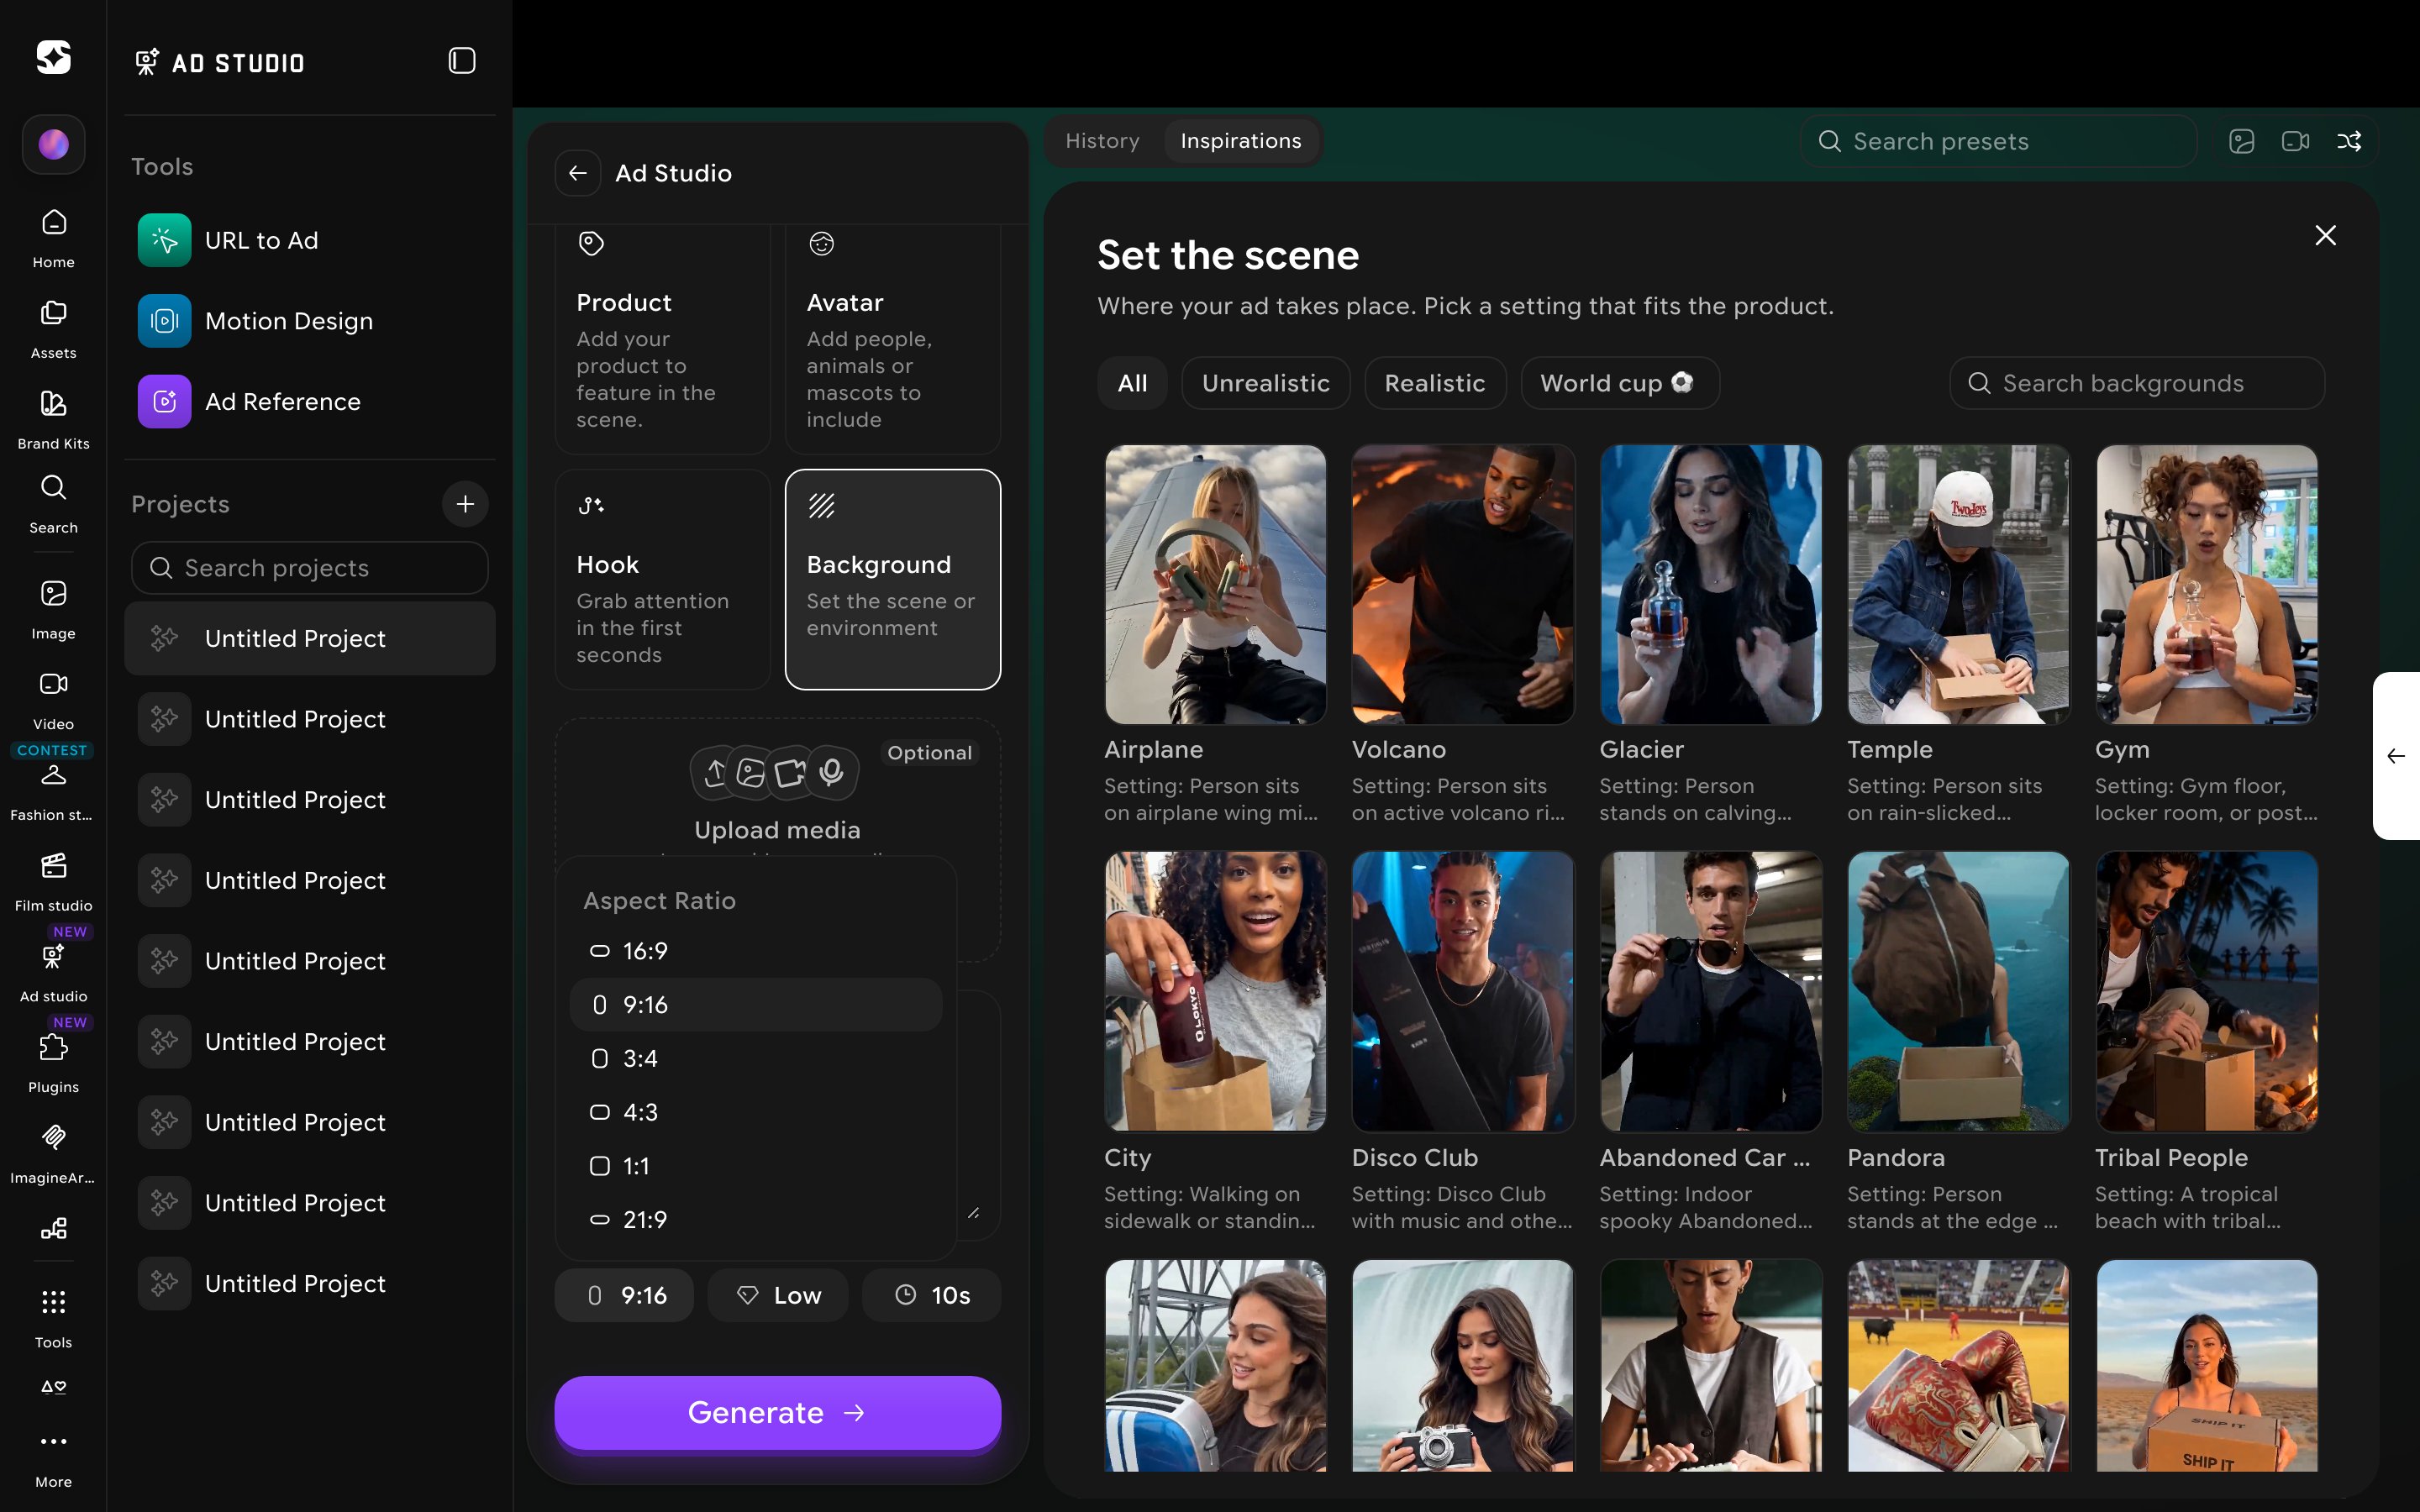
Aspect ratio
16:9, 9:16, 3:4, 4:3, 1:1, 21:9. 9:16 is the default and the dominant ratio for social-first paid media (TikTok, Reels, Shorts); 1:1 is the safest bet when you don’t know exactly where an ad will run; 16:9 and 21:9 suit wide-screen placements.Quality
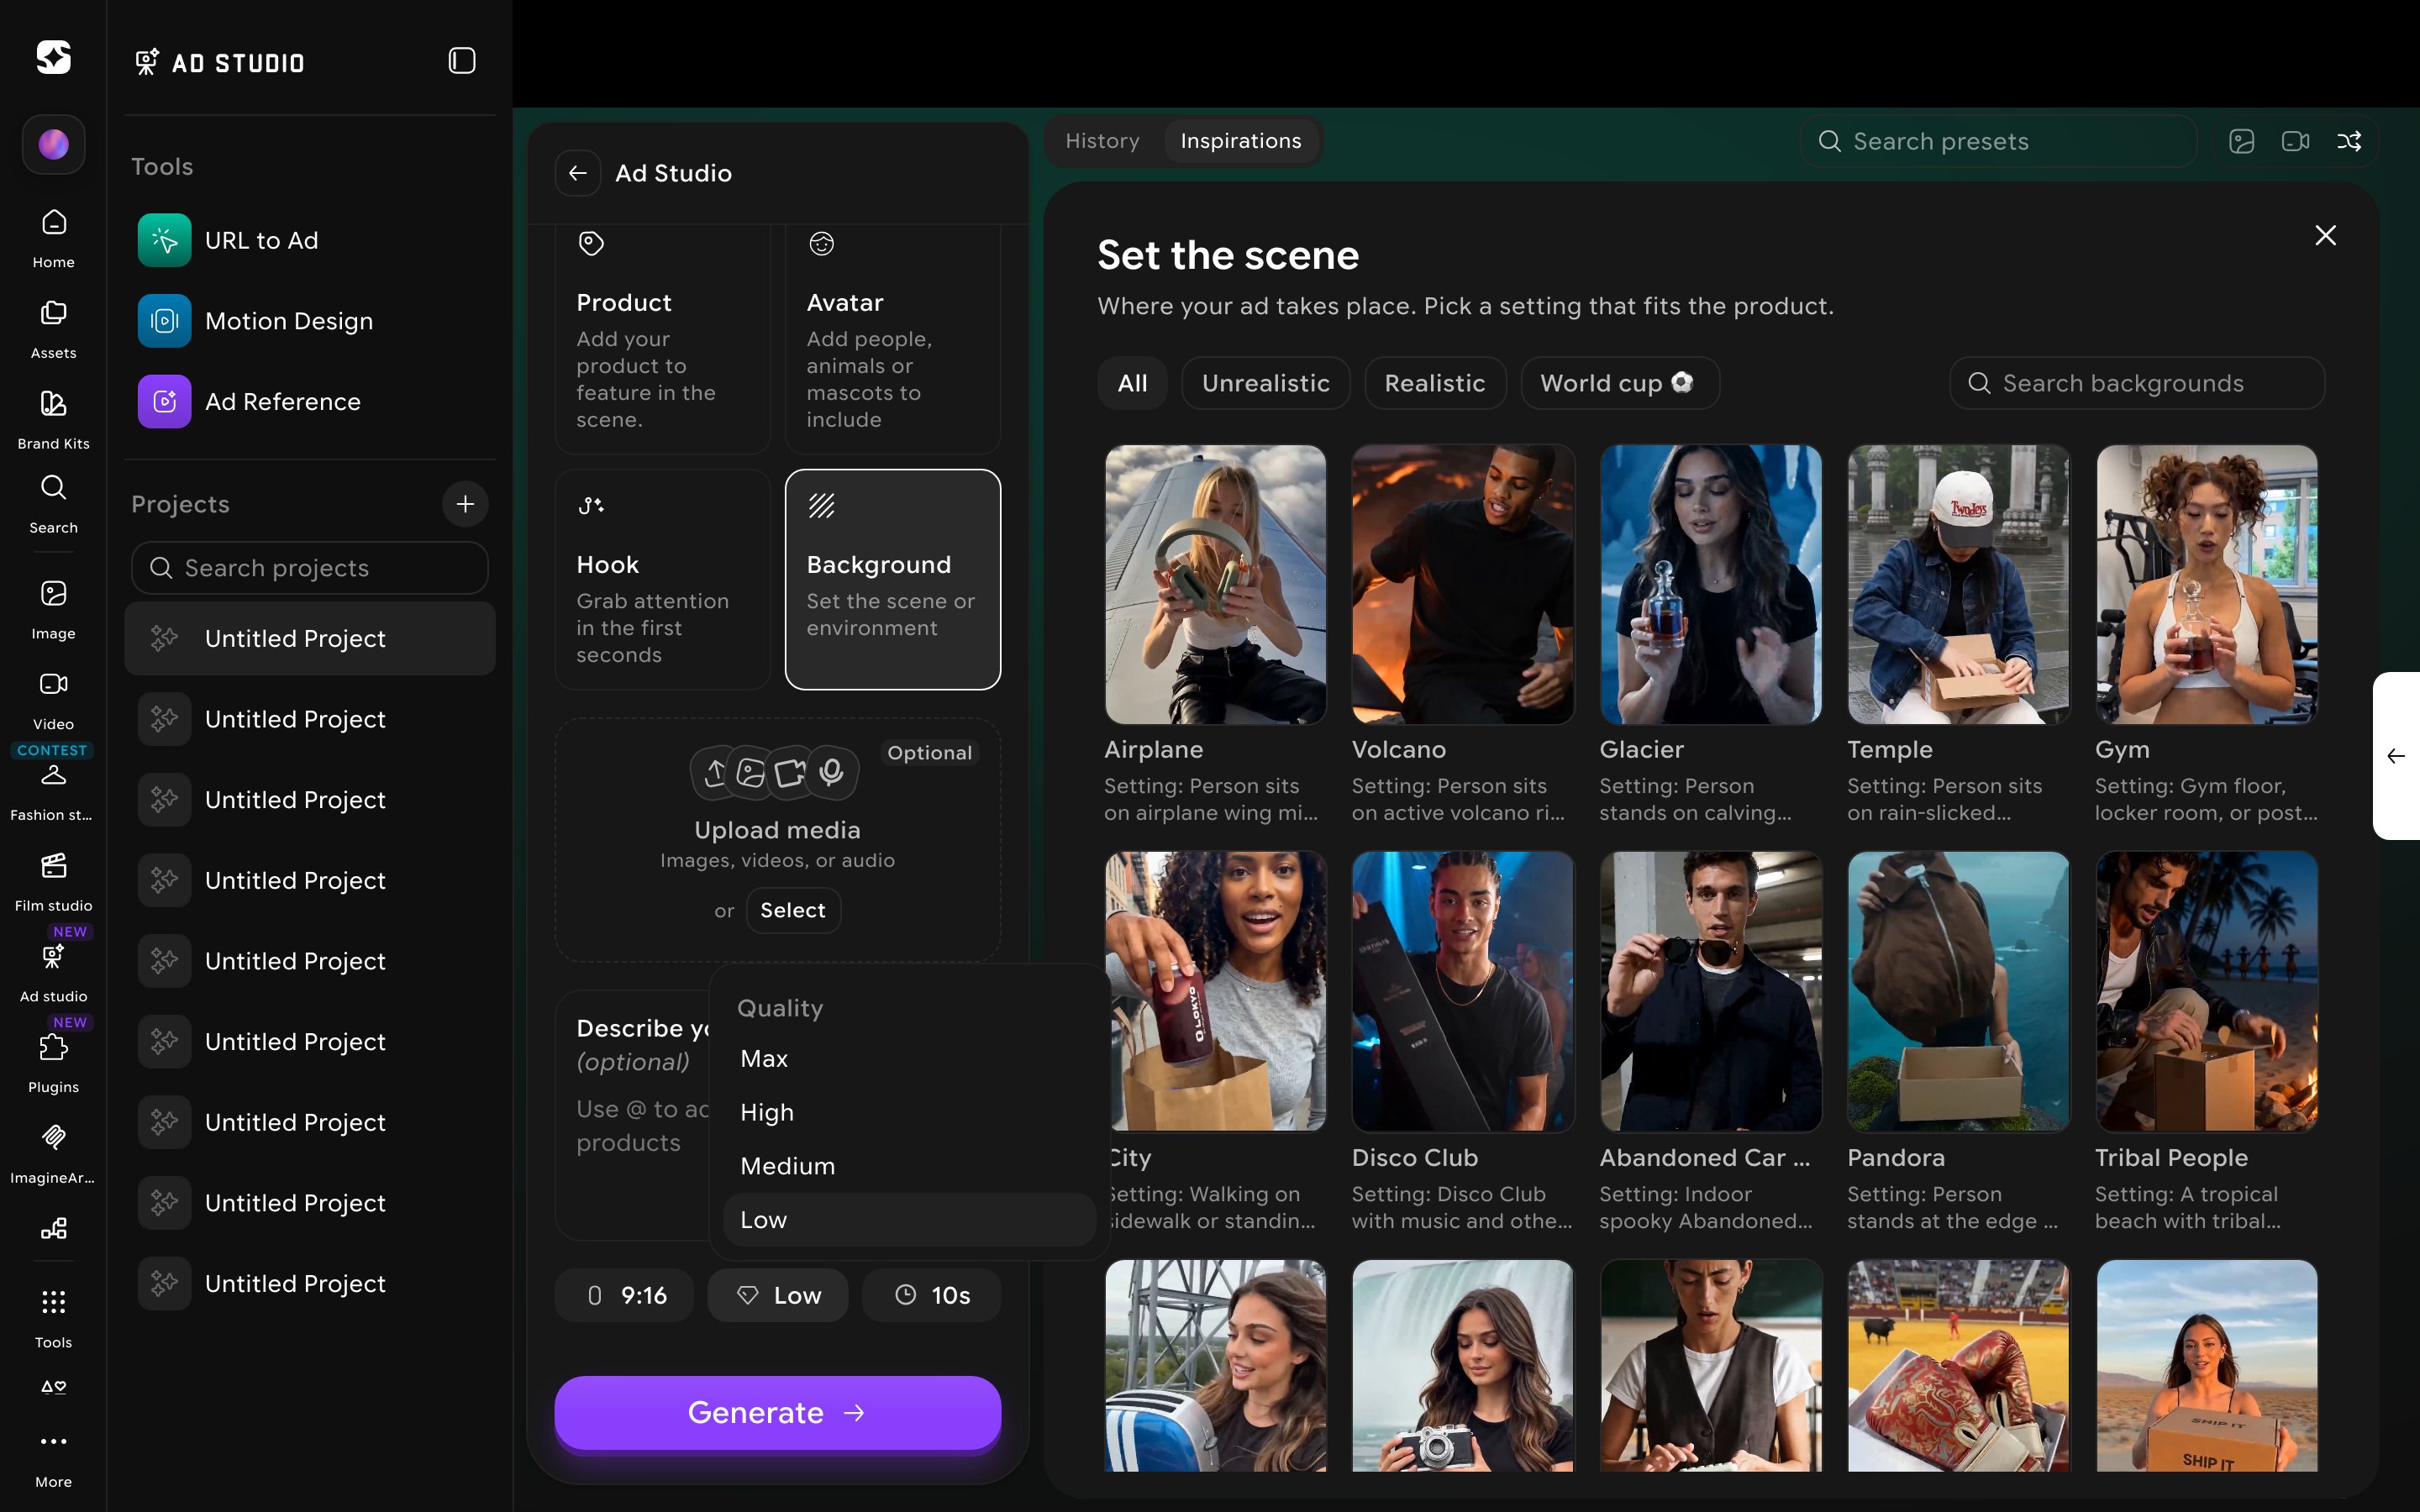
Duration
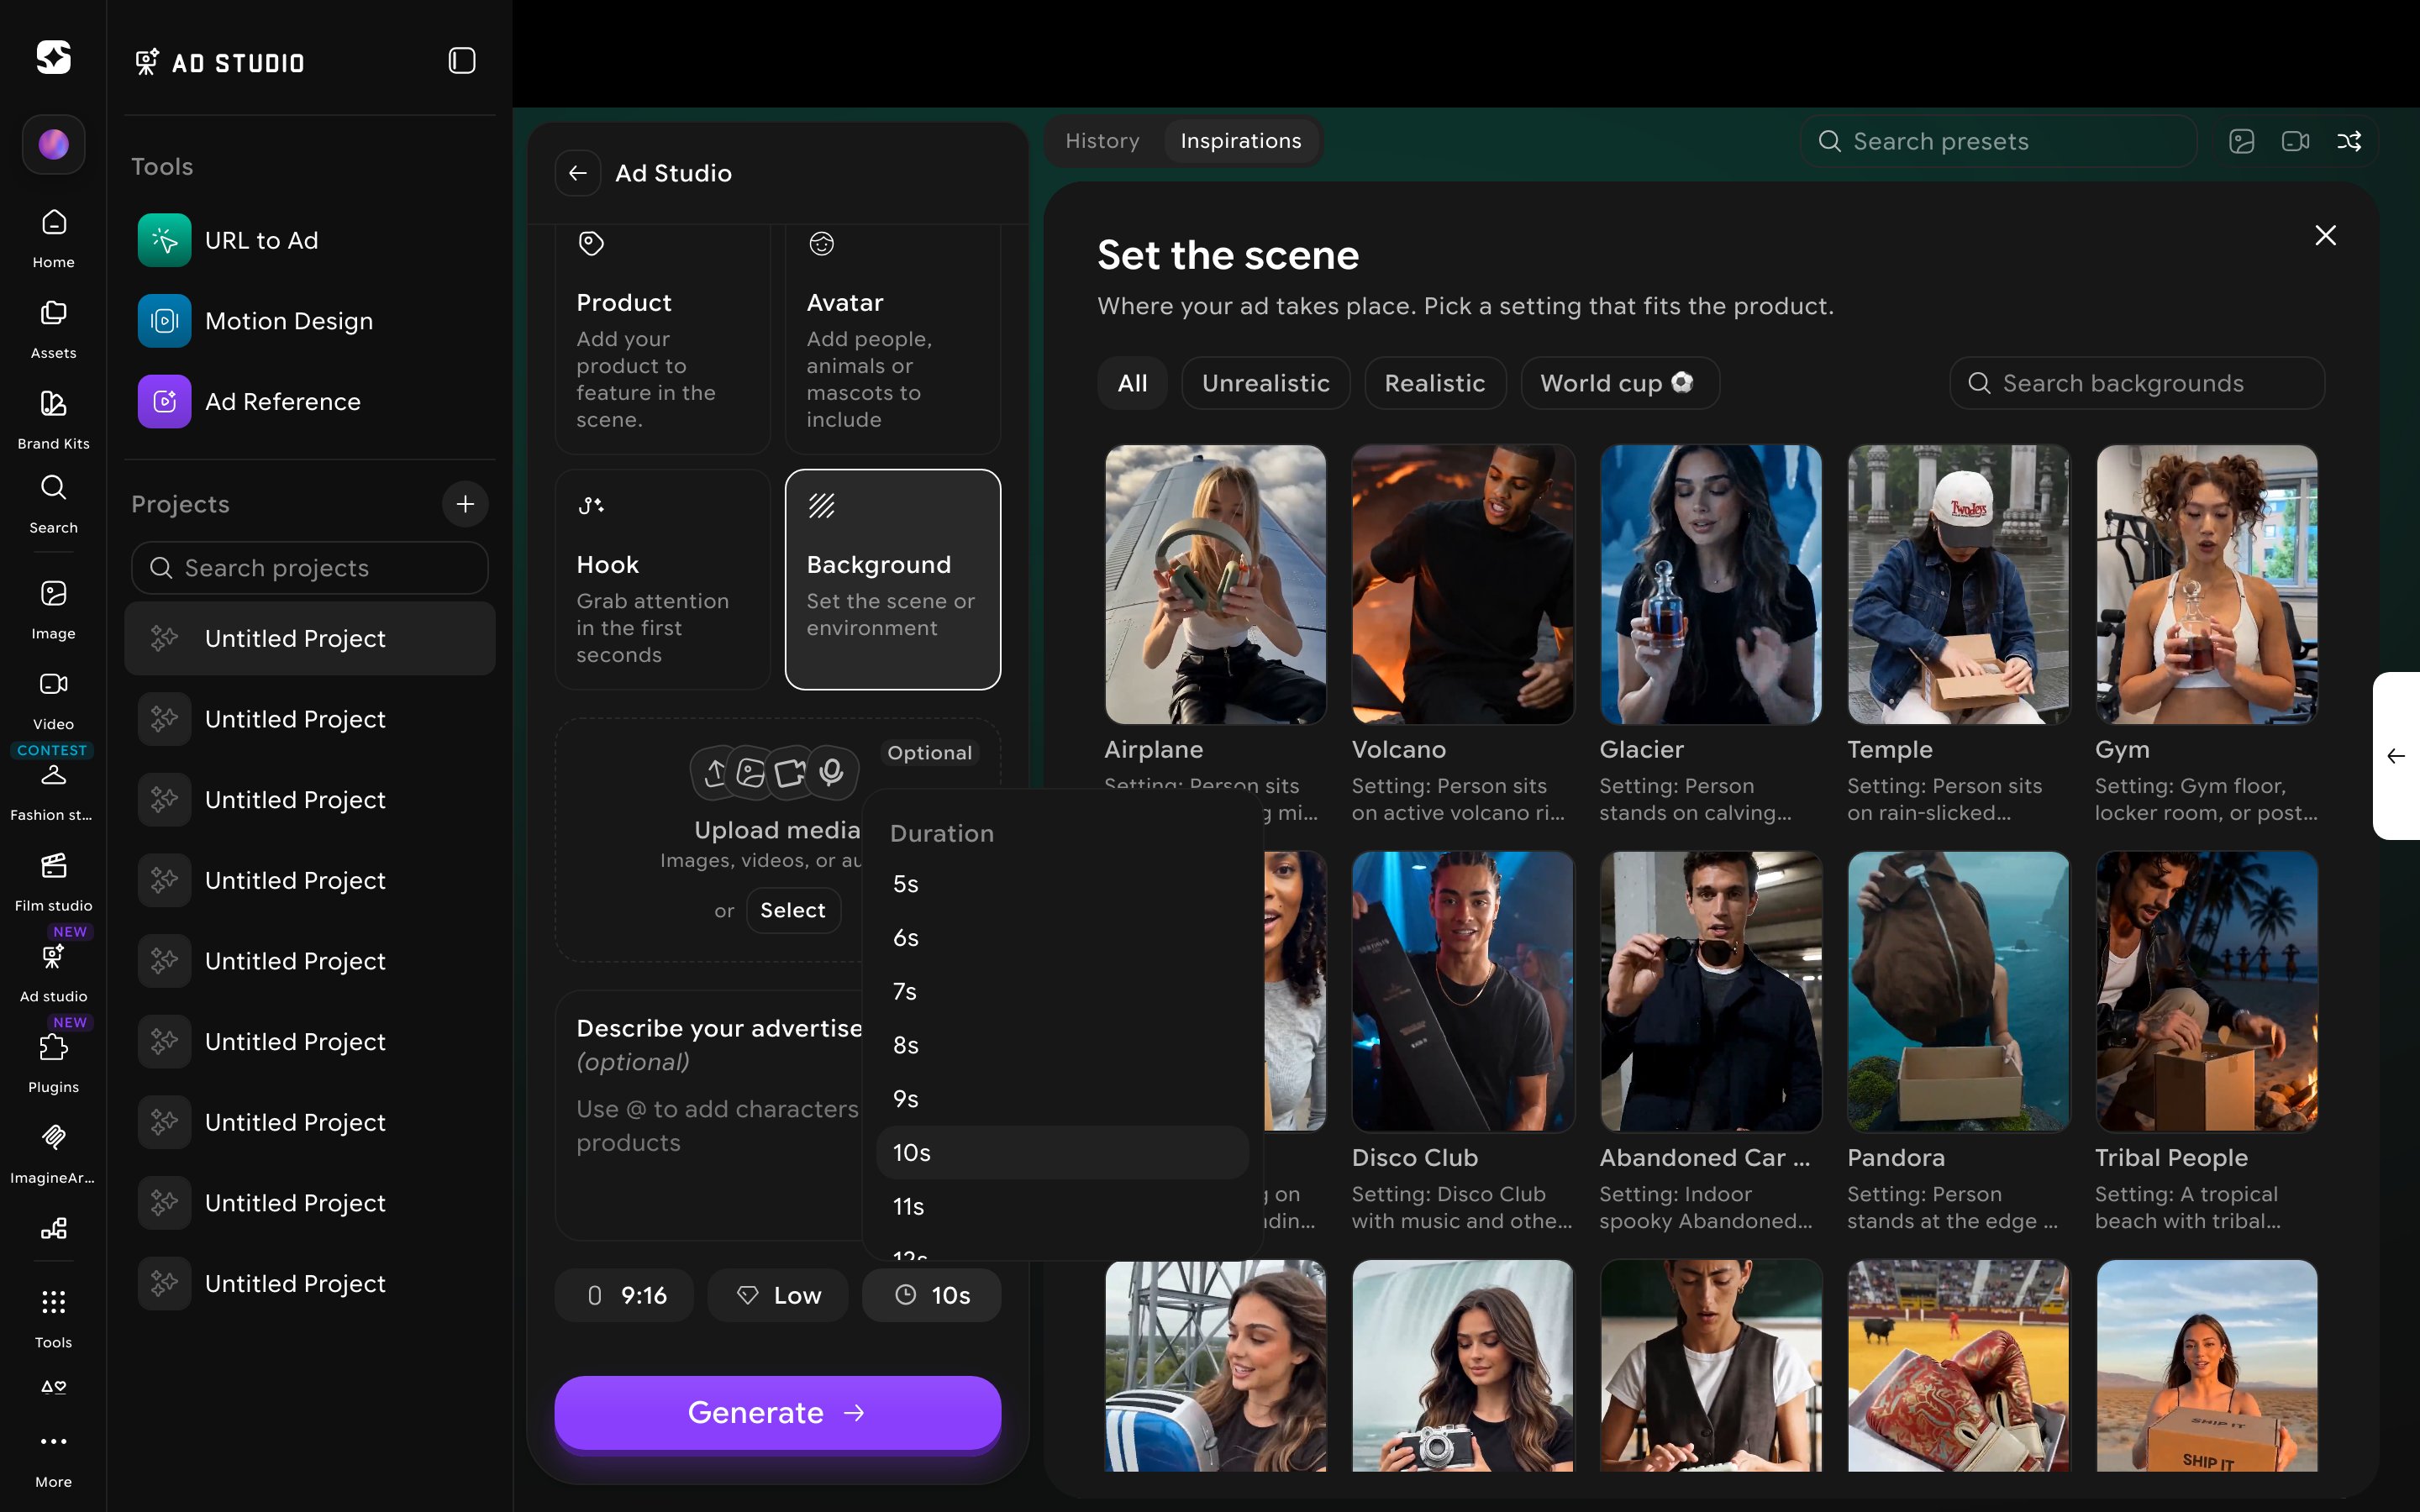
6.6 — Adding products and avatars
The Product and Avatar cards are where you load in the two assets that make an ad recognizably yours.Adding a product
Click Product to open a picker with a real preset library — roughly 55 items across 10 categories (Streetwear, Fashion, Wellness, Skincare, Accessories, Home, Sports, Beverages, Tech, Menswear) — plus a Saved tab for anything you’ve added yourself.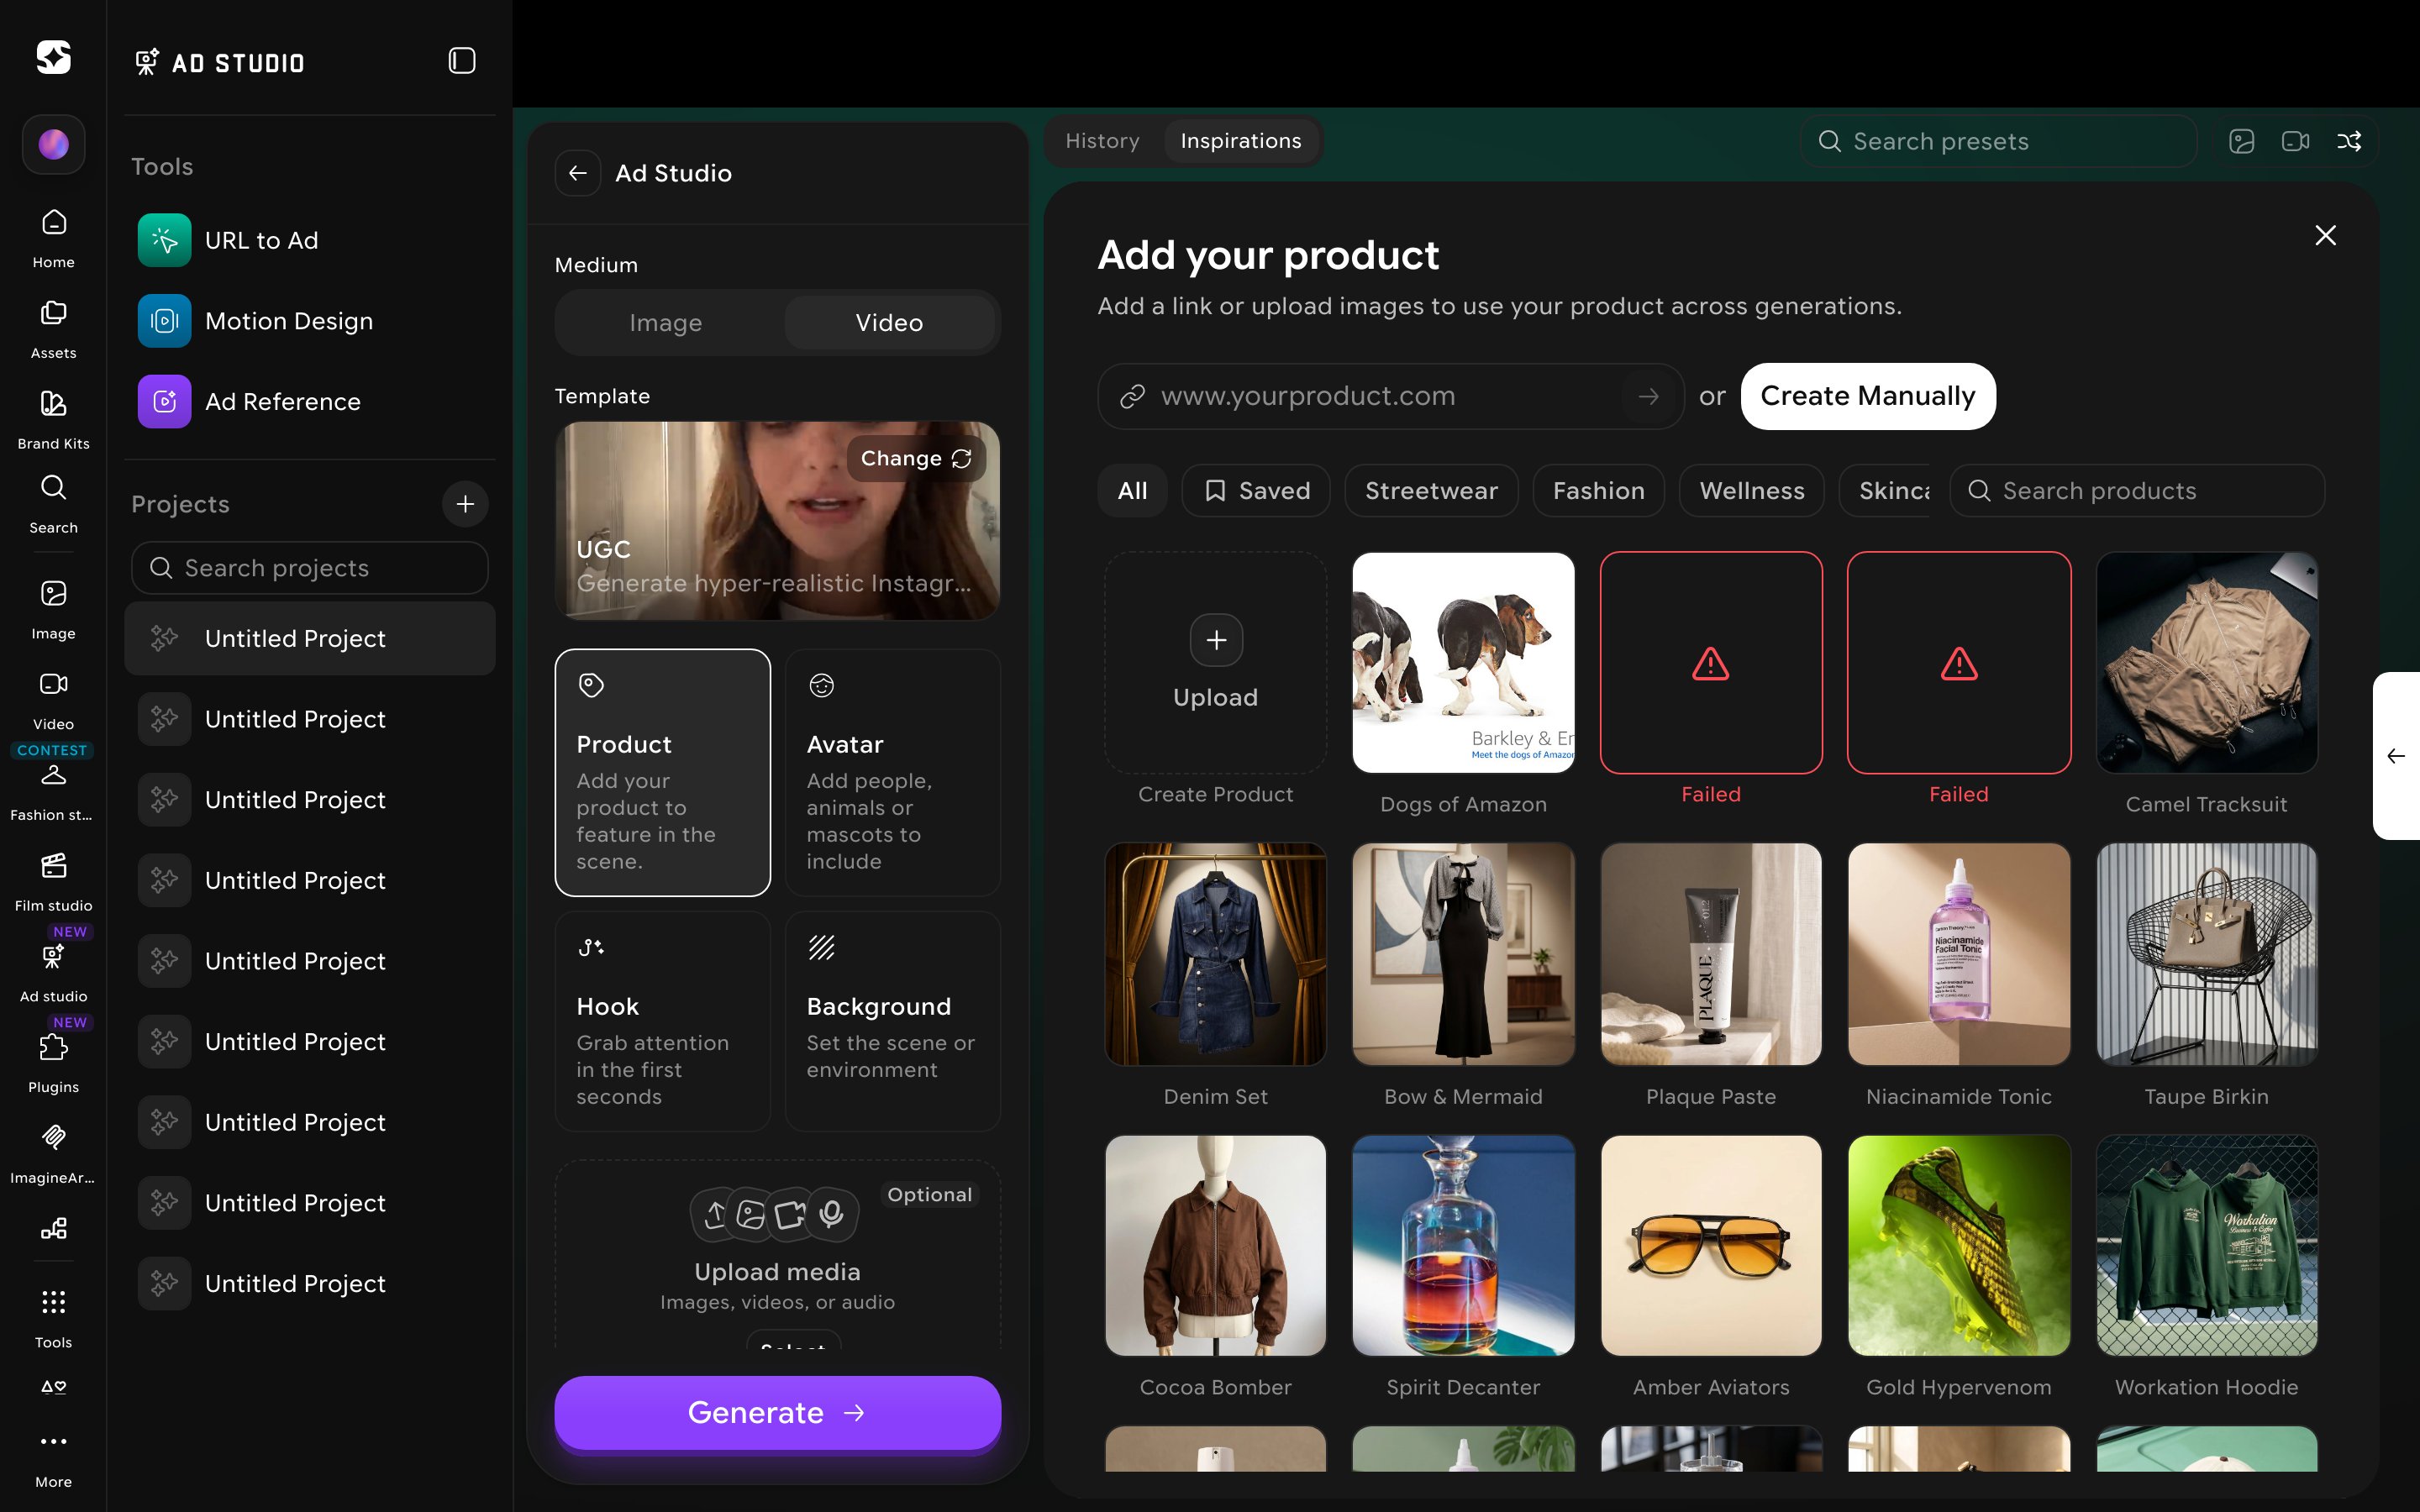
- Paste a product URL to scrape a live product page.
- Create Manually — upload up to 9 images (JPG/PNG/WEBP, ≤25MB), give it a Name (used for @-mentions), and optionally add Additional Instructions. A single image is enough; multiple angles aren’t required, though they help.
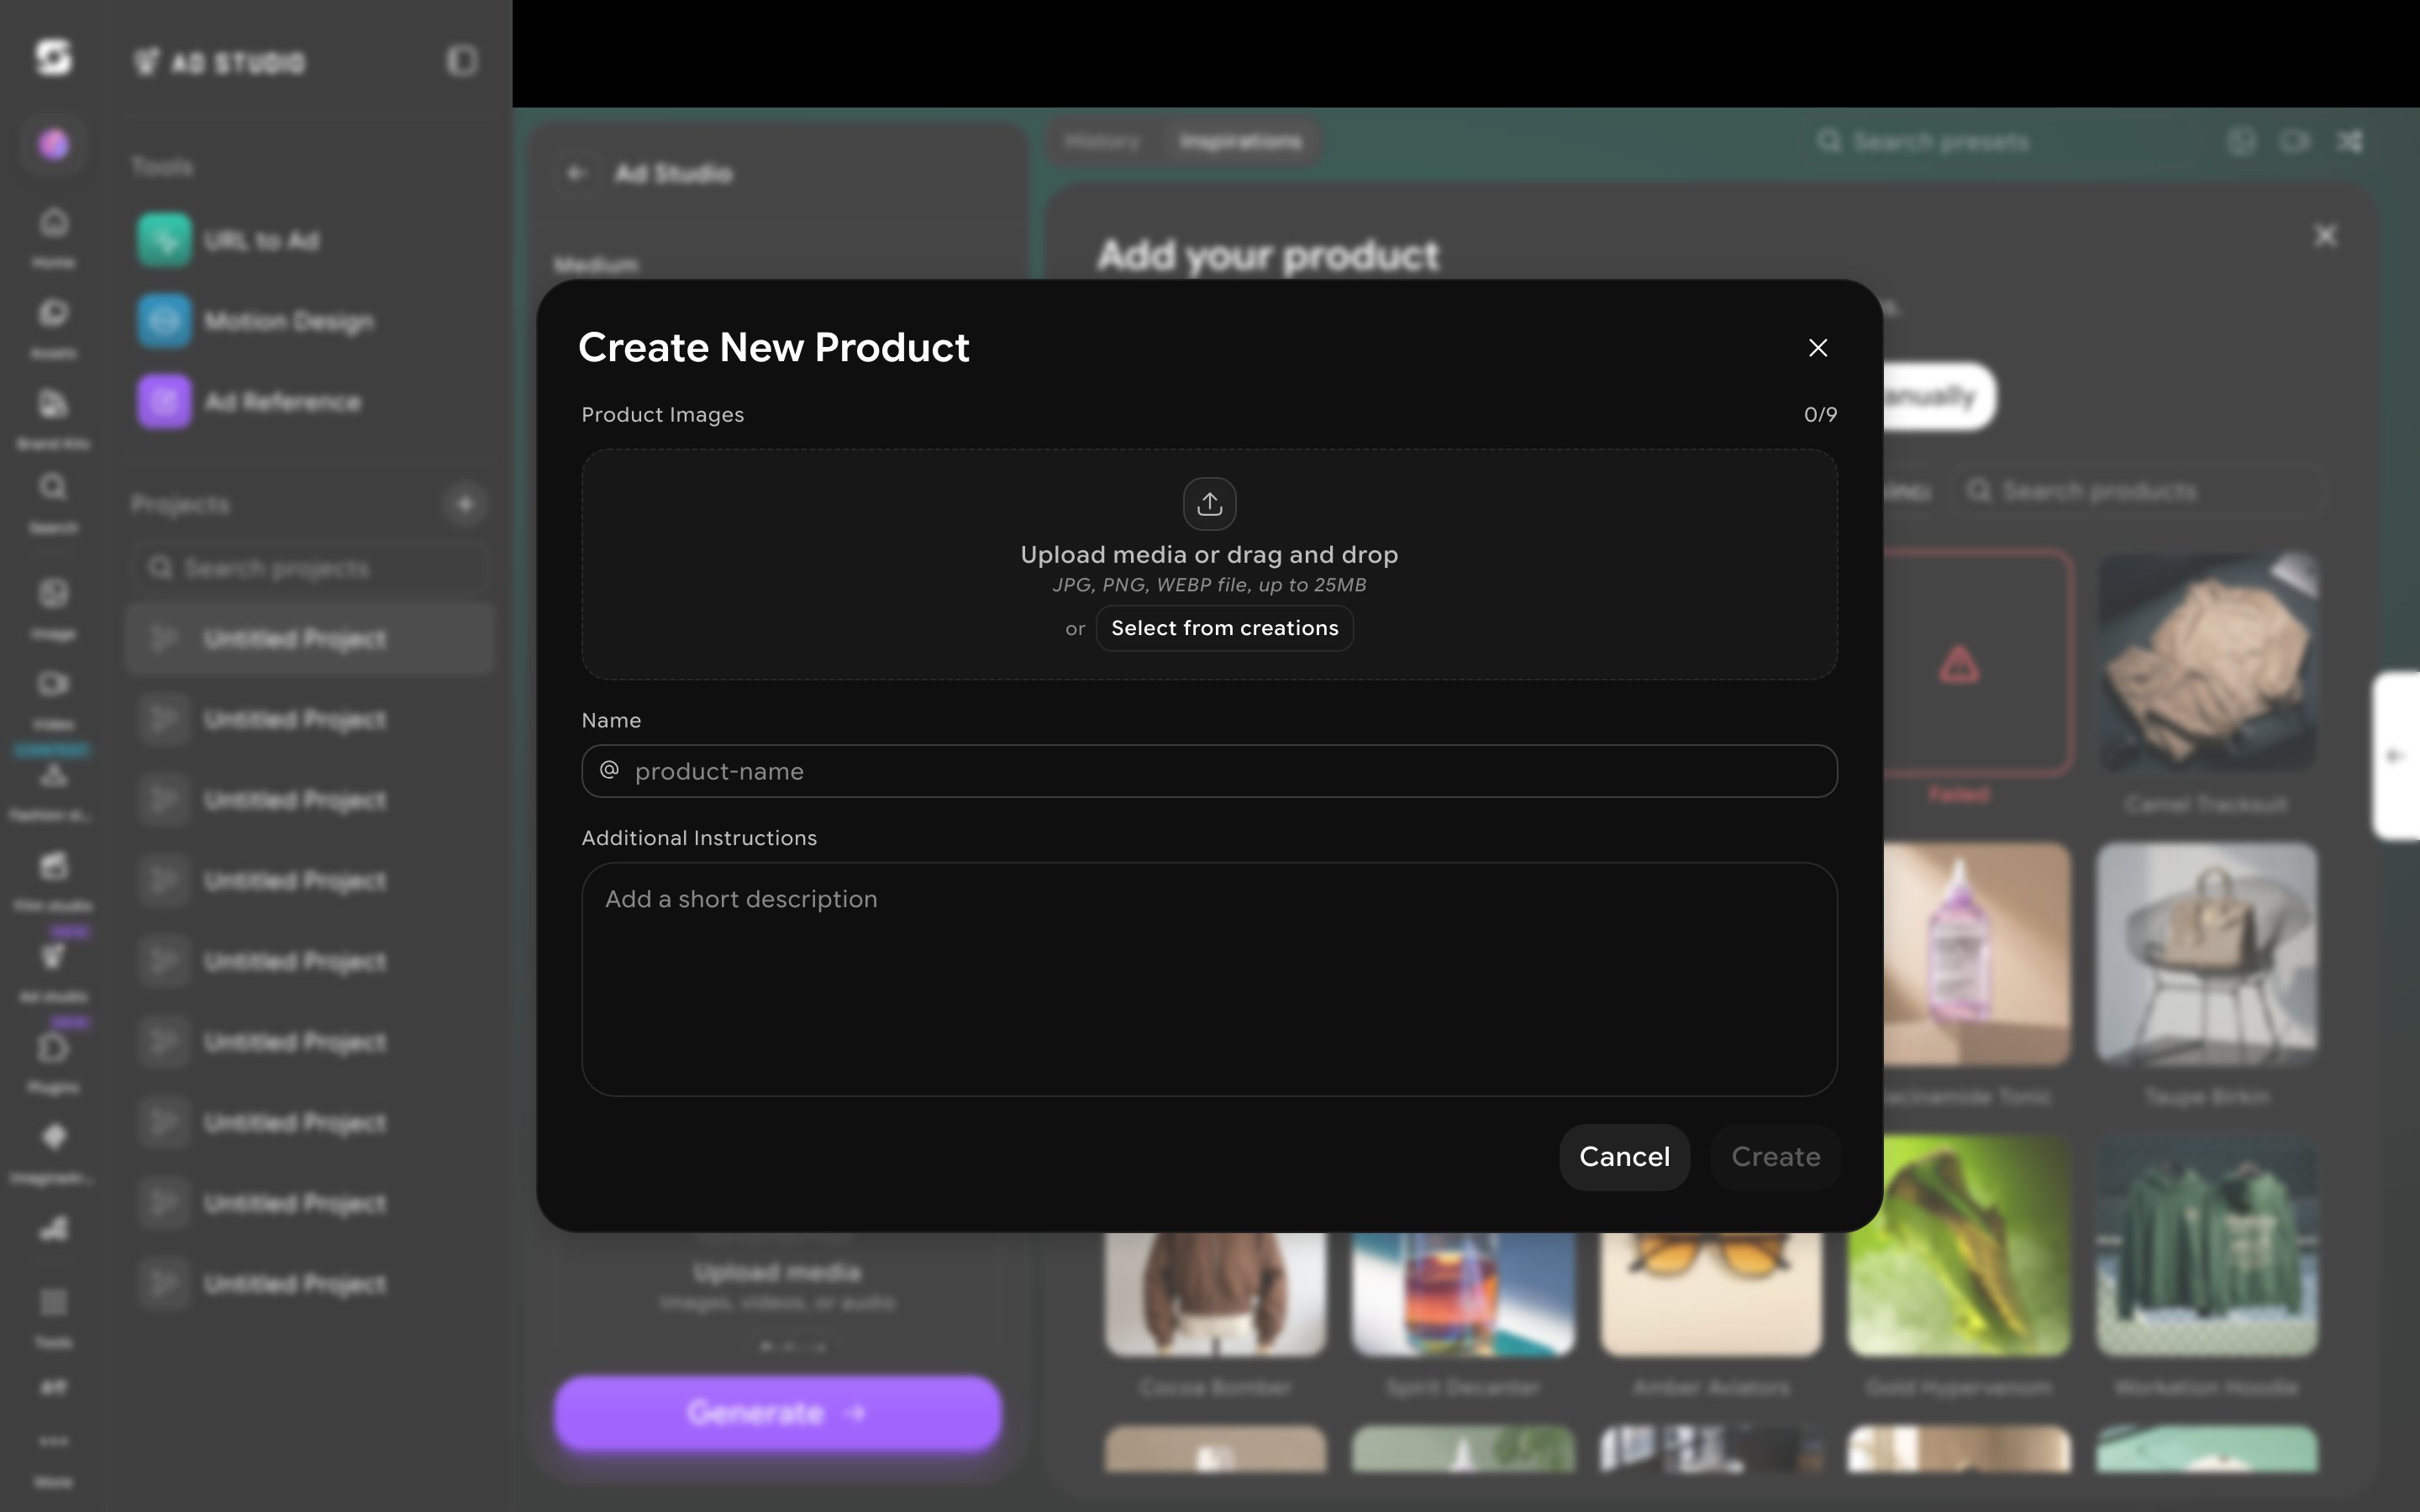
Adding an avatar
Click Avatar to open a similar picker — roughly 50 named preset avatars across 8 categories (including a seasonal World Cup category), plus Saved.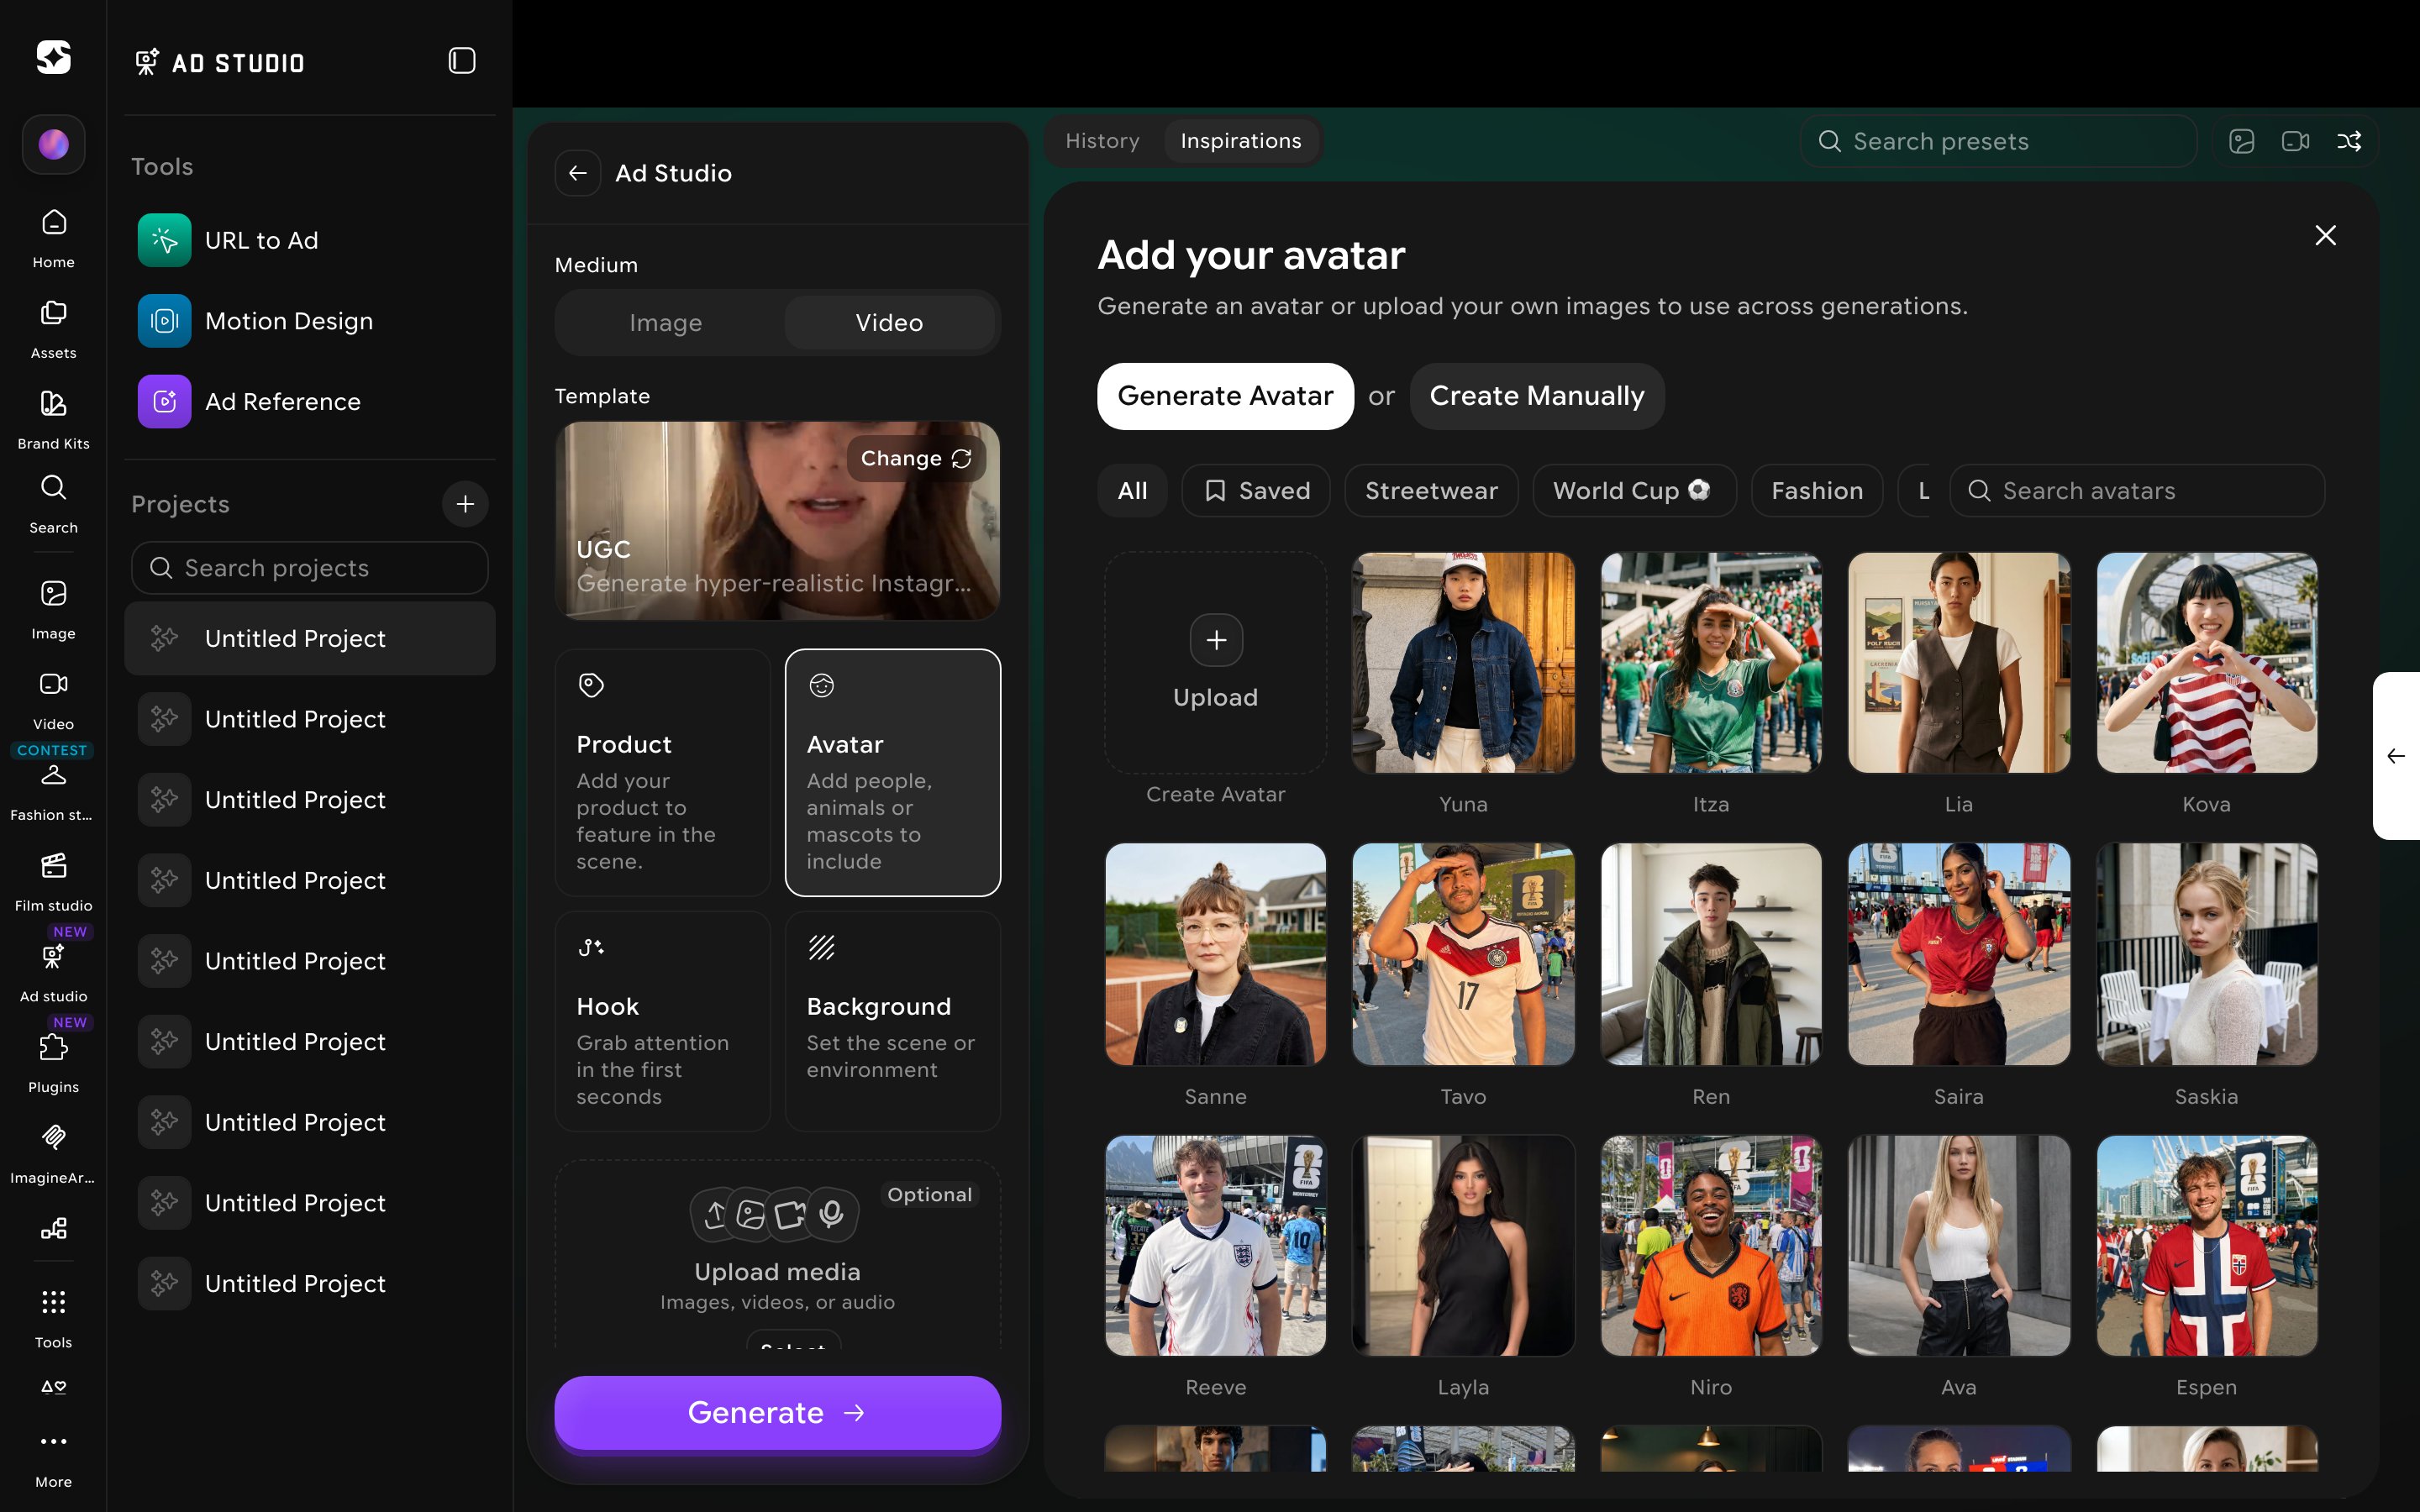
- Generate Avatar — a single free-text description field (no gender/ethnicity/age filters), which generates 4 options to choose from.
- Create Manually — upload up to 10 photos (JPG/PNG/WEBP, ≤25MB) or select from your past creations, give it a Name, pick Male or Female, and optionally add Additional Instructions.
Attaching a voiceover or music reference
Below the Product/Avatar/Hook/Background cards, an optional Upload media row (images, videos, or audio) opens Add References — filterable by All, Image, Video, and Audio, accepting JPG/PNG/WEBP/MP4/WEBM/MP3/WAV/OGG up to 30MB. This is how you attach a real voiceover or music track as a reference for the generation, separate from the Product and Avatar cards.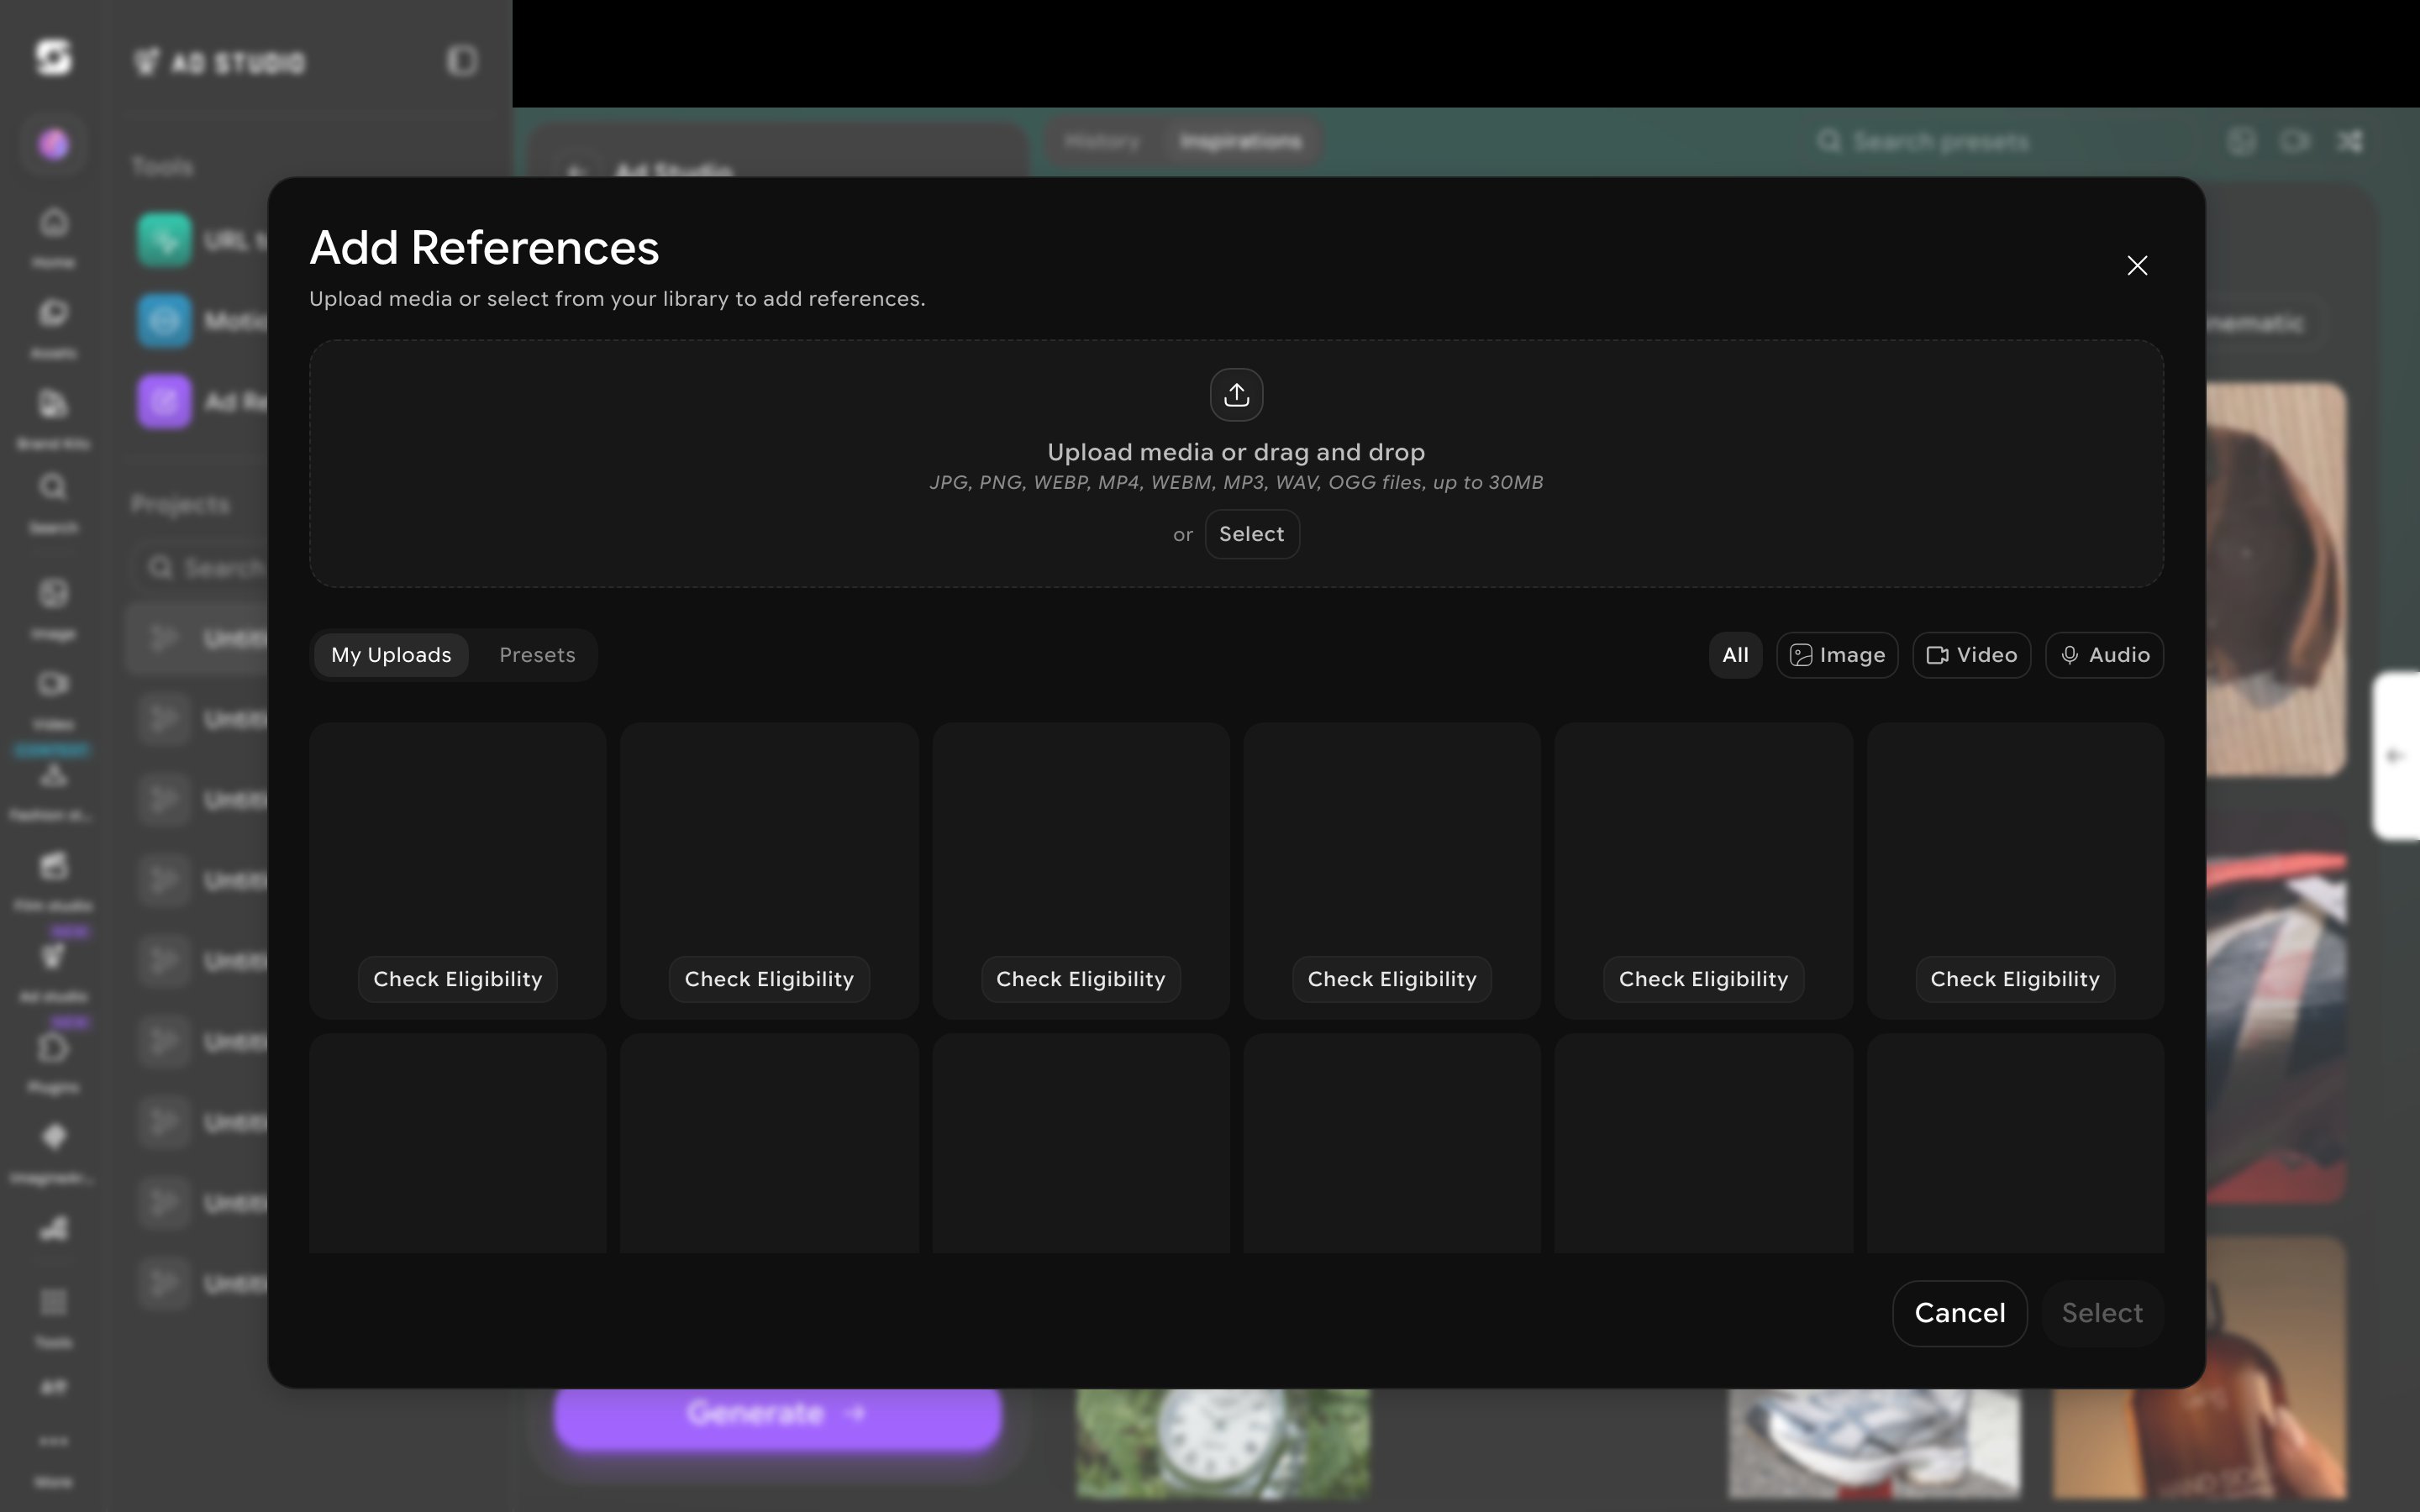
There’s no built-in captions or subtitles toggle — several format templates explicitly instruct the model to avoid on-screen text overlays. If your platform needs captions, add them afterward with another tool rather than expecting Ad Studio to burn them in.
Casting your avatar
Pick the avatar that matches your target customer — not the one that looks the most attractive. A 35-year-old skincare brand doesn’t sell better with a 20-year-old face; it sells better with a 35-year-old face. Your audience needs to see themselves in the ad, not aspire to be someone else.Once you find an avatar that performs, reuse it across the entire campaign. Consistency builds recognition; recognition builds trust; trust drives clicks. The same avatar across 10 ads is far more powerful than 10 different avatars across 10 ads.