

The four core actions
Across the top of the left panel you will see four tabs. These are the four things you can do in Film Studio, and the rest of this guide is organized around them:01 · Image
Generate or upload still images, with full cinematographic controls.When: Designing a frame, building a storyboard, or producing key art.
02 · Create Video
Generate a video from prompts — single shot, or multi-shot up to 15 seconds.When: You want to produce new motion footage from scratch.
03 · Edit Video
Take an existing video and re-direct it with a prompt — change the look, the genre, or the motion.When: You have footage that is close but not quite right.
04 · Extend
Take an existing video and continue it forward — new frames that follow on naturally.When: You have a clip and want a longer version of it.
The three workspace areas
Control panel (left)
Set up your shot — prompt, references, camera, lens, aspect, resolution. Hit Generate.
Canvas (center)
Your viewer. Generated images & videos appear here. Zoom, compare versions, inspect detail.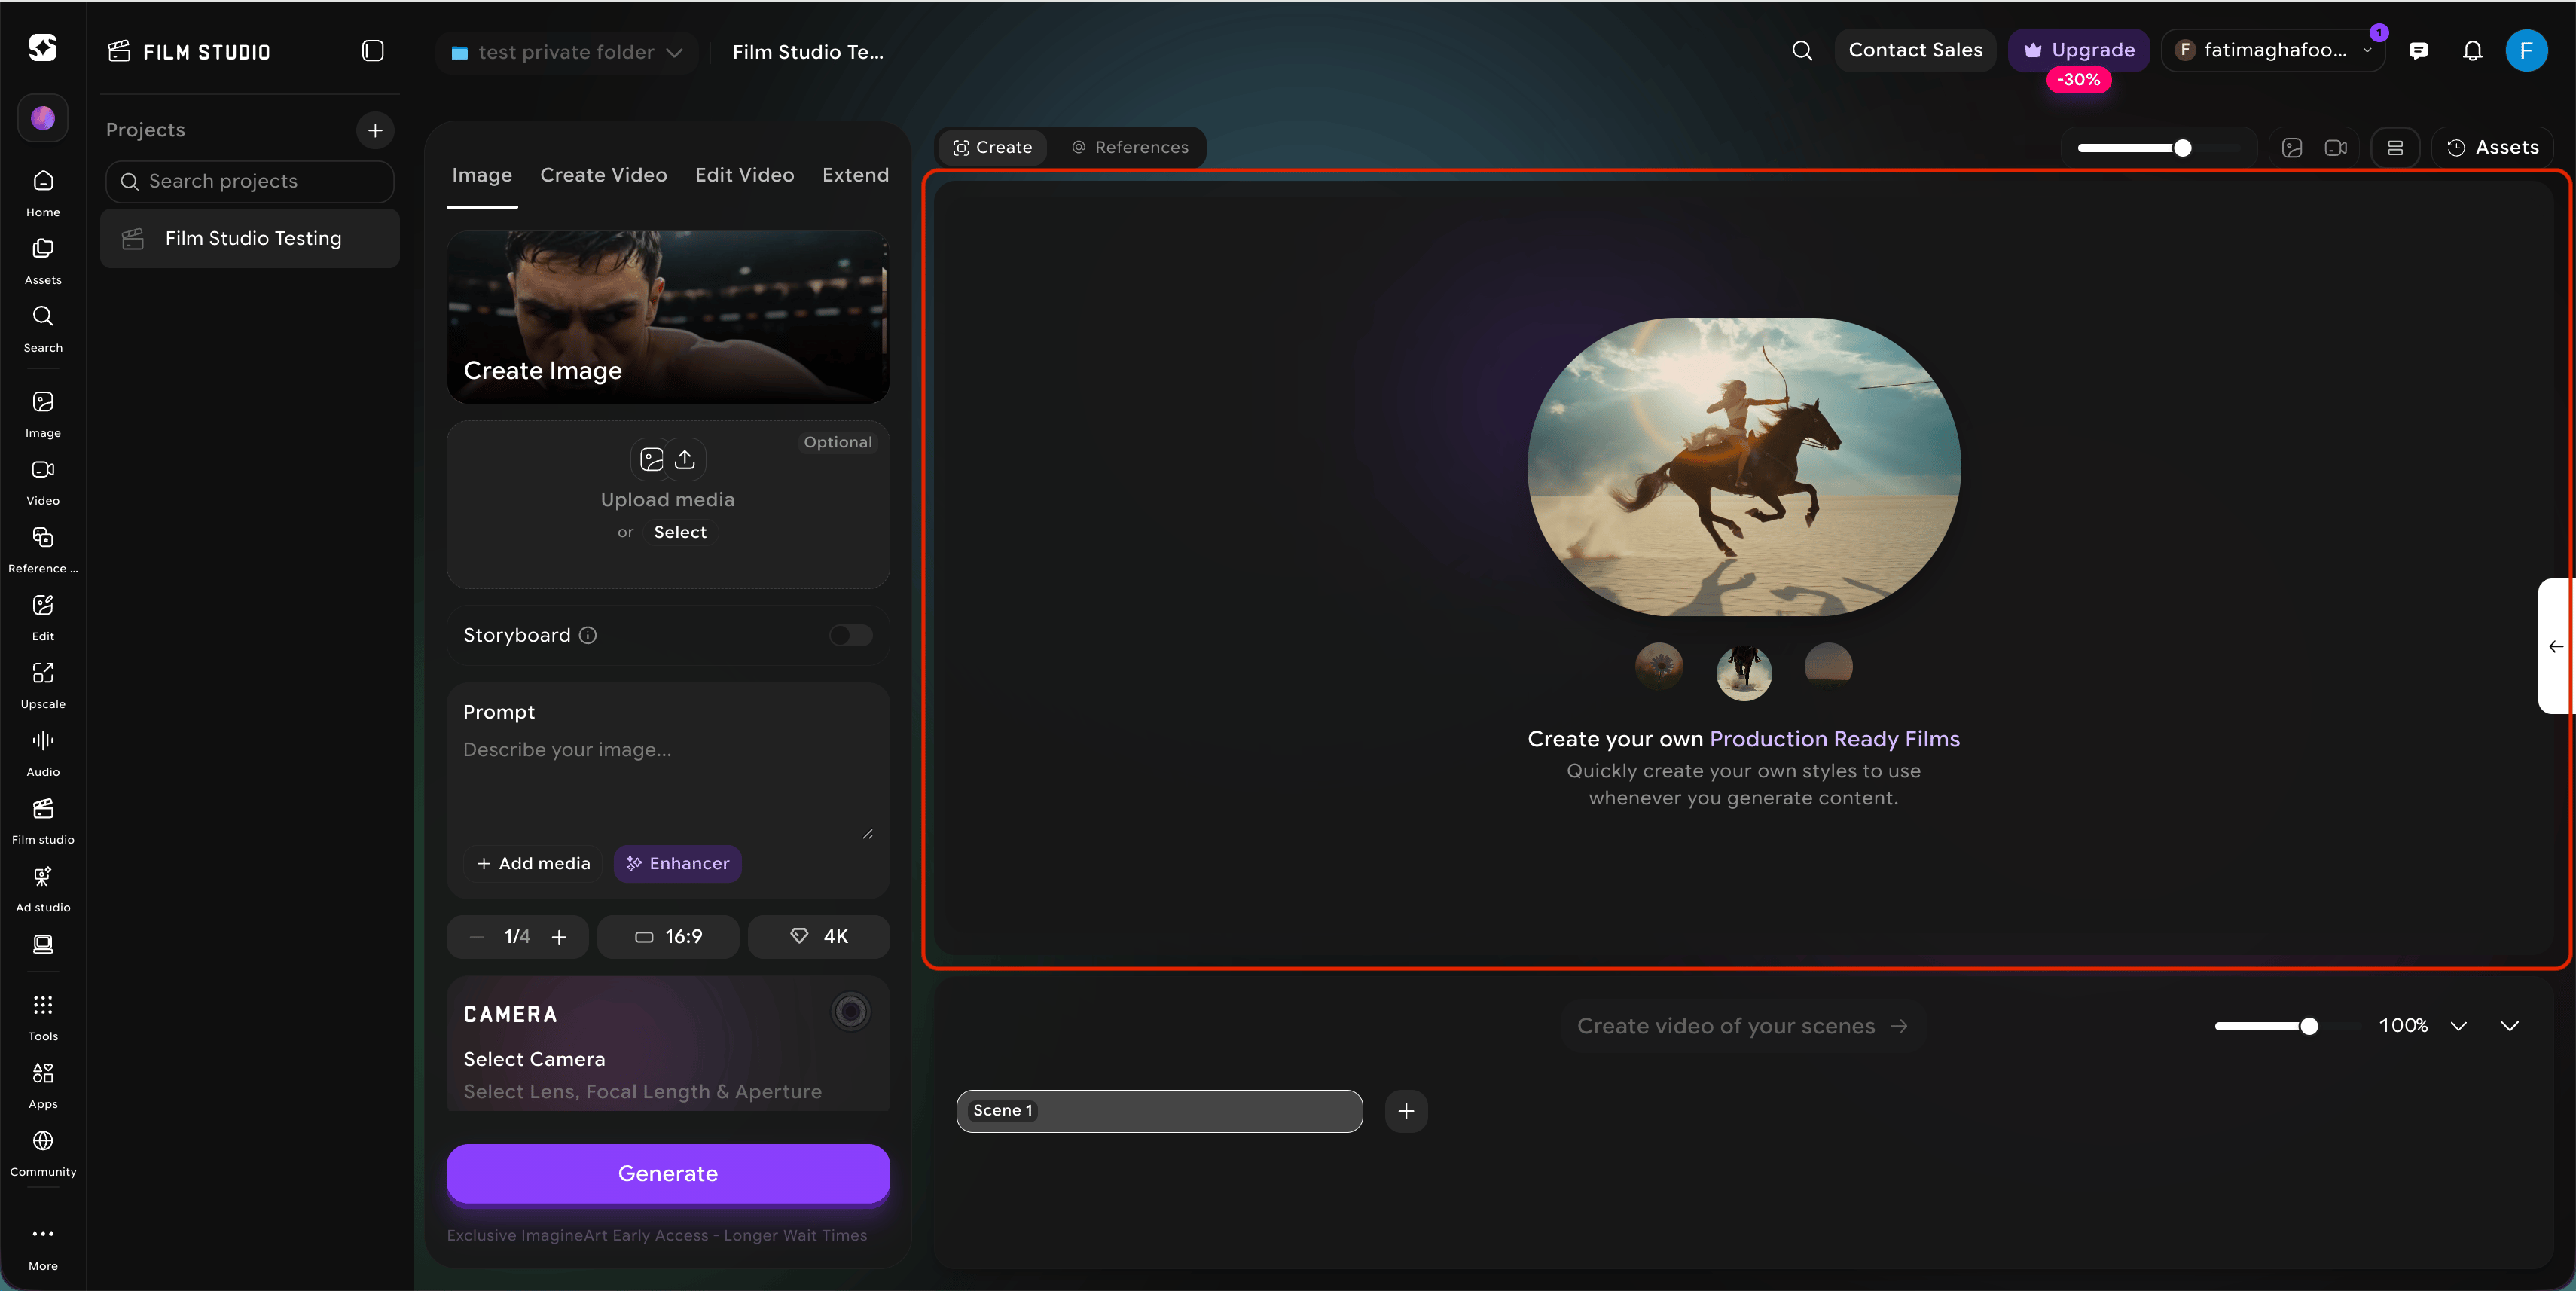
Scene timeline (bottom)
Where multi-shot work lives. Add, rename, reorder, and time your shots.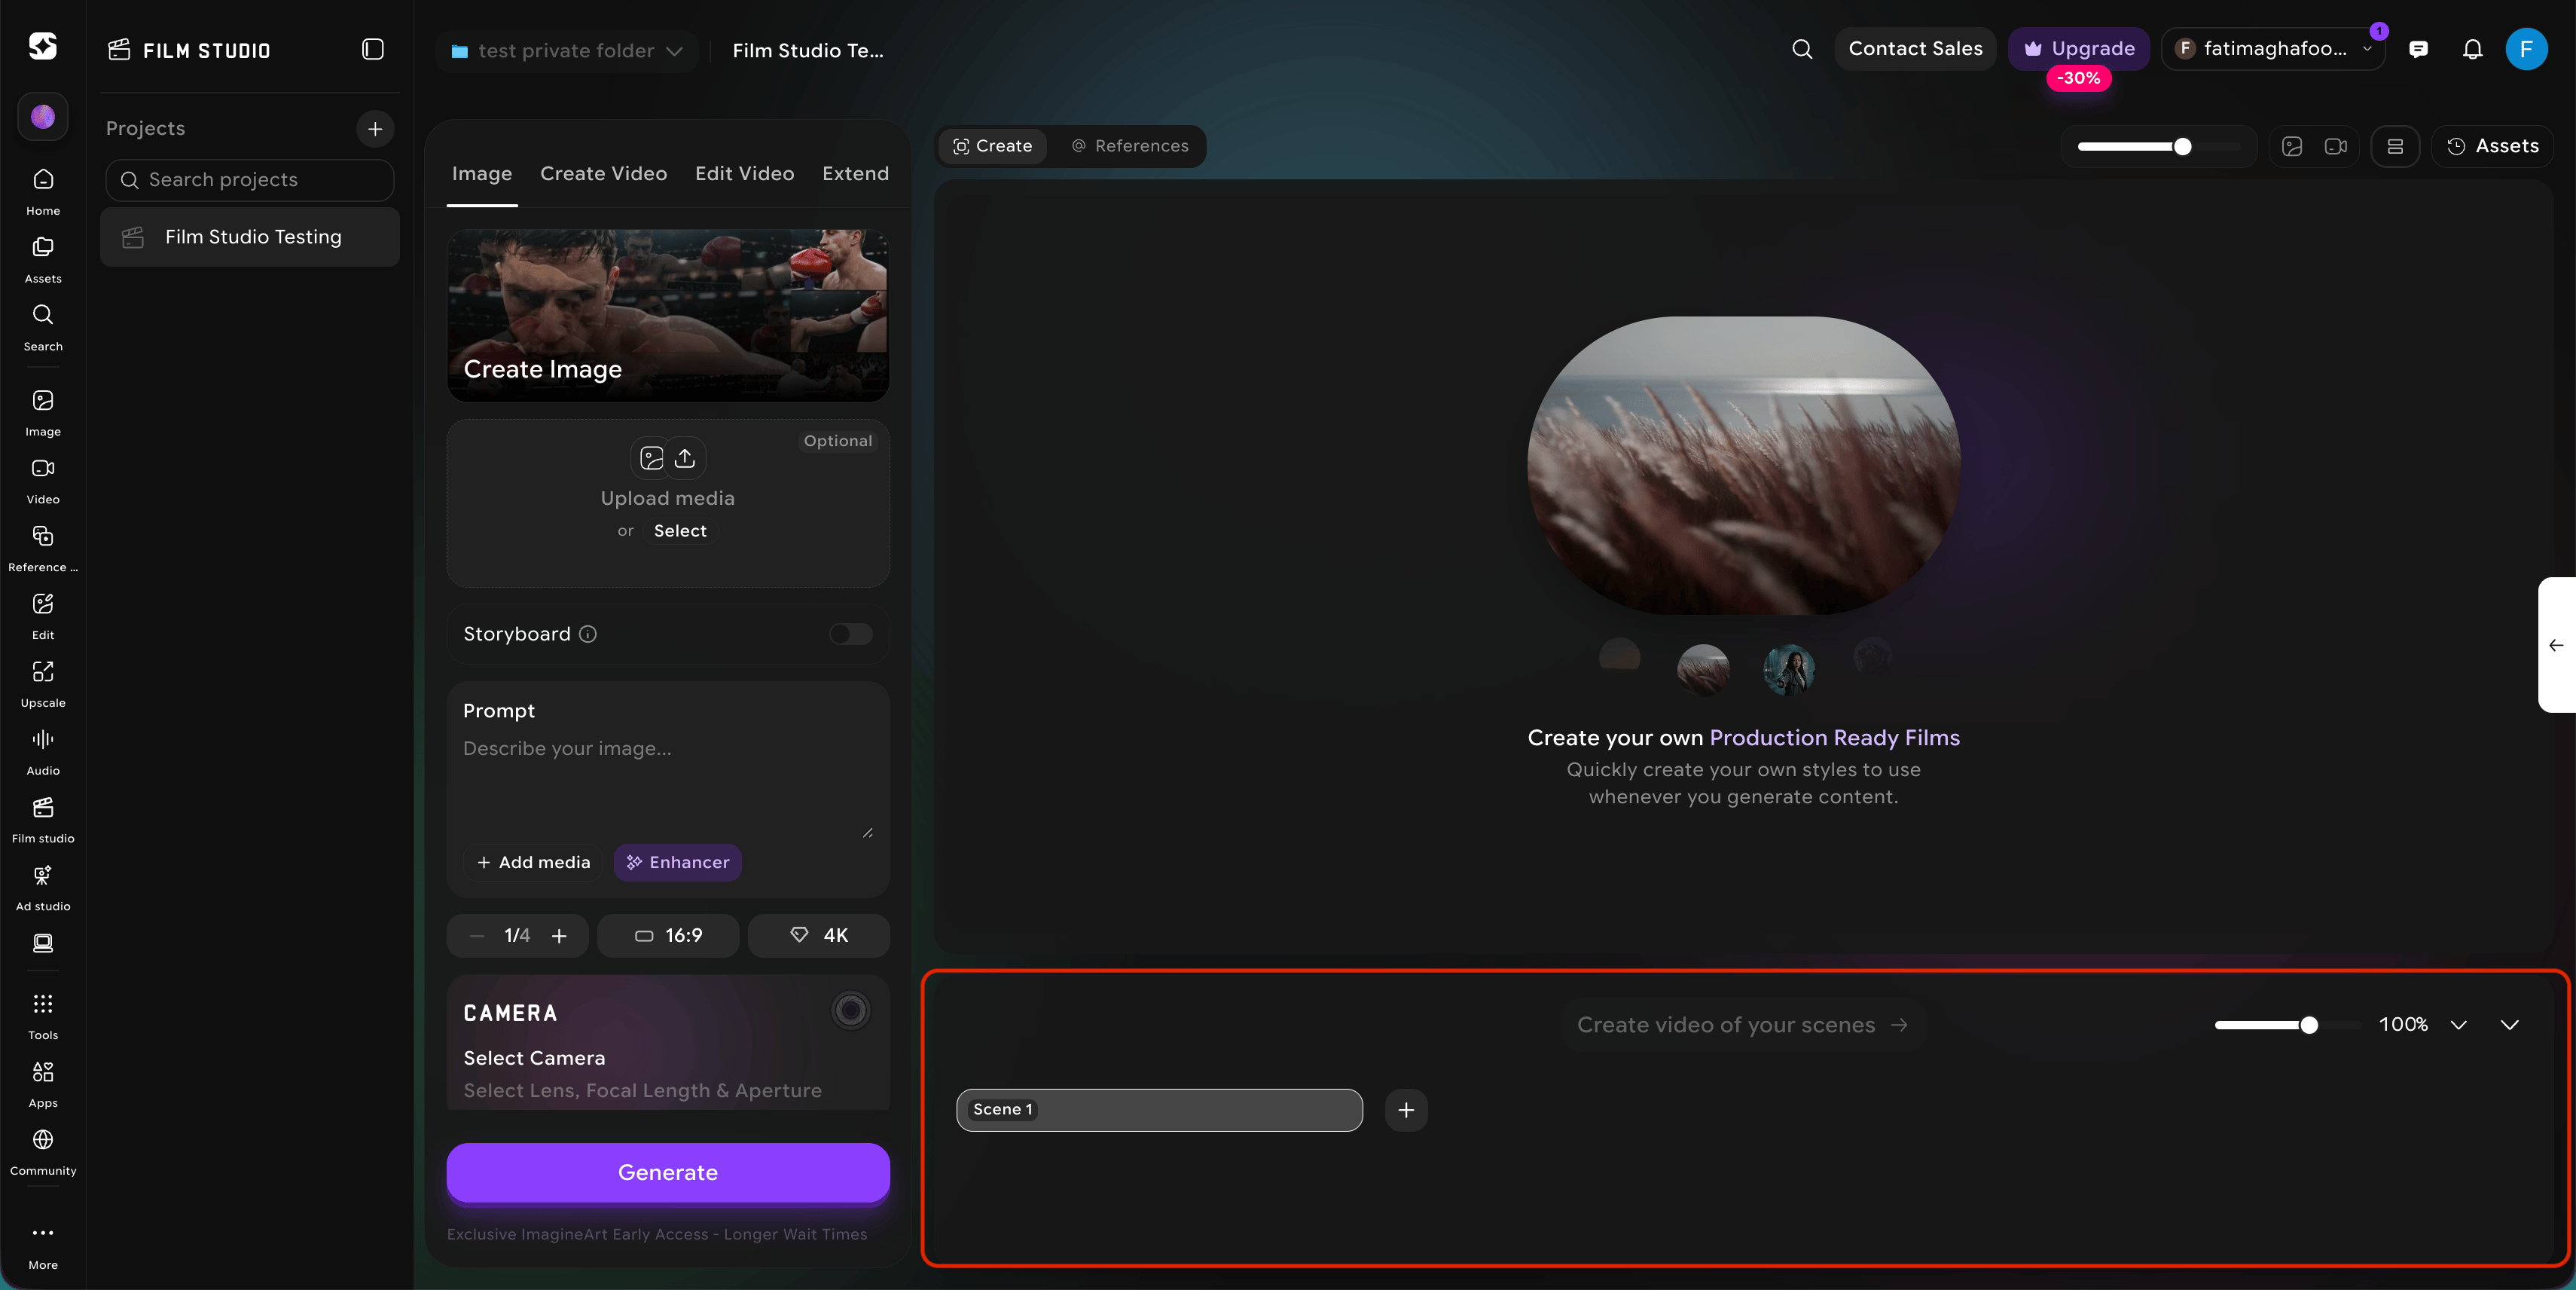
The top bar
The top bar gives you account-level controls — project navigation, search, contact sales, plan upgrades, notifications, and your profile. The Assets button on the right opens a library of all the media you have generated or uploaded in this project, so you can reuse anything you have already made.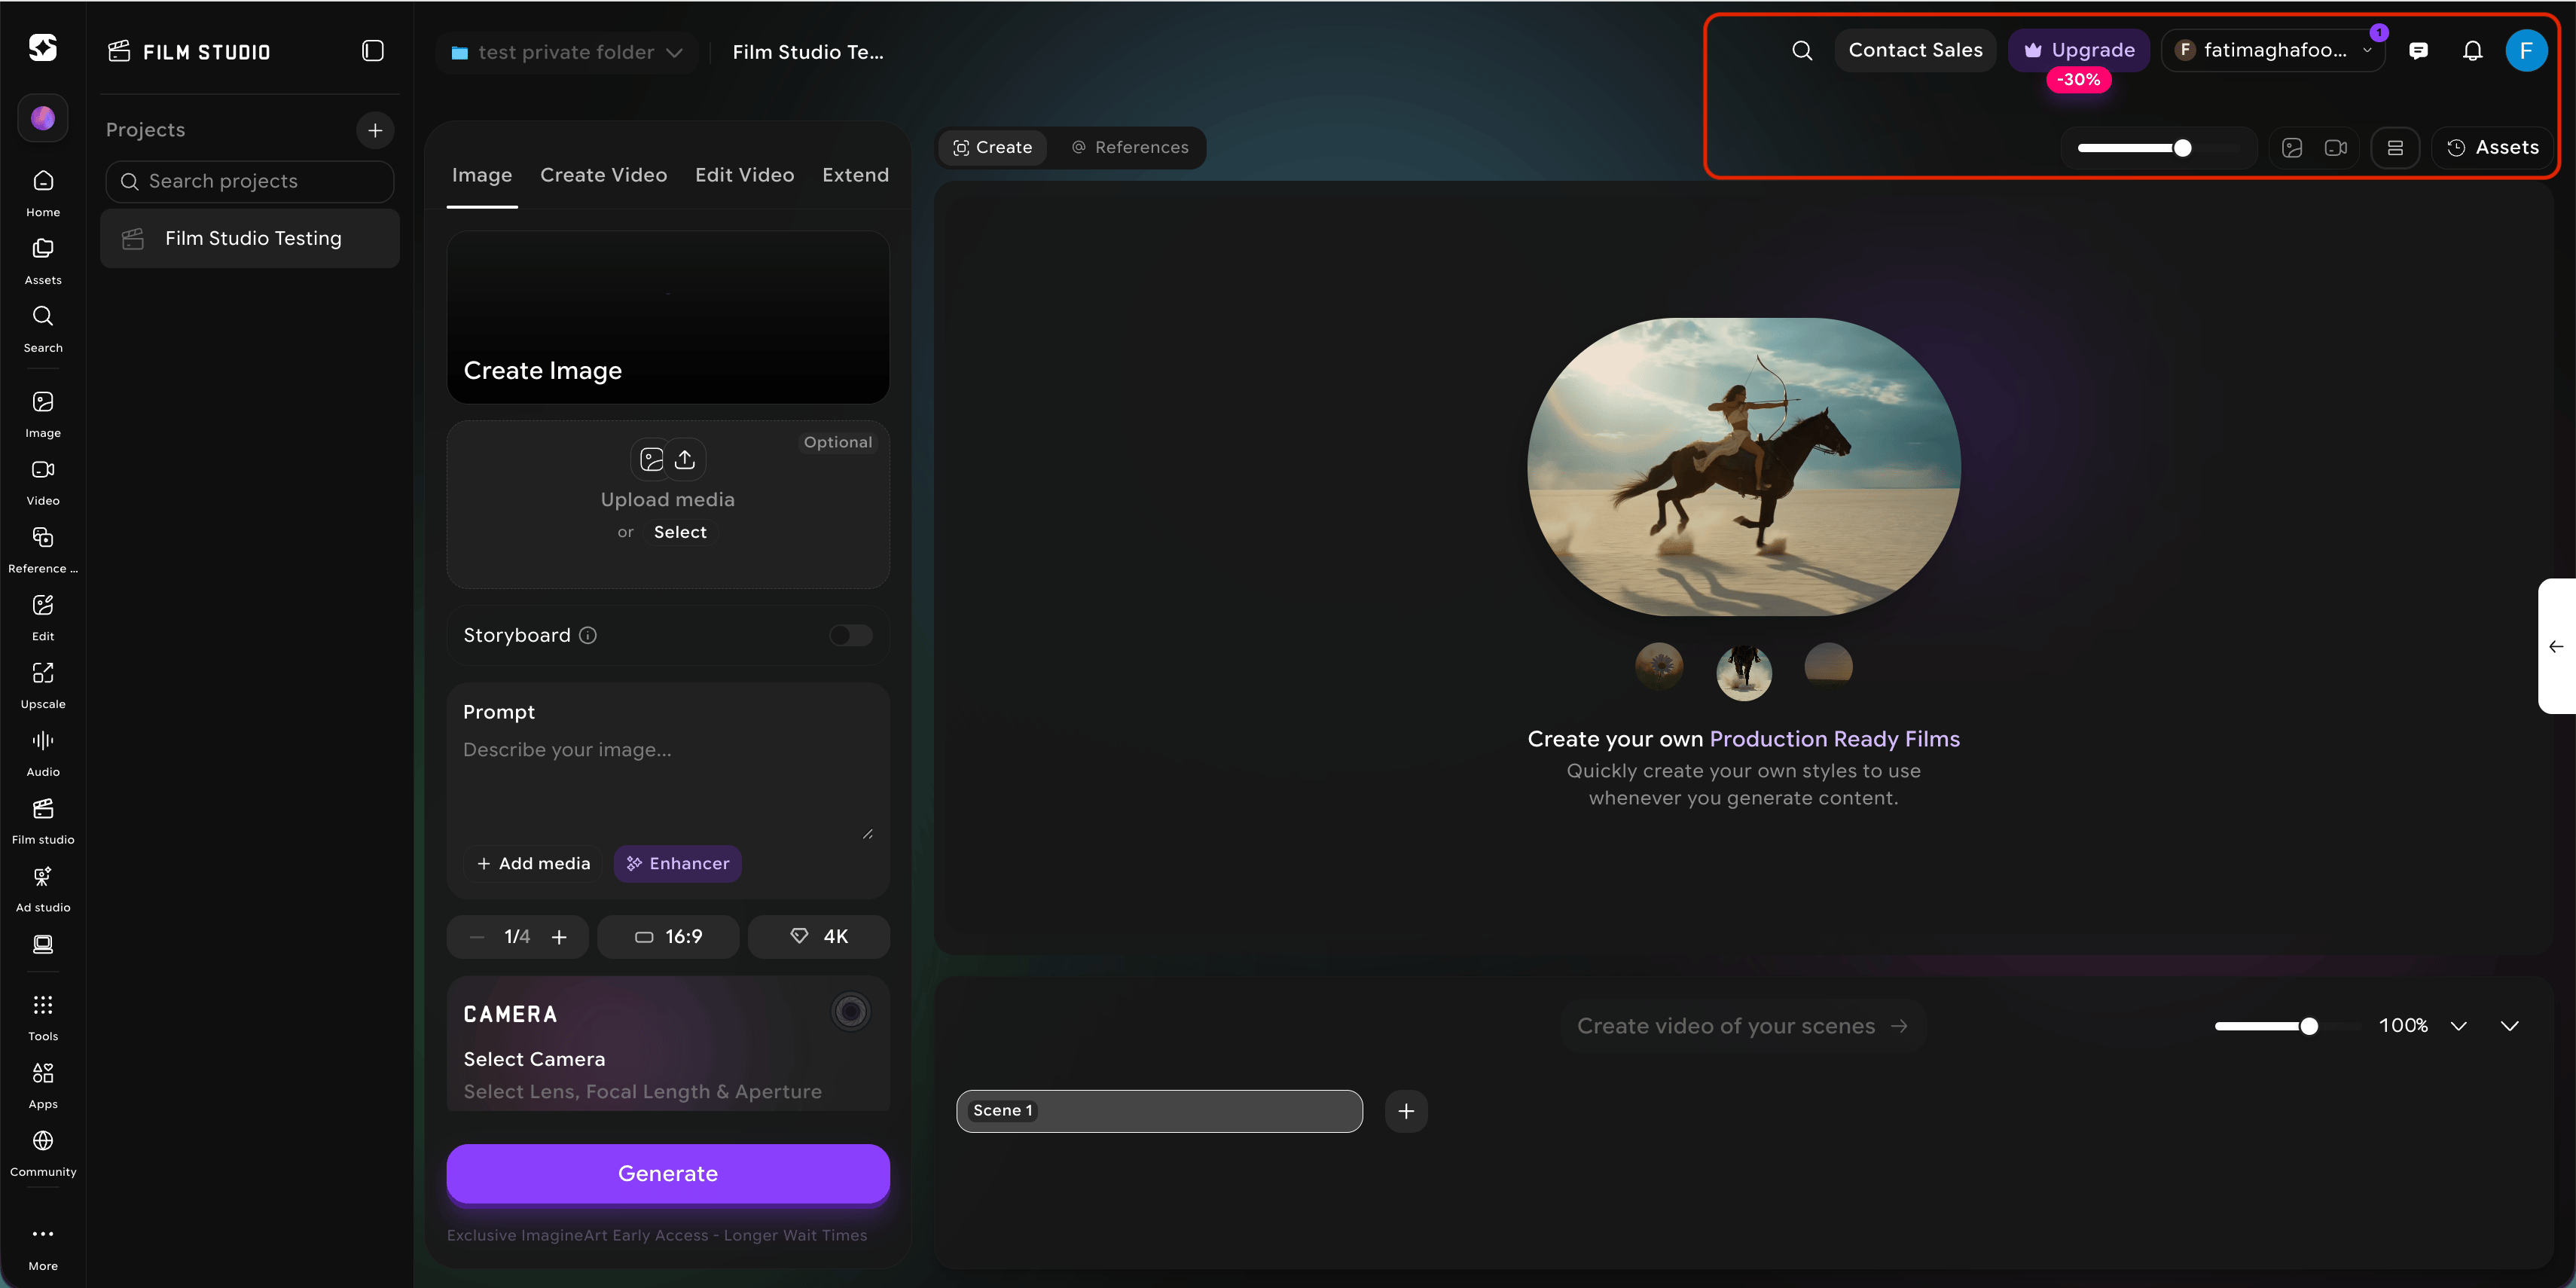
Reading the left panel
The left panel changes based on the tab you are in. In Image, you see prompt, references, output chips (variations, aspect, resolution), and the camera panel. In Create Video, you also see motion controls — genre, movement, speed ramp — plus optional start and end frames. Edit and Extend require a source video before the prompt becomes active.Reading the timeline
The bottom strip is your scene timeline. When you work on a single image, you will only see one scene. When you build a multi-shot video, each shot appears as a card you can drag to reorder, resize to retime, or click to focus.Try this — Before you read further, open Film Studio, create a project called “Practice Project,” and click through each of the four tabs (Image, Create Video, Edit Video, Extend). You do not need to generate anything yet — just notice how the left panel changes based on the tab. That five-minute tour will make the rest of this guide much easier to follow.
Keep in mind — Anything you make in any tab is automatically available in the others. Generate an image, then drop it as a start frame for a video. Render a video, then use Extend to continue it. The four actions are designed to compose.
Where things live — All output is filed under the current project. Use the Assets button (top right) to browse everything you have made — sorted by type, date, or shot. Drag from there directly into any new prompt.