

@mention any Element inline in a prompt.
Where to create an element
Elements can be created from multiple places: Video Tools- Reference Image to Video
- Edit Video
- Reference Video
- Any Generate Video node with a supported Kling model — use the Create New Element option in the Elements panel, or type
@in any prompt field to reference an existing Element.
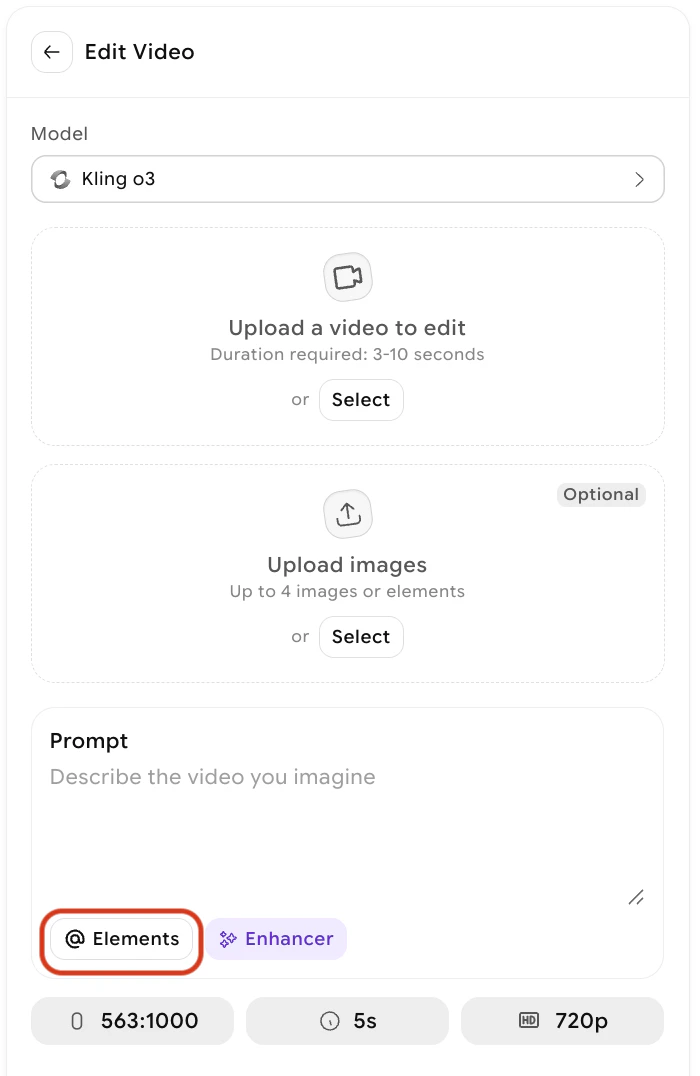
How to create a new element
1
Open the Elements panel
Click the Elements button at the bottom left of the prompt box from either Reference Image to video, Reference Video or Edit Video.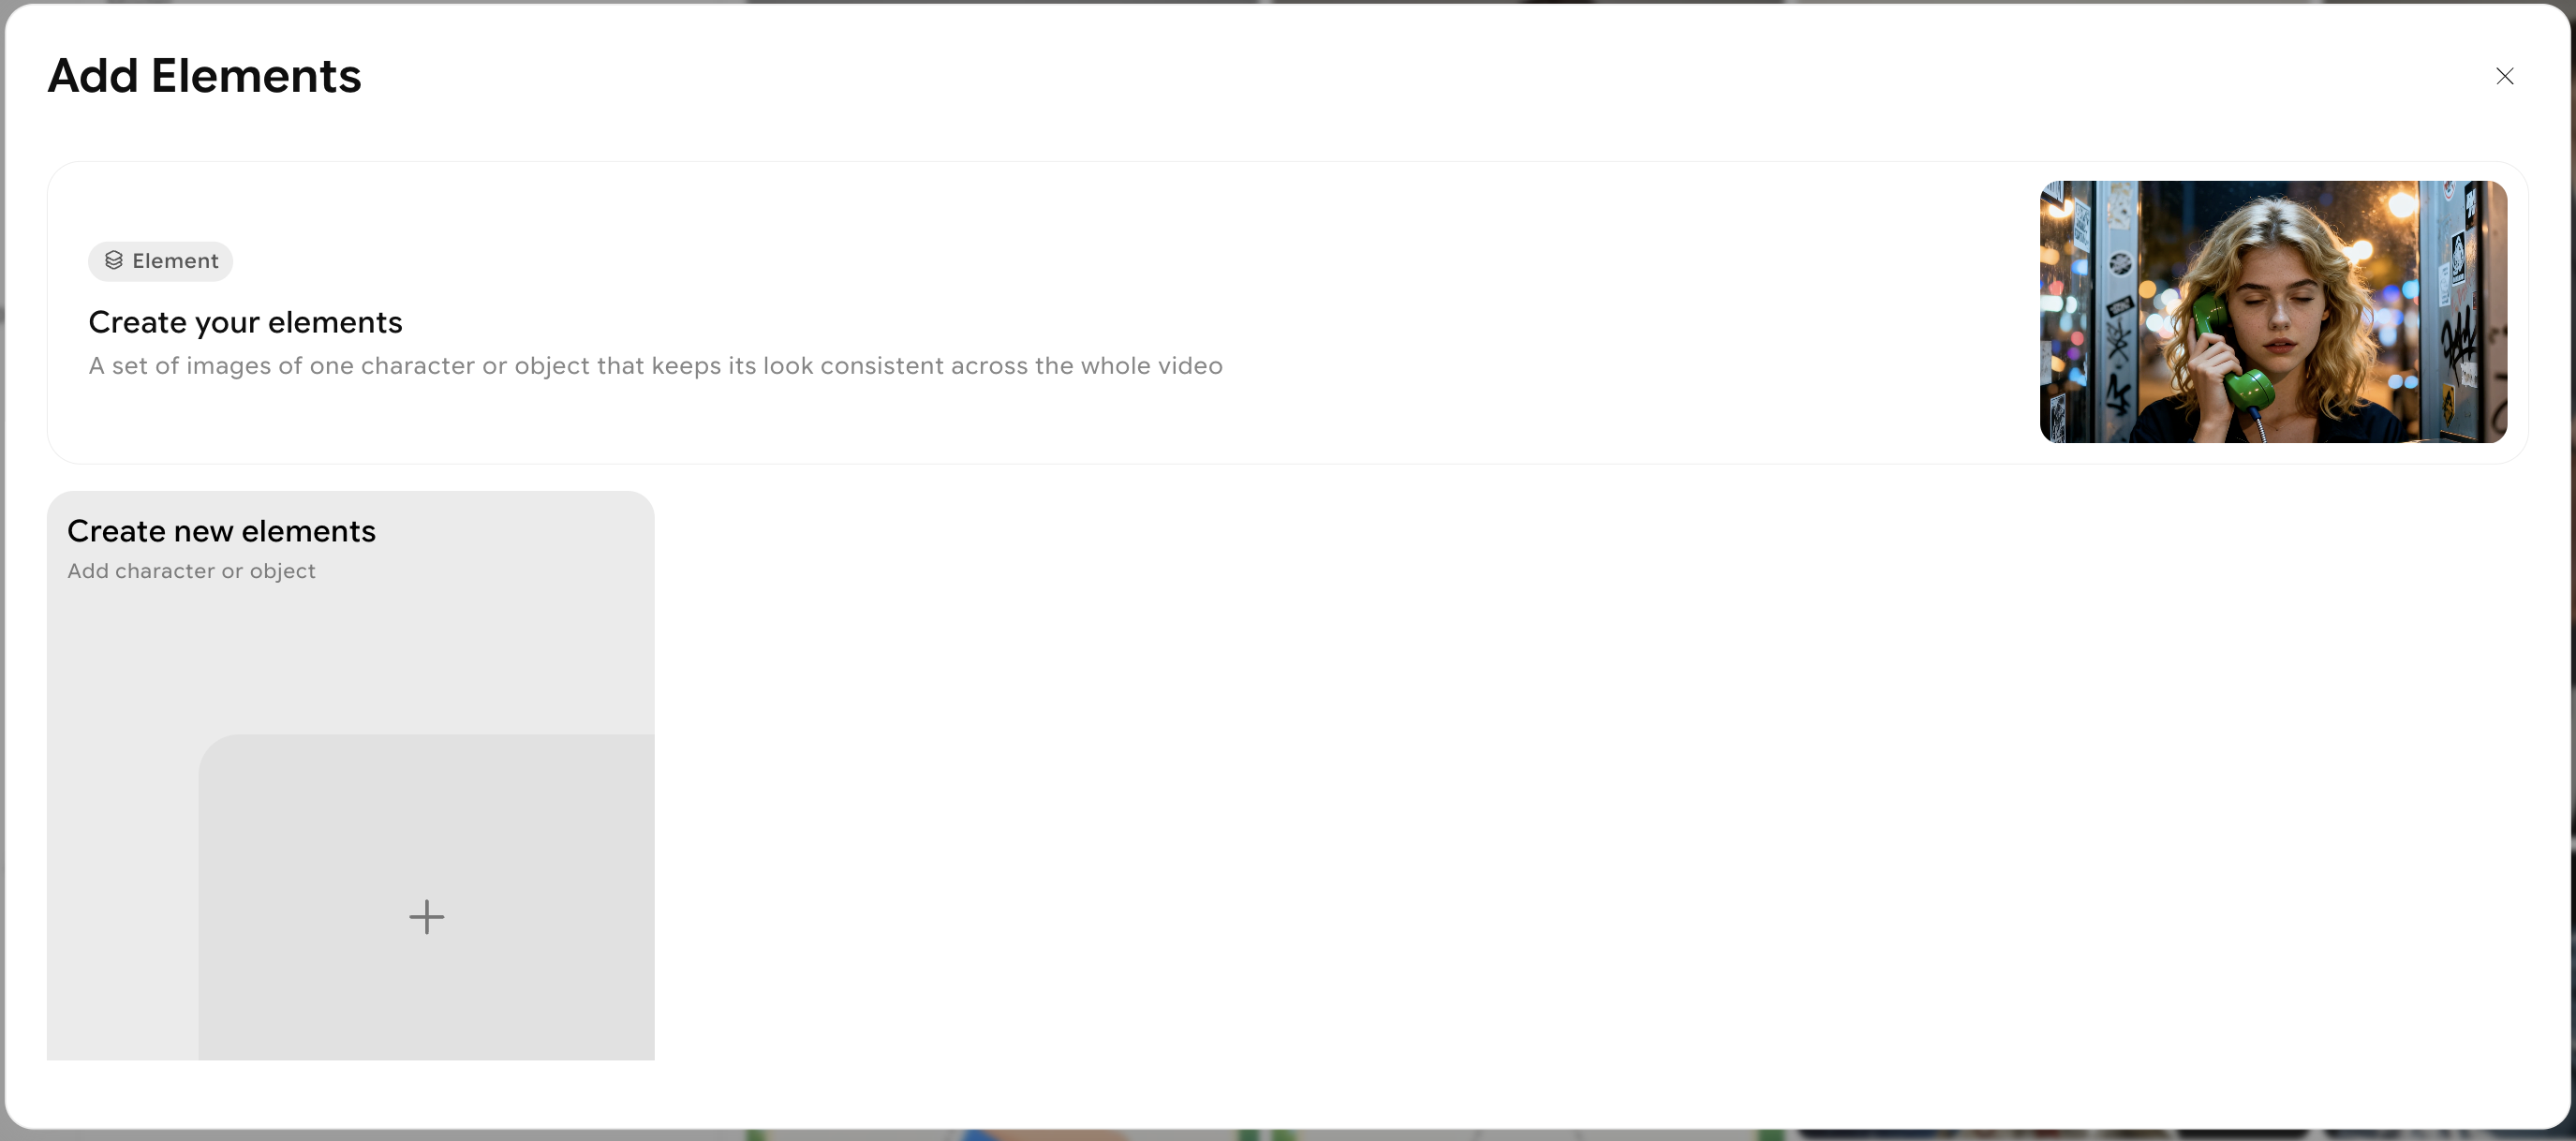
2
Create a new element
Click Create a new element in the panel that appears.
3
Upload reference images
Upload up to 4 reference images of your character or object. A frontal image is required adn you may enter 3 more images. Adding images from different angles — side, three-quarter, back — trains the model on all sides of the element and produces more consistent results.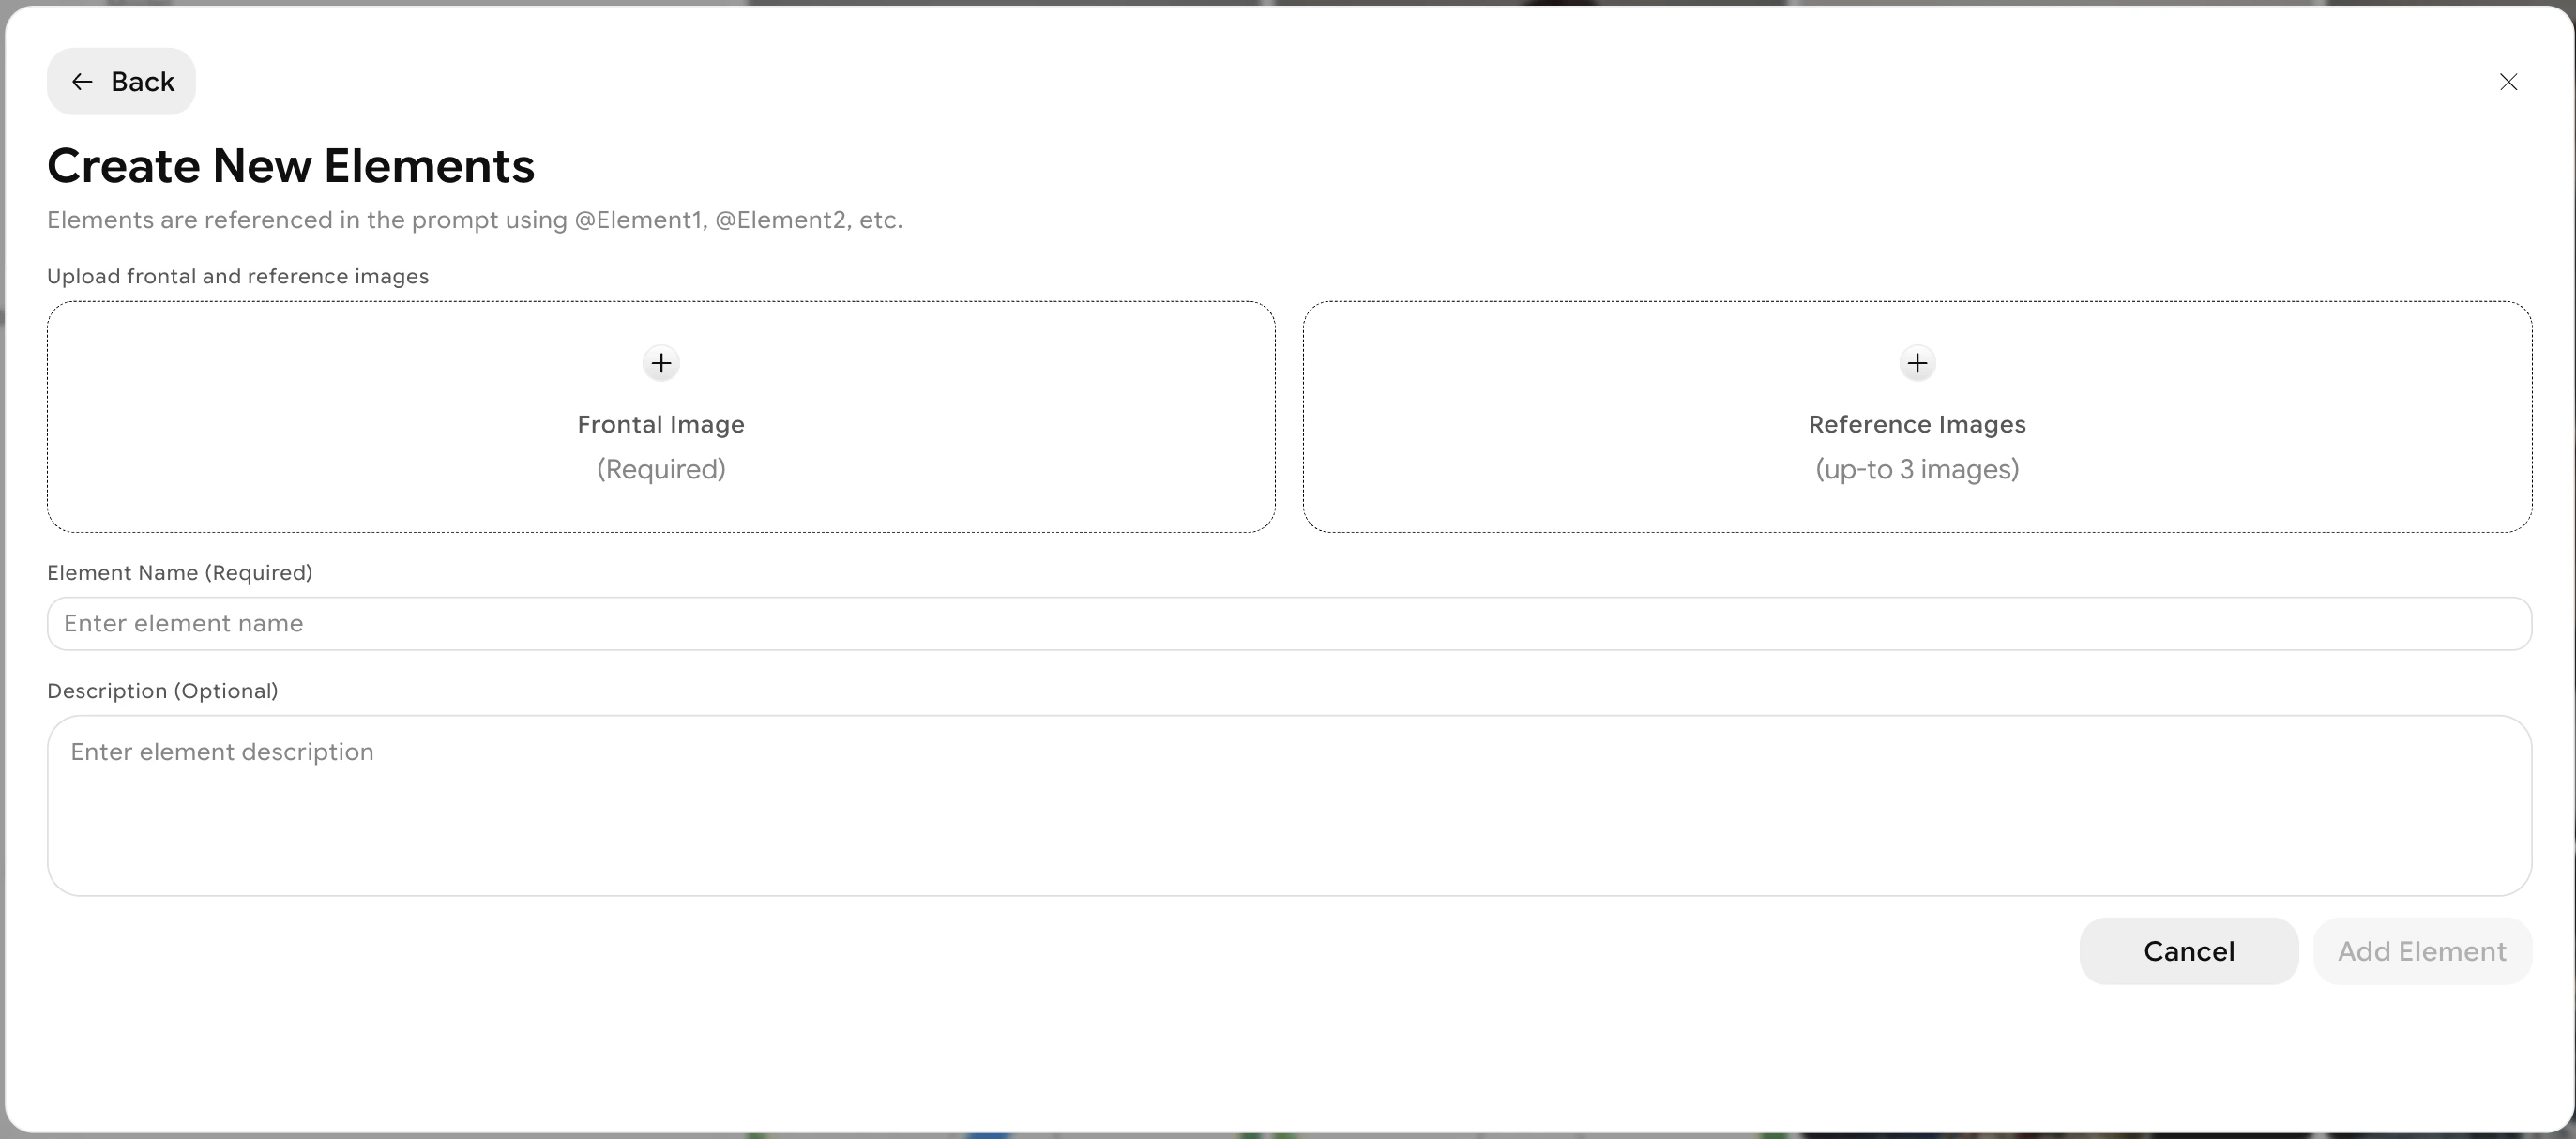
4
Name your element
Set an element name and an optional description to keep your library organized.
5
Save and use
Save the element. It will now appear in your Elements library, ready to reference in any supported workflow.
Using an existing element
Once an element is saved, you can reference it in two ways:- From the Elements panel — click the Elements button and select an existing element from your library to attach it to the current generation.
- Using @ in your prompt — type
@followed by the element name directly in any prompt field. The element renders as a chip in the prompt itself, and the model uses it as a visual reference for that subject.
When to use elements
Consistent characters across a video
Consistent characters across a video
If your video features a recurring character, saving them as an element ensures their appearance stays consistent from shot to shot, regardless of changes in lighting, angle, or scene.
Consistent objects or products
Consistent objects or products
For product videos or branded content, saving a product as an element prevents visual drift between cuts and keeps details like color, shape, and texture accurate throughout.
Reusing references across projects
Reusing references across projects
Elements persist across sessions. You can reference the same character or object in separate videos without re-uploading your images each time.