

How Reference to Video differs from Starting Frame
How to use Reference to Video
1
Open Video mode
Navigate to Video mode from the left sidebar.
2
Select Reference to Video mode
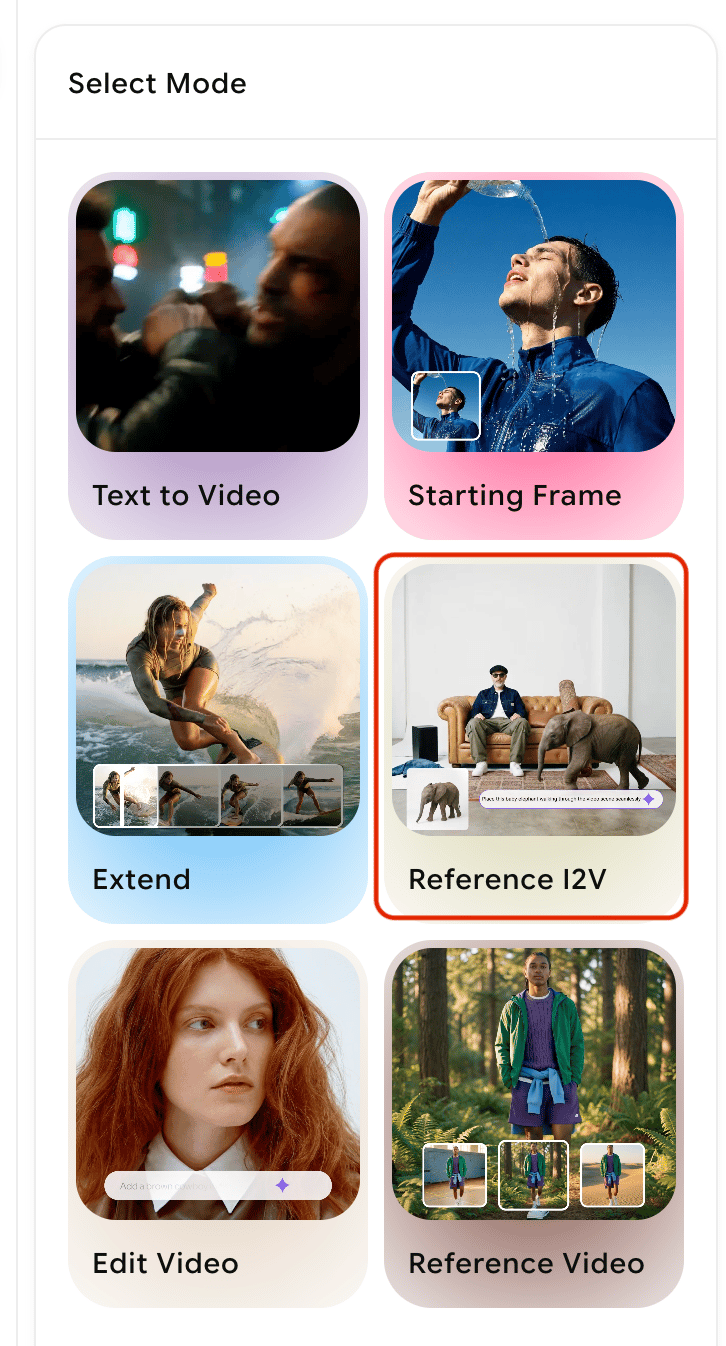
3
Upload your reference images
Upload one to four images of the subject(s) you want to appear in the video, characters, props, costume details, or scene elements. The model extracts visual features from all provided images and uses them to maintain consistency in the output.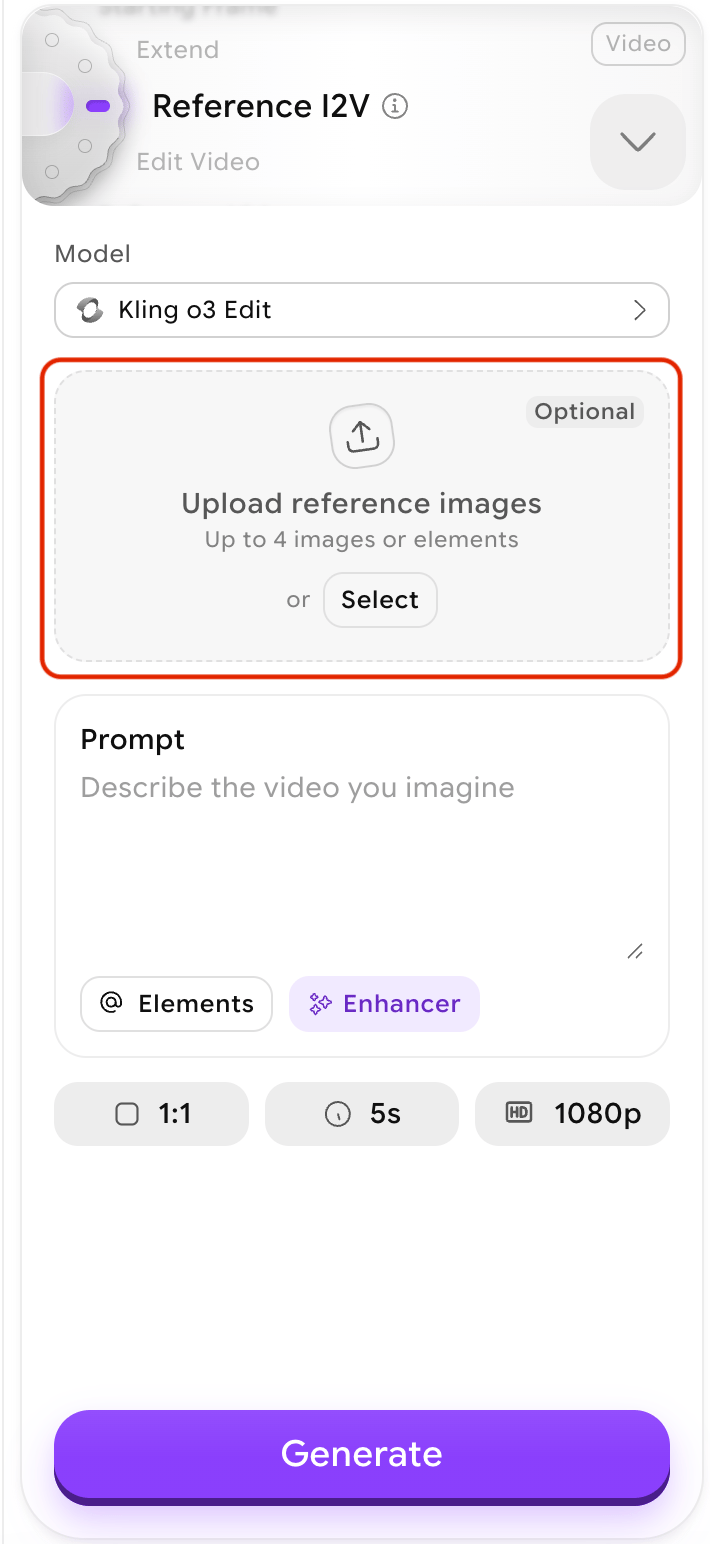
- Use images that show your subject clearly from multiple angles when possible
- Avoid heavily cropped or obscured images
- Provide images with consistent clothing, accessories, or design details if character or object consistency is important
- Formats supported: JPG, JPEG, PNG, WEBP (min 300px, max 10 MB each)
4
Write a scenario prompt
Describe the new scene or action you want the video to depict. Be specific about the environment, the action, the mood, and the camera angle.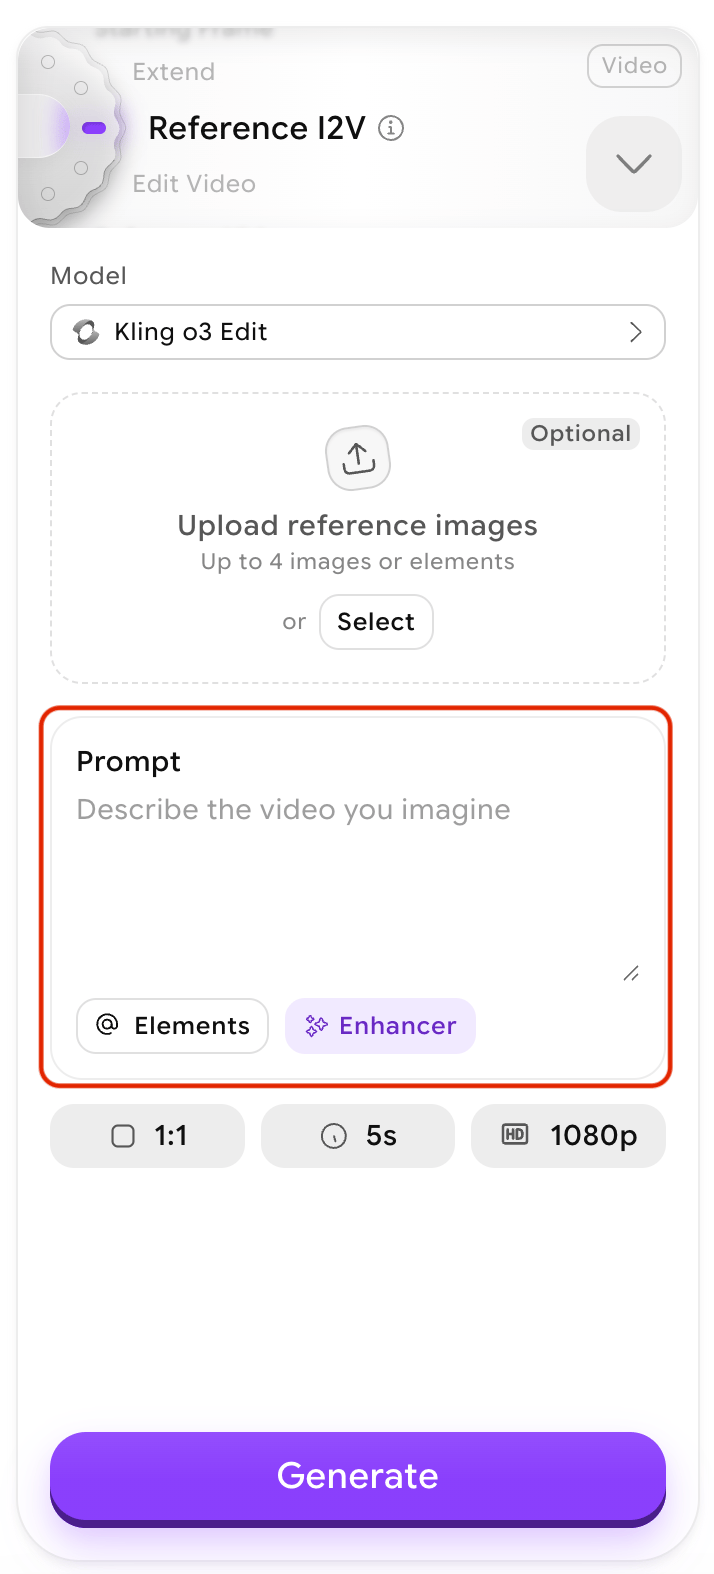
The character walking through a futuristic city at night, neon lights reflecting on wet streets, cinematic tracking shotA woman in a red dress dancing in a grand ballroom, warm candlelight, slow zoom outThe robot standing on a rocky cliff overlooking a stormy ocean, dramatic wide angle, overcast sky
5
Configure settings
Choose the video duration, aspect ratio, and resolution for your output.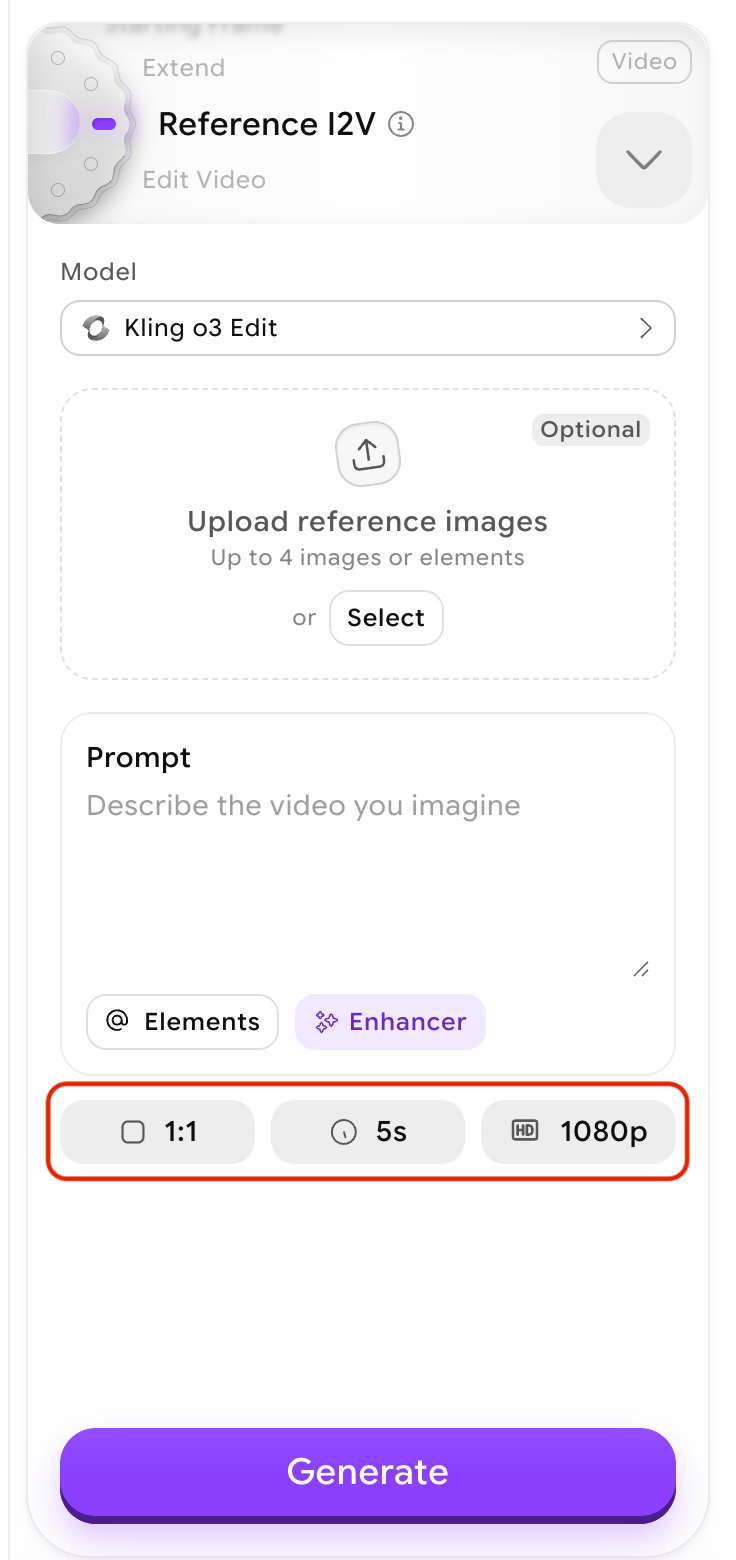
6
Generate the video
Click Generate. The model creates a new video that maintains the visual identity of your reference subjects while placing them in the scenario you described.
Input media specifications
- Images
- Combined with video
- Up to 4 images per generation
- Minimum resolution: 300px (shortest side)
- Maximum file size: 10 MB per image
- Supported formats: JPG, JPEG, PNG, WEBP
Key capabilities
- Multi-reference subject creation: Combine up to four images of the same subject to give the model more information about their appearance, helping it maintain consistency in clothing, accessories, and distinguishing features.
- Subject consistency across the clip: Characters, props, and scenes remain visually stable throughout the generated video, even as the action and environment change.
- Creative flexibility: The AI can place your subjects in any scenario you can describe — new environments, action sequences, different camera angles, or lighting conditions entirely distinct from the source images.
When to use Reference to Video vs other modes
Use Reference to Video when...
Use Reference to Video when...
- You have an existing character design, illustration, or photo and want to see it in a new scene
- You want to create multiple videos featuring the same character in different situations
- You need subject consistency across generated clips without being constrained by a specific starting frame
Use Image to Video instead when...
Use Image to Video instead when...
- You want the video to begin exactly from a specific image
- You want to animate a scene that already exists rather than create a new one
- The precise composition of your source image should be preserved in the output
Use Text to Video instead when...
Use Text to Video instead when...
- You don’t have a reference image and want to generate everything from a text description
- You’re exploring ideas and don’t need visual consistency with existing assets
What to do next
Image to Video
Animate a specific image as the literal start frame of your video.
Edit Video
Modify an existing video using natural language commands.
Motion Control
Transfer body motion from a reference video onto a character image.
Video Credits
Understand credit costs for Reference to Video generations.