

1
Browse everything you've made
Click Assets to switch the canvas into a reverse-chronological feed of every image and video generated in this project, grouped under date headers like “Today.”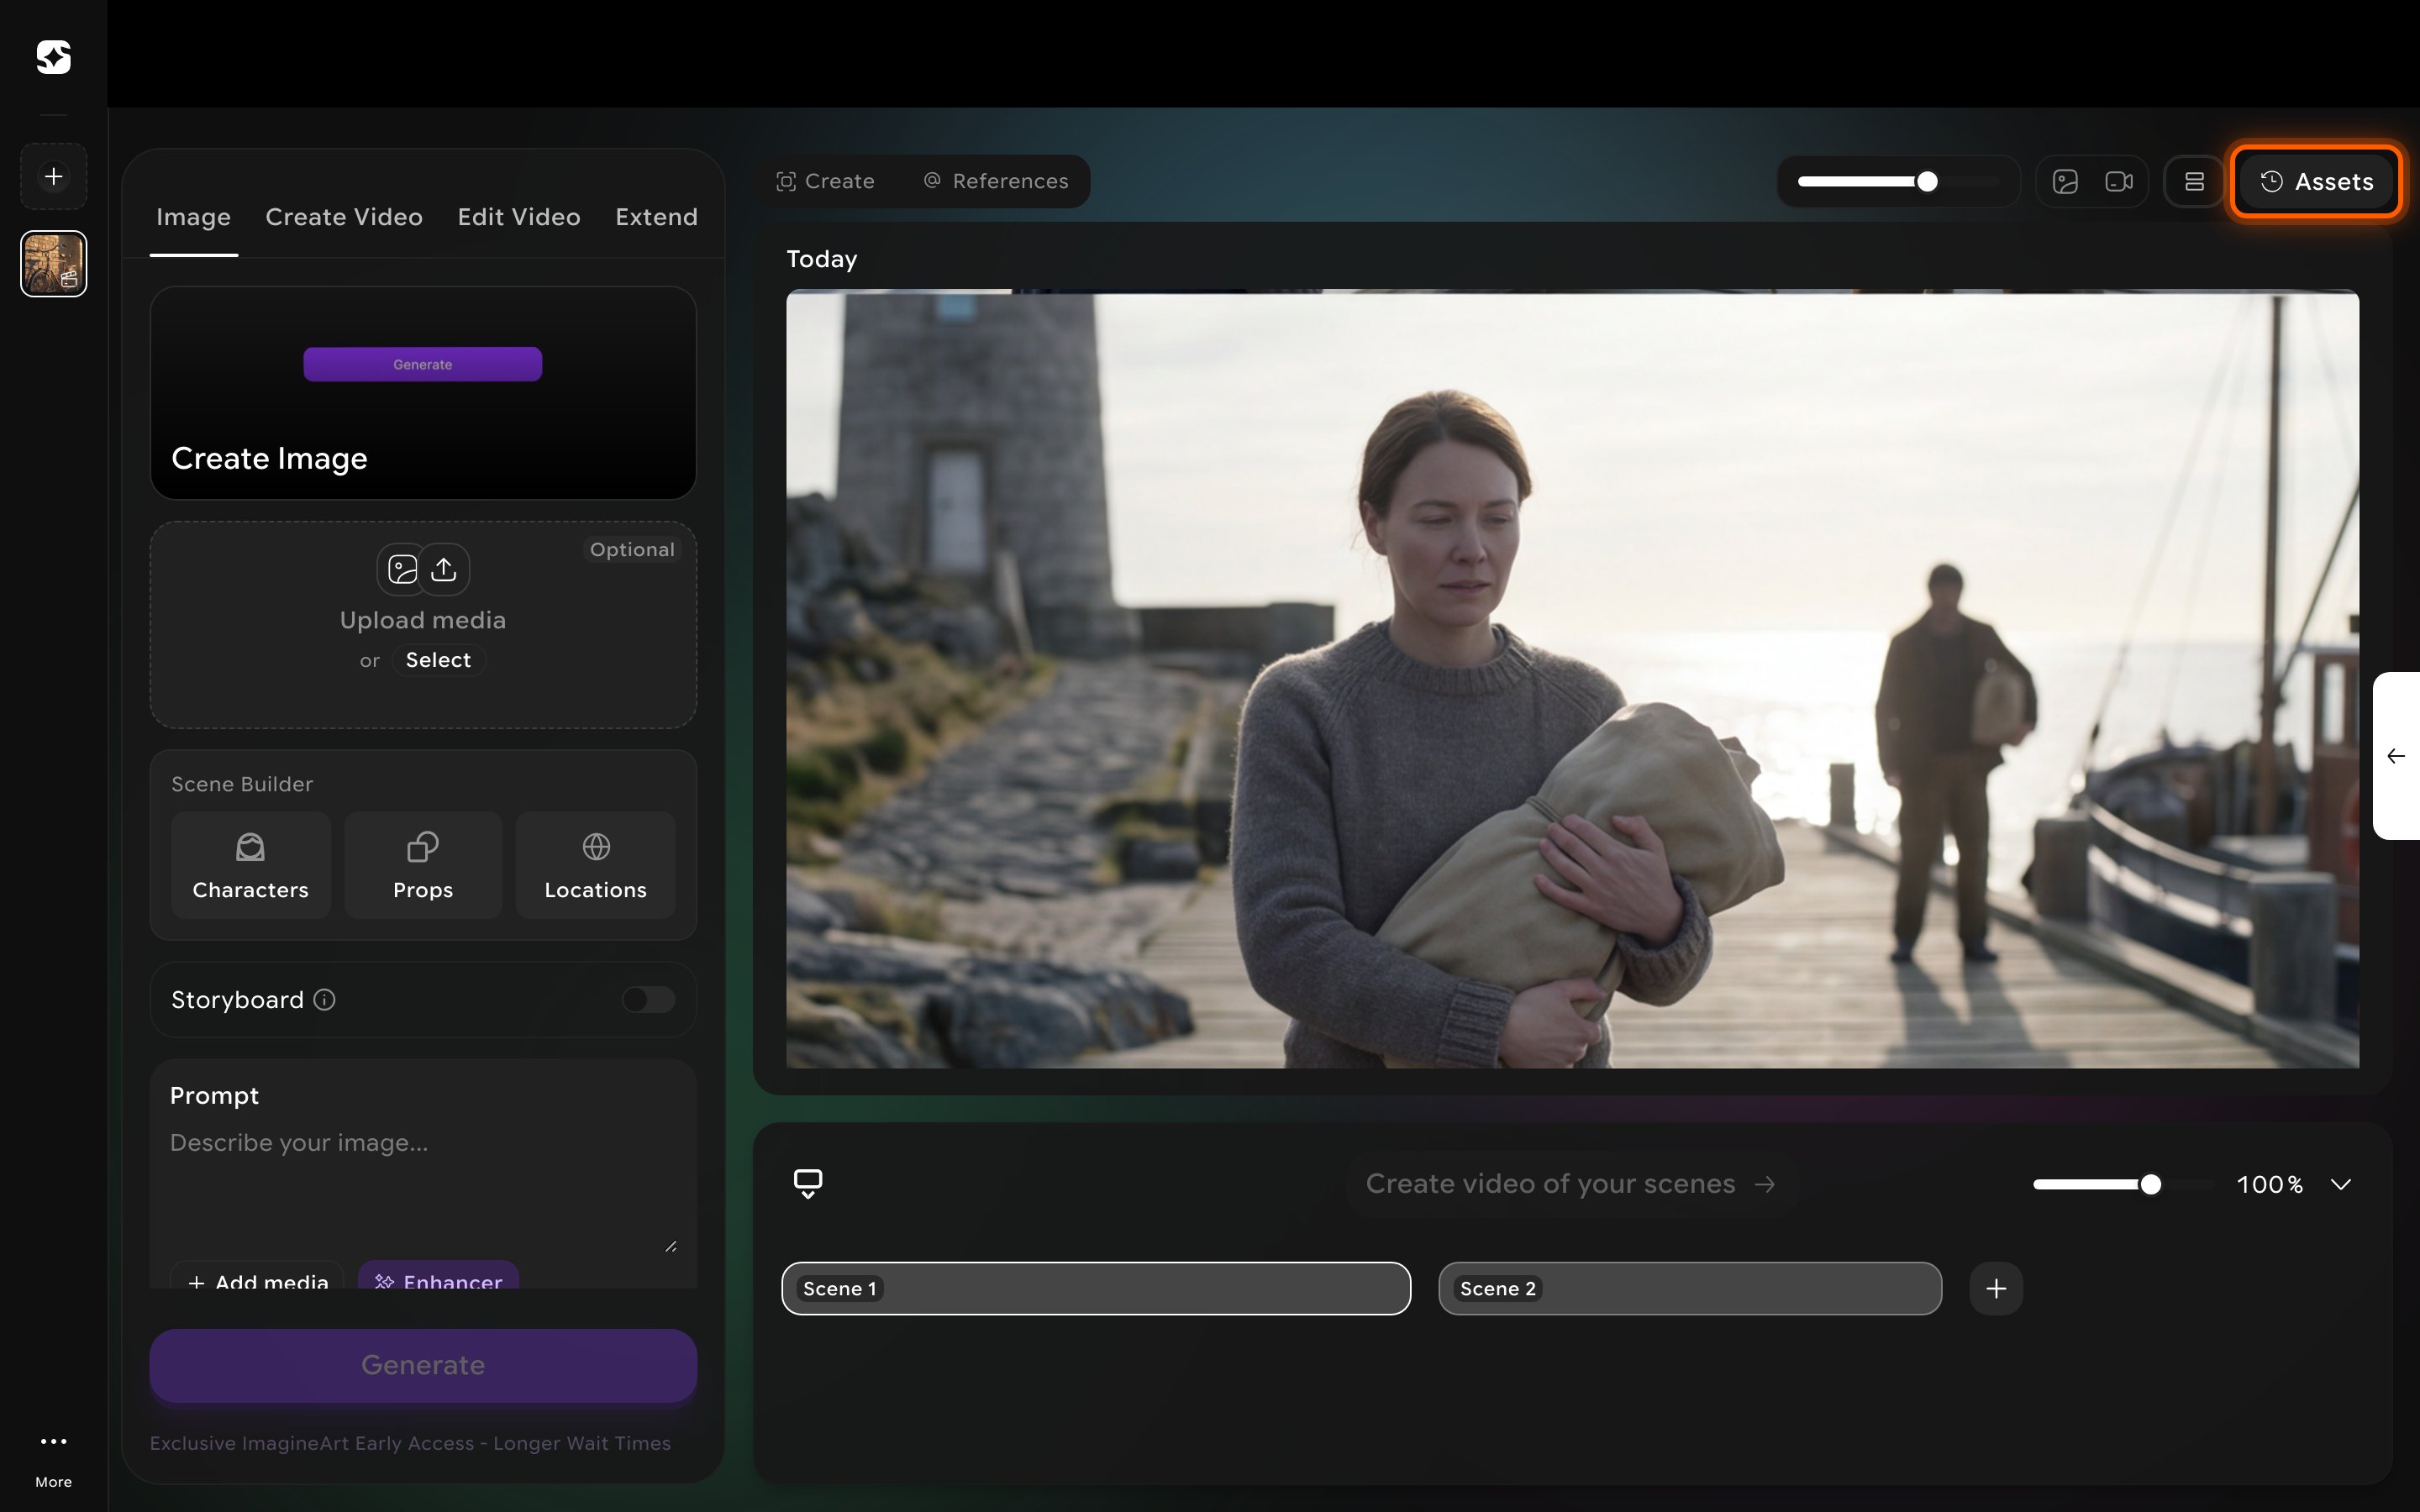
2
Open an asset for the full picture
Click any asset to open its detail view. The Details tab shows the exact prompt that produced it and the model used (e.g. “Nano Banana Pro”) — useful for understanding why a result looks the way it does, or for recreating a similar look later. A Comments tab sits alongside it for per-asset feedback and discussion, and a Located chip shows which folder the asset belongs to.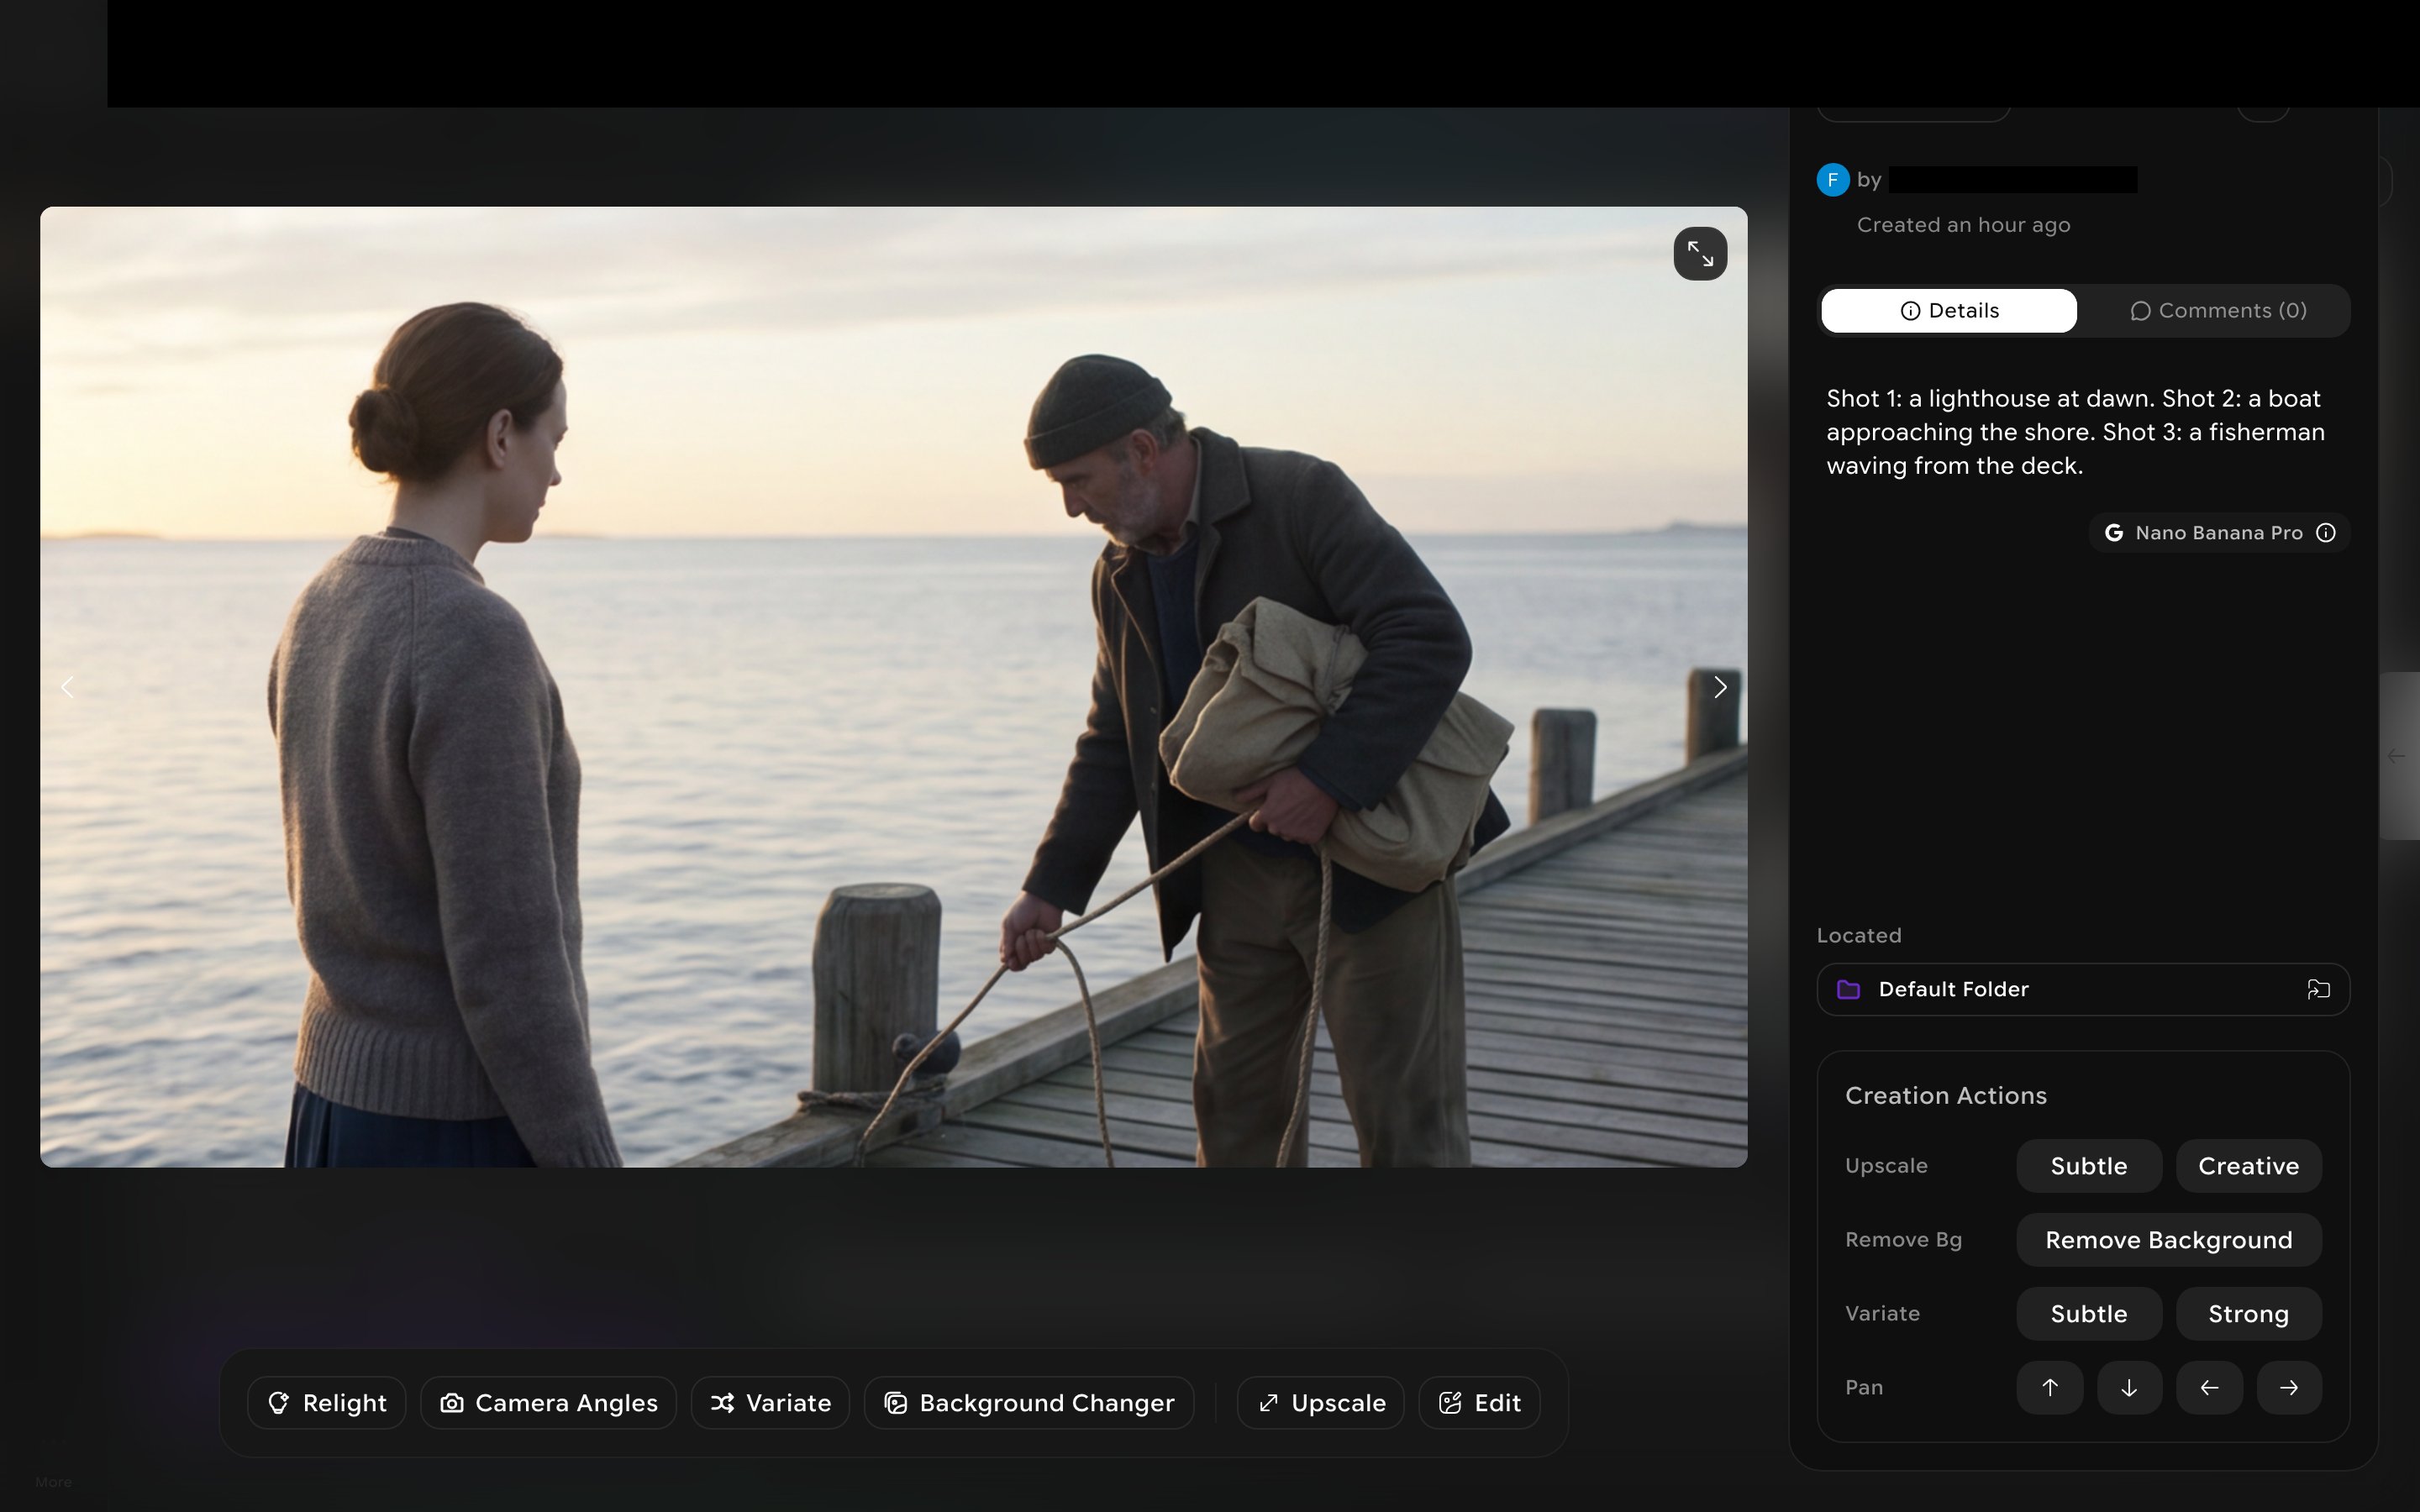
Creation Actions
Every asset’s detail view has a Creation Actions panel for regenerating or refining it without starting over:
A matching toolbar at the bottom of the viewer (Relight, Camera Angles, Variate, Background Changer, Upscale, Edit) offers the same kind of one-click regeneration for images already in the canvas view, not just from the Assets feed.