

01 · Body
Sets the underlying texture — digital cleanliness, film grain, large-format scale.
02 · Lens
Sets the optical character — anamorphic, swirly, surgical, vintage.
03 · Focal
Sets the field of view — how much of the world you see, how compressed.
04 · Aperture
Sets the depth of field — how much of the image is in sharp focus.
Camera bodies
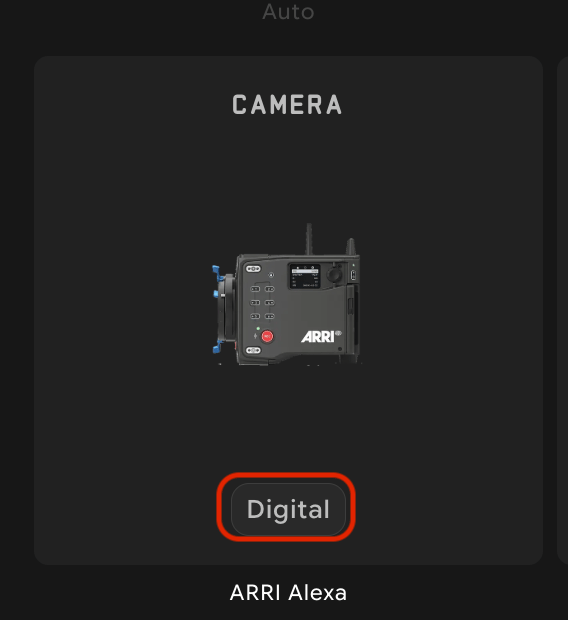
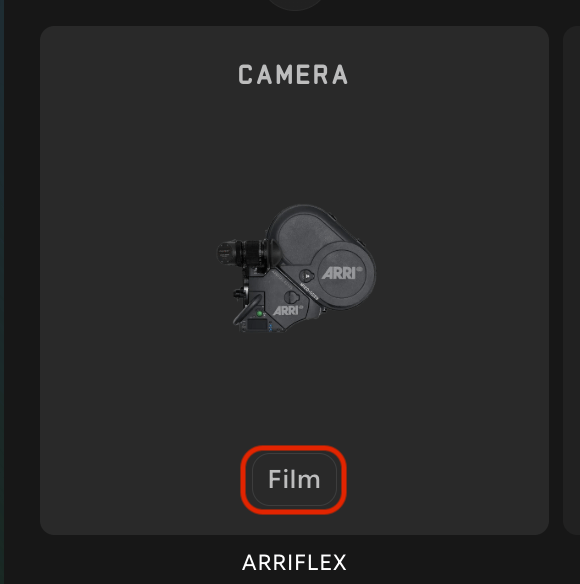
Cameras fall into two families: digital (clean, modern, color-rich) and film (grainy, organic, classic). Pick the family first, then the specific model based on the feel you want.Digital cameras
| Camera | Character | Great for |
|---|---|---|
| ARRI Alexa | Industry standard for high-end cinema. Soft highlights, natural skin tones, restrained color. | Premium dramatic features, character-driven scenes, anywhere you want “this looks like a real movie.” |
| Sony FX6 | Compact cinema-style camera. Versatile, slightly cleaner and sharper than Alexa. | Documentary, indie films, run-and-gun shoots, modern naturalistic stories. |
| Red V Raptor | High-resolution 8K with vibrant, saturated color. Crisp detail in every frame. | Action, sci-fi, VFX-heavy scenes, music videos, anywhere maximum detail matters. |
Film cameras
| Camera | Character | Great for |
|---|---|---|
| ARRI Flex (35mm) | Classic film texture. Visible grain, warm tonality, organic falloff in shadows. | Period pieces, nostalgic looks, music videos, anywhere you want a hand-made feel. |
| IMAX | Large-format film. Massive resolution, vast dynamic range, epic scope. | Landscapes, scale shots, sci-fi spectacle — Nolan films, blockbusters, anything that should feel huge. |
Lenses
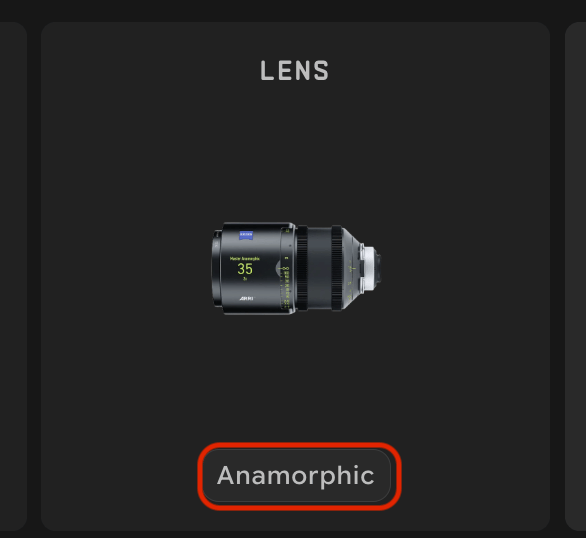
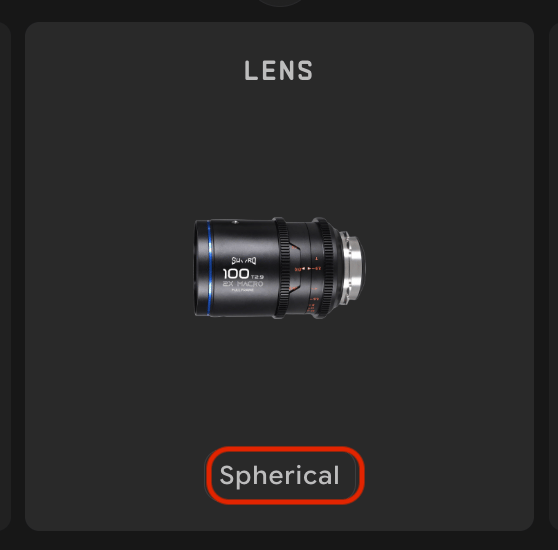
Where the camera body sets the underlying texture, the lens sets the optical personality. Lenses fall into two groups — anamorphic (cinematic widescreen) and spherical (everything else).Anamorphic
| Lens | Character | Great for |
|---|---|---|
| Anamorphic | Cinematic widescreen with characteristic horizontal lens flares, oval bokeh, slight stretch. | Hollywood-style epics, sci-fi, action — anywhere the audience should immediately feel “this is a movie.” |
Spherical
| Lens | Character | Great for |
|---|---|---|
| Fish eye | Extreme curved distortion, near-180° field of view. | POV action, skating, surreal sequences, dream logic. |
| Macro | Surgical detail on small subjects, very shallow focus. | Textures, eyes, food, mechanisms, jewelry — anything where detail is the subject. |
| Petzval | Vintage portrait lens with a famous swirly bokeh around the edges. | Romantic portraits, dream sequences, fashion editorials. |
| Probe | Long, thin lens that can reach into tight spaces and exaggerate depth. | Tabletop, hyper-detail shots, unique angles into small worlds — food, models, miniatures. |
| Spherical | The neutral, naturalistic cinema lens. | Most narrative work — the safe, transparent choice when you want the lens to disappear. |
| Vintage | Soft contrast, lower sharpness, character flaws. | Period pieces, music videos, dreamy retro aesthetics, mood-first scenes. |
Focal length
Measured in millimeters; controls two things at once — how wide your field of view is, and how compressed your perspective looks. Wide focal lengths make space feel deep. Long focal lengths make space feel flat and stacked.| Category | Focal | What it does | Great for |
|---|---|---|---|
| Fish eye | 8mm | Extreme wide with strong curved distortion. | POV action, skate videos, surrealism. |
| Ultra wide | 14mm | Very wide, mild distortion at the edges. | Tight interiors, big landscapes, immersive scenes. |
| Ultra wide | 18mm | Slightly more controlled ultra-wide. | Landscapes, architecture, environmental establishing shots. |
| Wide | 35mm | Documentary-style wide. Sees more than the eye does. | Environmental portraits, dialogue, anywhere context matters. |
| Standard | 50mm | Matches the natural perspective of the human eye. | Naturalistic narrative — the most versatile choice. |
| Portrait | 85mm | Slight background compression, beautiful subject isolation. | Portraits, close-ups, emotional reactions. |
| Portrait | 100mm | More compression, tighter framing, dreamier separation. | Beauty shots, intimate close-ups, hero moments. |
Aperture
Controls depth of field — how much of your image is in sharp focus. Wide-open (small f-number) gives creamy background blur and razor-thin focus. Stopped-down (large f-number) keeps everything sharp from foreground to horizon.| Category | Aperture | What it does | Great for |
|---|---|---|---|
| Wide open | F/1.4 | Maximum background blur, very shallow focus. | Dreamy portraits, romantic scenes, isolating a subject from chaos. |
| Near wide | F/2.0 | Soft, blurred background with slightly more in-focus subject. | Standard portraits, interviews, intimate dialogue scenes. |
| Middle range | F/2.8 | Balanced look — subject sharp, background pleasantly soft. | Most cinematic scenes; the go-to default. |
| Stopped down | F/5.6 | More of the scene in focus, less background blur. | Group shots, documentary-style work, scenes with multiple subjects. |
| Deep focus | F/16 | Everything from foreground to horizon in sharp focus. | Landscapes, epic establishing shots, classic deep-focus cinema. |
Putting it together
Reading tables one row at a time is useful — but the magic comes from combining them. Seven starter combos you can copy directly into a project.Premium drama
Camera: ARRI Alexa · Lens: Spherical · Focal: 50mm · Aperture: f/2.0The safe, classic cinema look. If you take one combo from this page, take this one.
Hollywood epic
Camera: IMAX · Lens: Anamorphic · Focal: 35mm · Aperture: f/2.8Big scale, widescreen flares. Trailer energy, the big-screen feel.
Music video / dream
Camera: ARRI Flex · Lens: Vintage · Focal: 85mm · Aperture: f/1.4Grainy, soft, romantic. Reach for this when you want texture and warmth.
Cyberpunk action
Camera: Red V Raptor · Lens: Anamorphic · Focal: 35mm · Aperture: f/2.0Crisp, vivid, widescreen. Neon-on-wet-asphalt territory.
Documentary
Camera: Sony FX6 · Lens: Spherical · Focal: 35mm · Aperture: f/5.6Naturalistic, lots in focus. Honest, observational.
Beauty close-up
Camera: ARRI Alexa · Lens: Petzval · Focal: 85mm · Aperture: f/1.4Swirly bokeh, soft glow. Fashion, beauty, hero portraits.
Surreal POV
Camera: Red V Raptor · Lens: Fish eye · Focal: 8mm · Aperture: f/2.8Wide, curved, immersive. POV action, dream sequences, anything that should feel “inside the moment.”