

Single-shot videos
A single-shot video is one continuous clip generated from one prompt. This is the right starting point when you want a quick result, when your idea is one moment rather than a sequence, or when you are testing how a particular look behaves in motion.How to make a single-shot video
Upload start and end frames (optional)
Optionally upload a start frame and an end frame. The system will treat these as the bookends of your shot.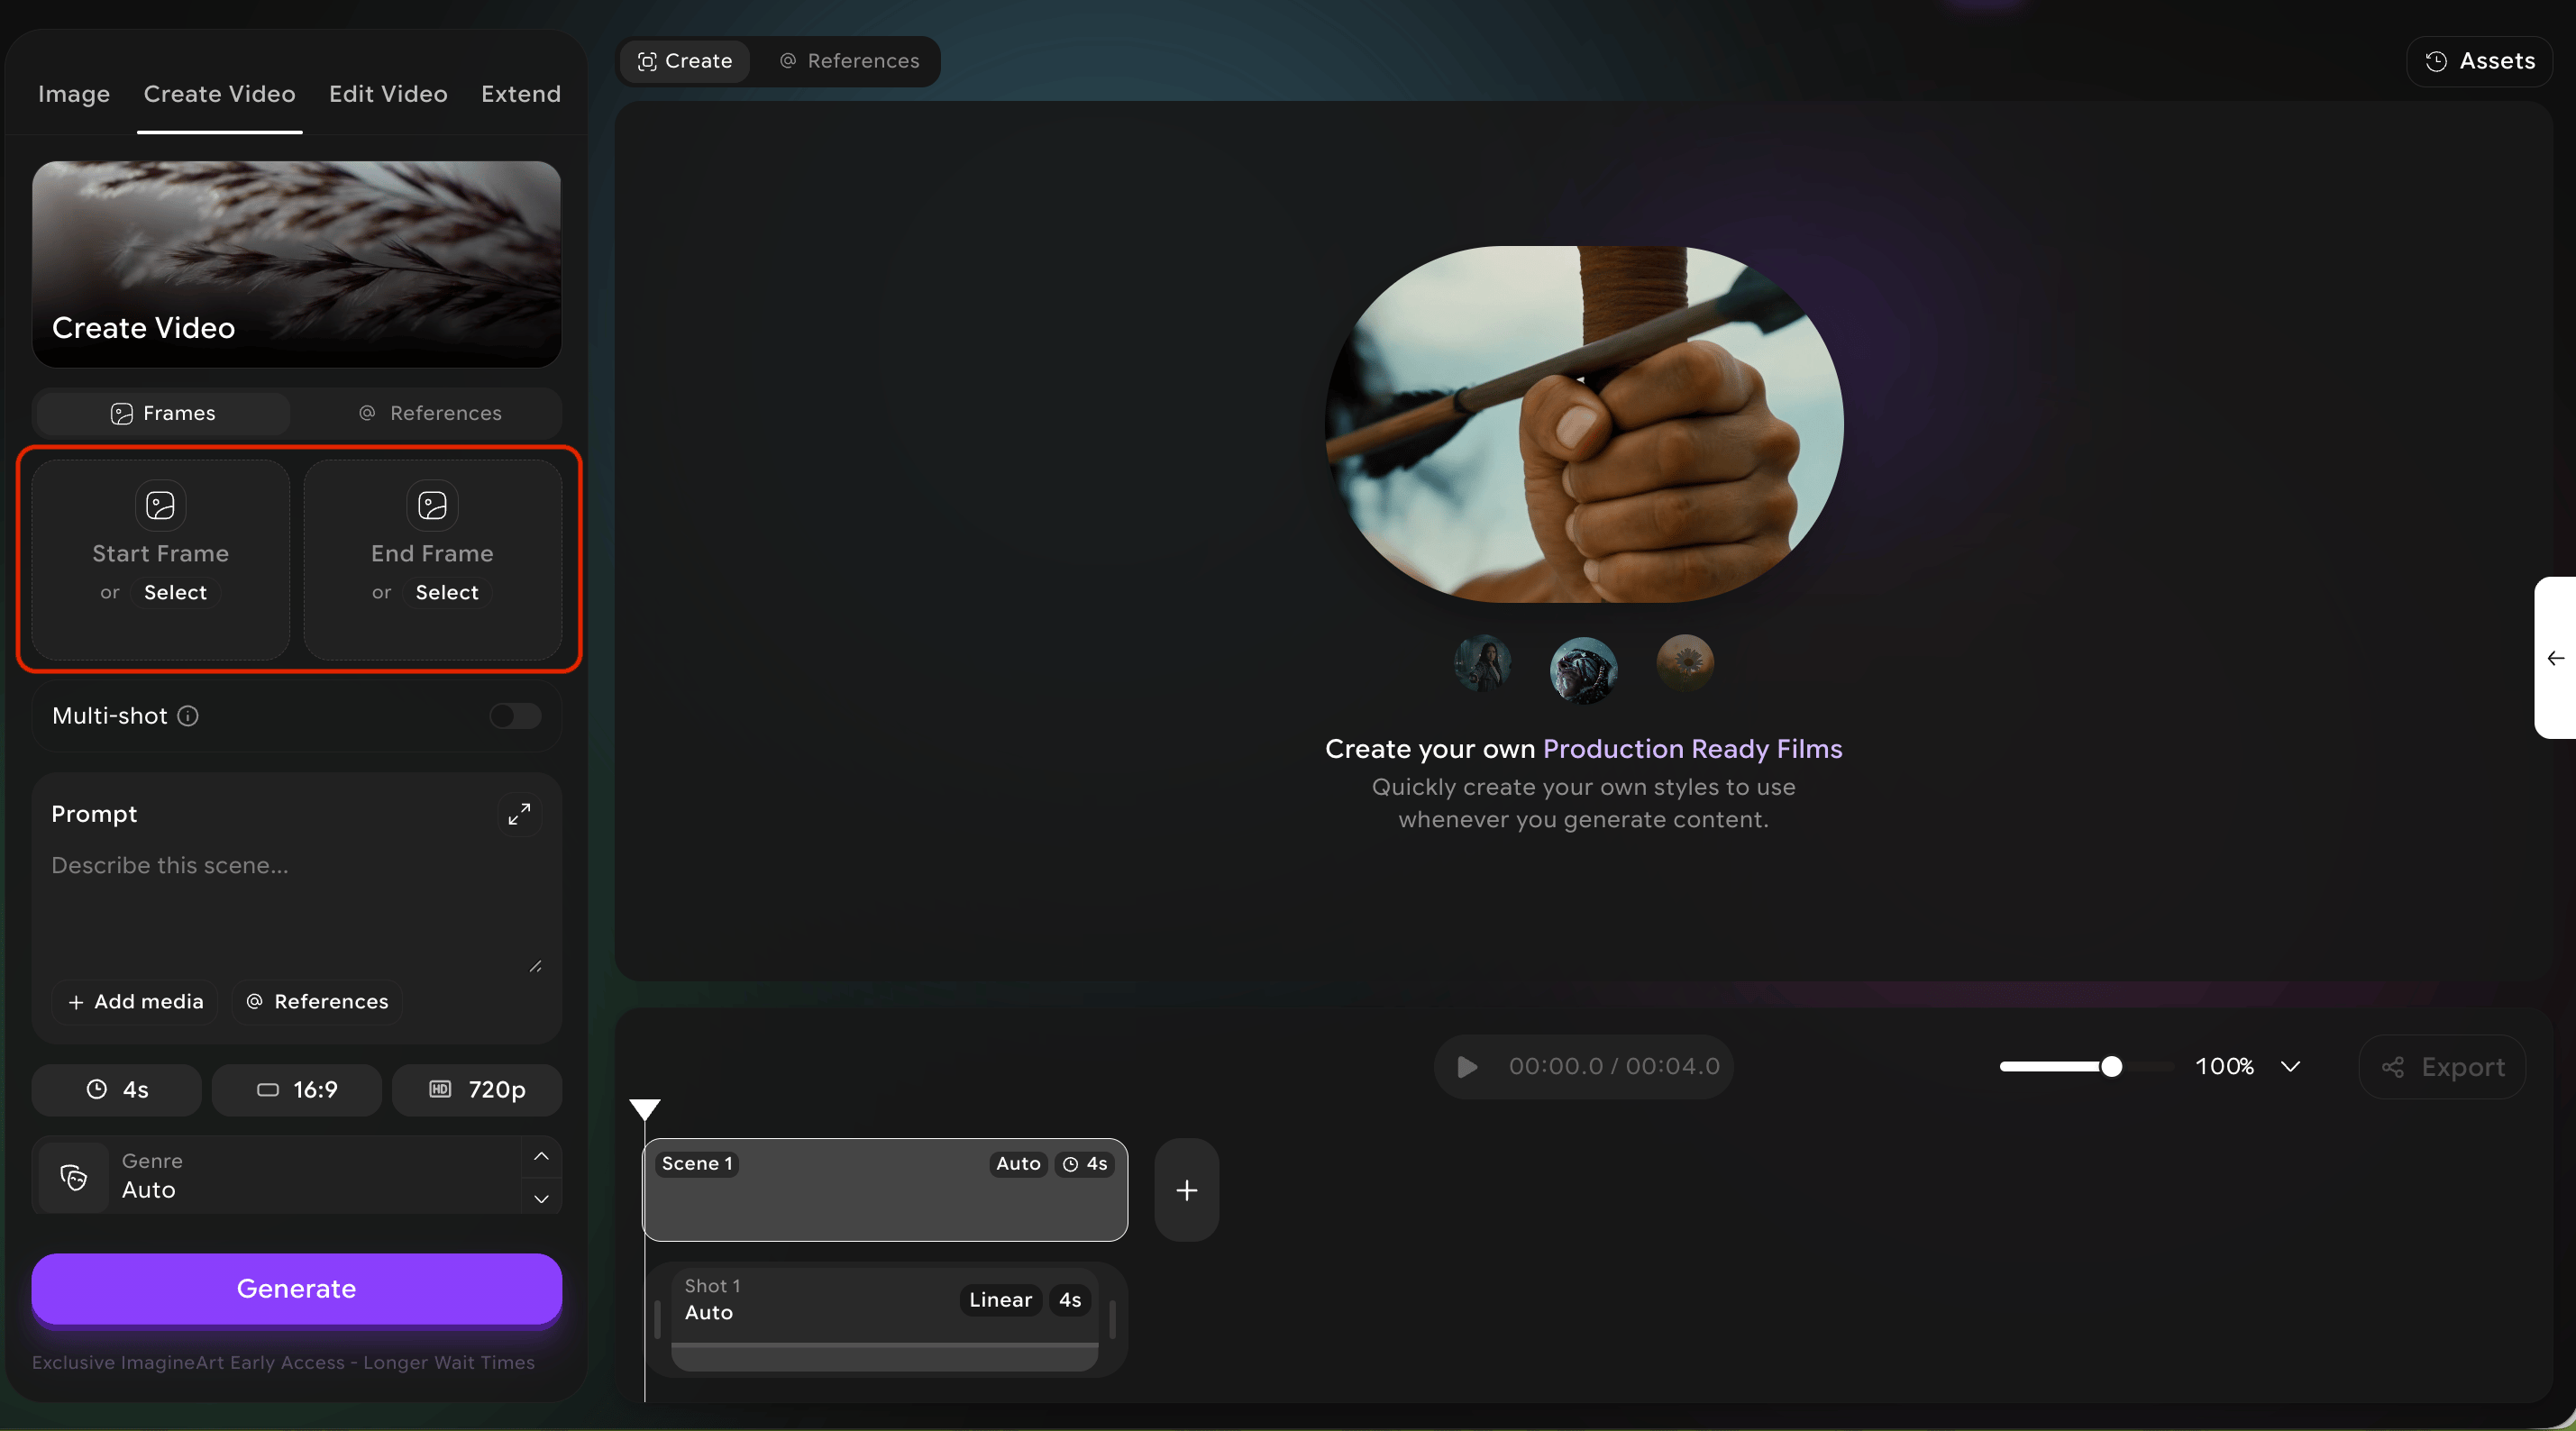
Add reference images (optional)
Optionally add reference images using the Add media button. References influence style without dictating exact content.
Set cinematic controls
Set the cinematic controls (genre, camera movement, speed ramp, camera/lens/focal/aperture).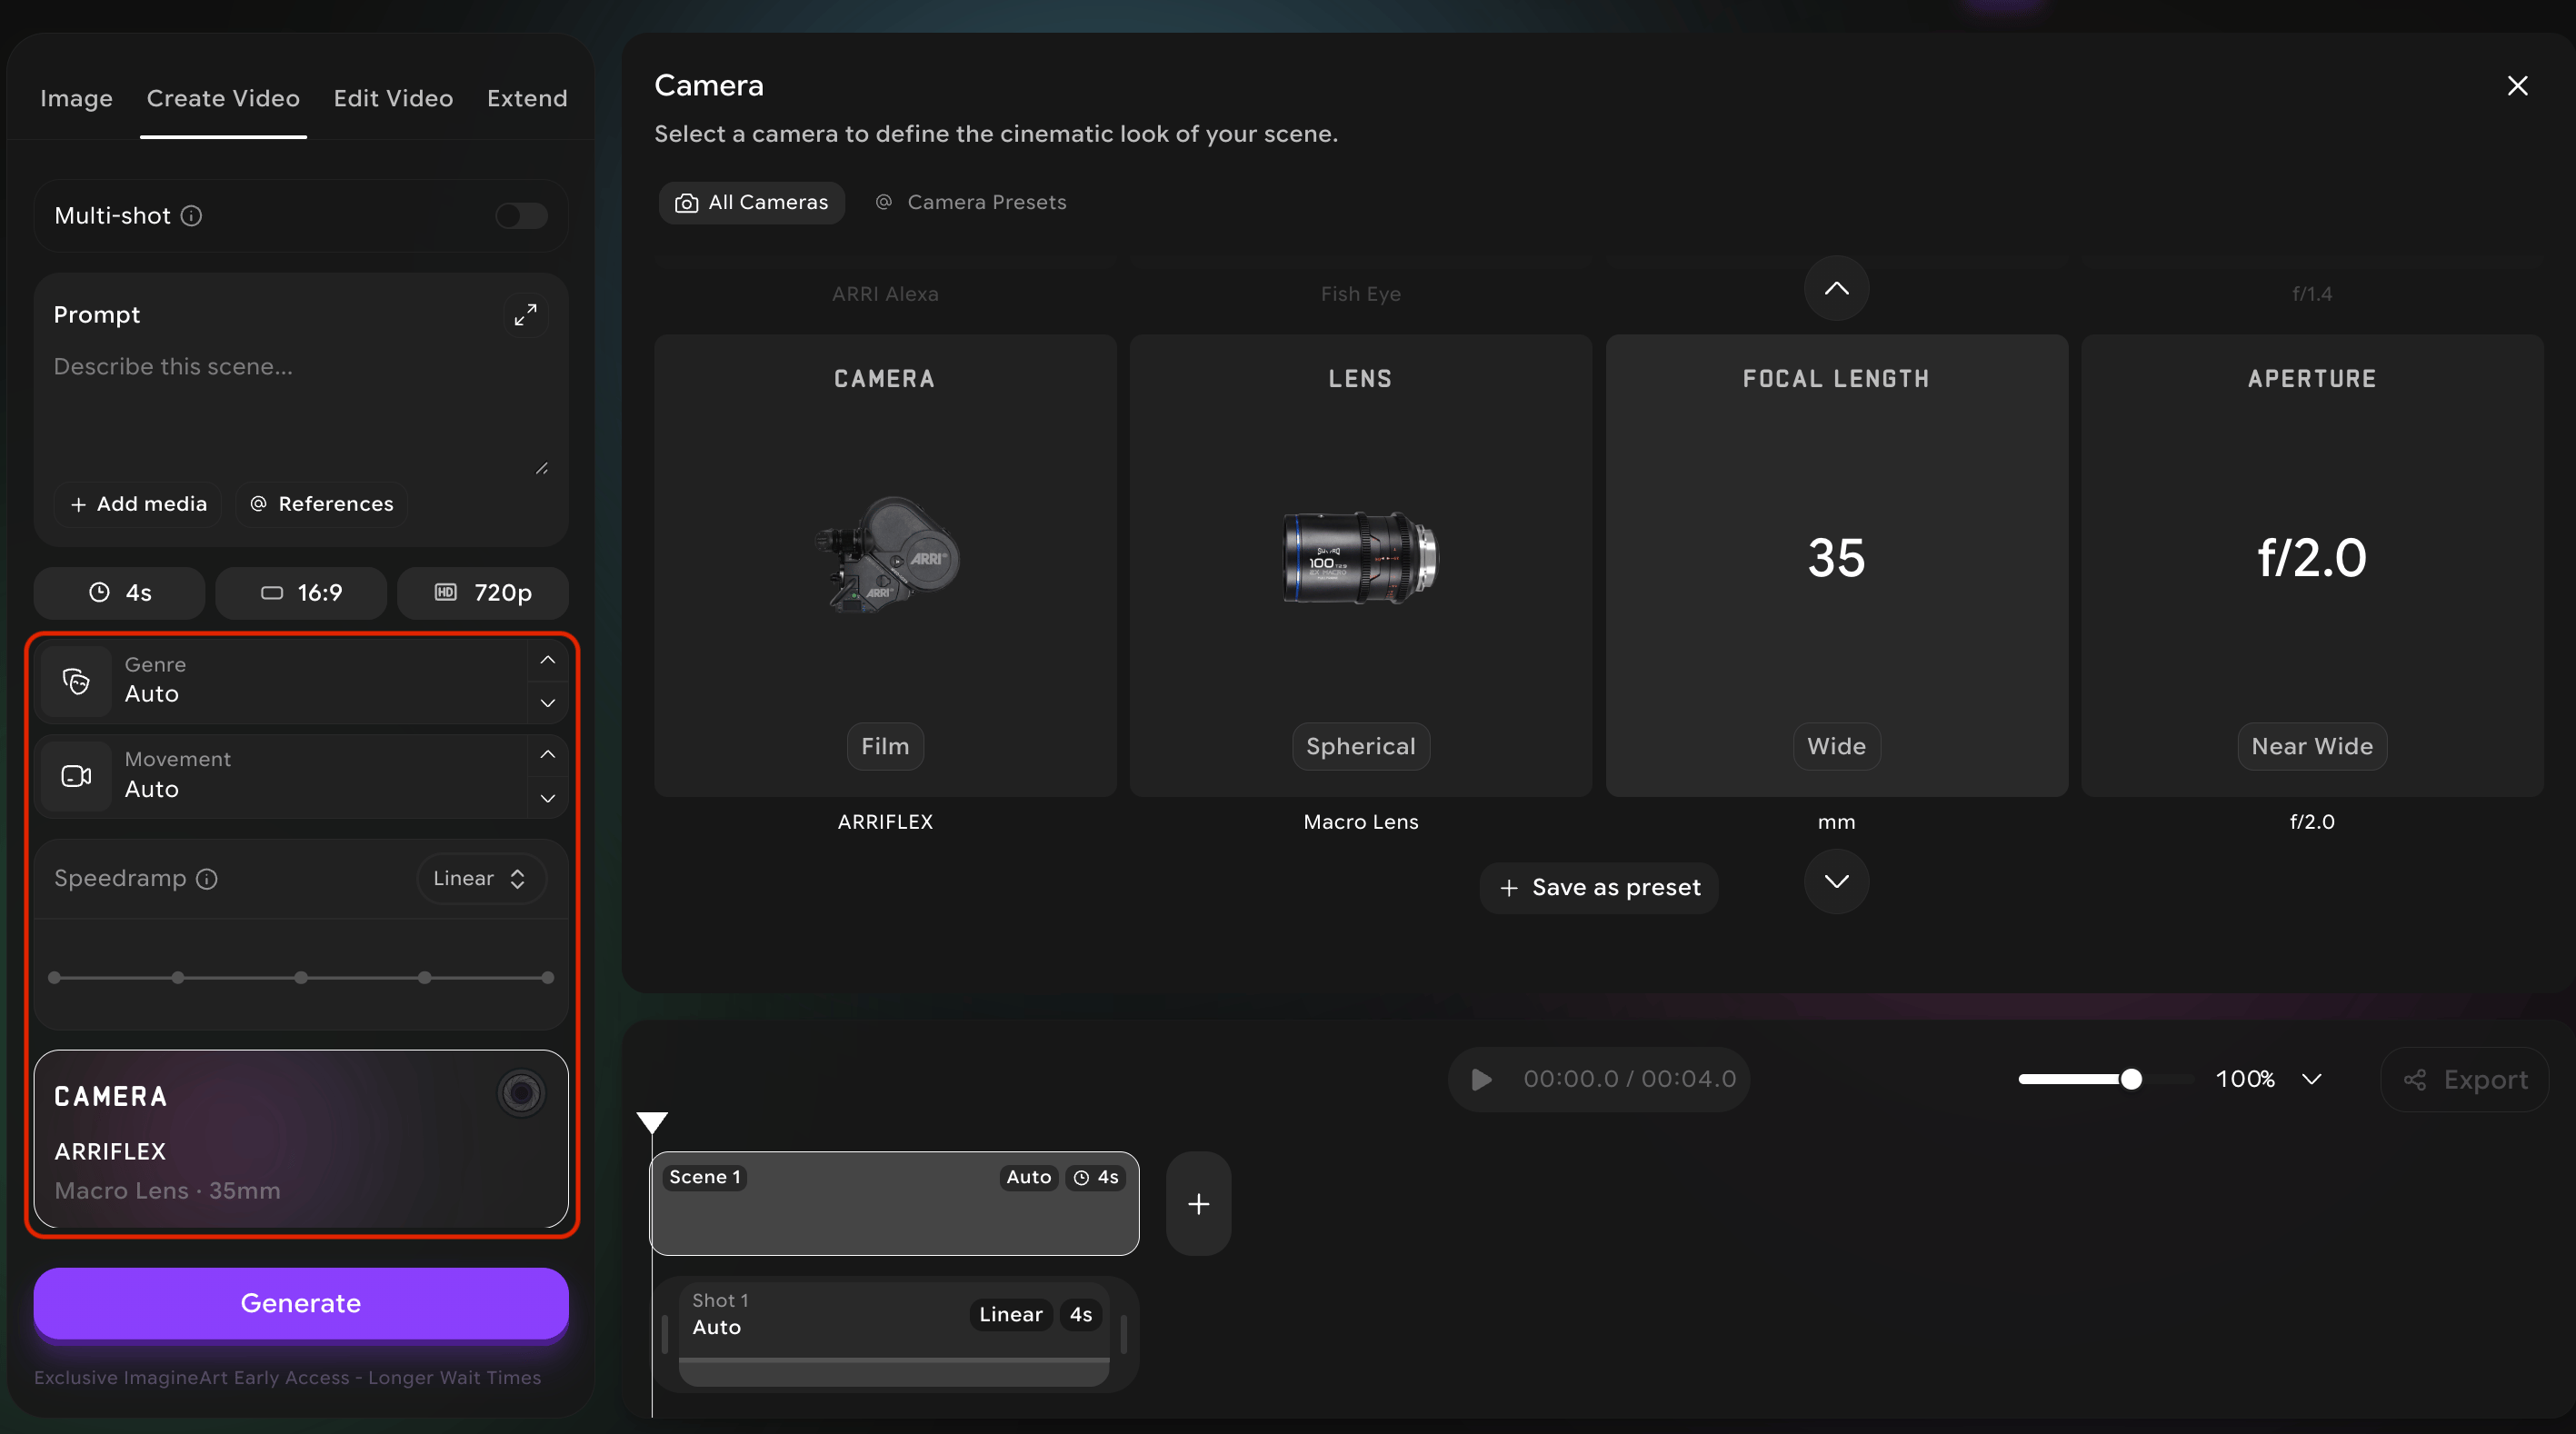
Multi-shot videos
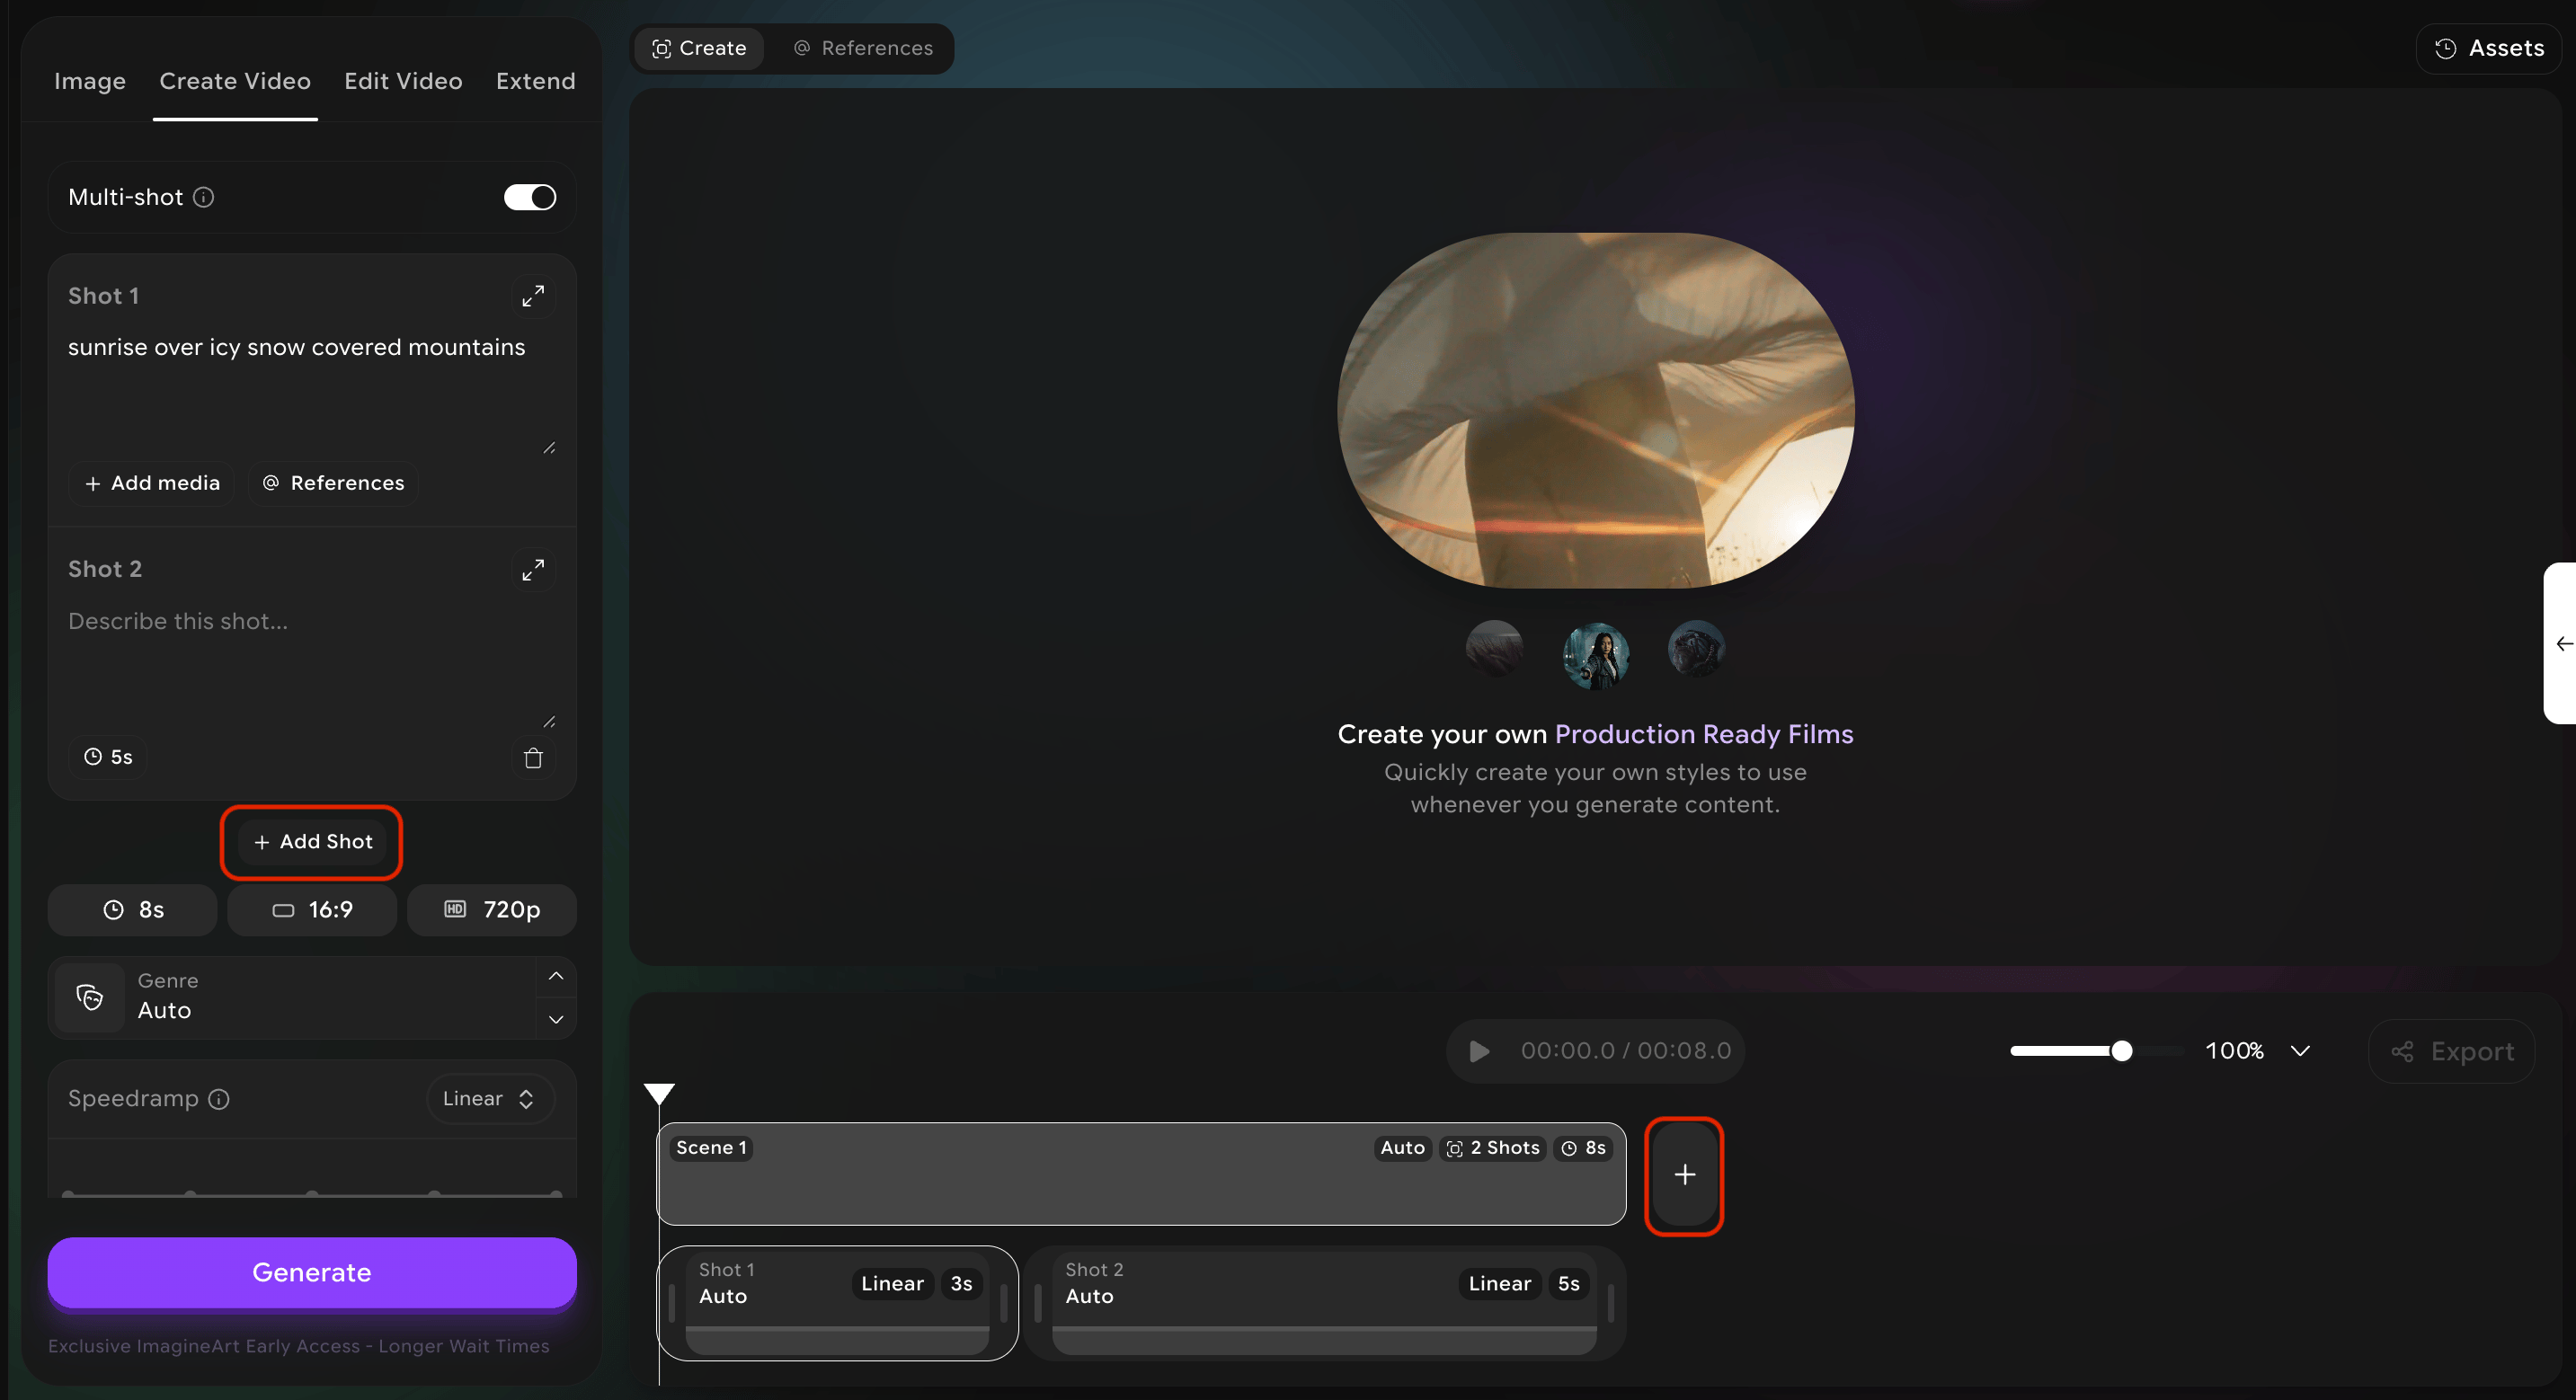
A multi-shot video is a single piece of footage made up of several distinct shots that the system will stitch together into one continuous film. This is how you build a sequence — a scene followed by a closeup followed by a wide reveal — without combining clips manually.Max shots per video
5 shots per video
Max total length
15 seconds total
How to build a multi-shot video
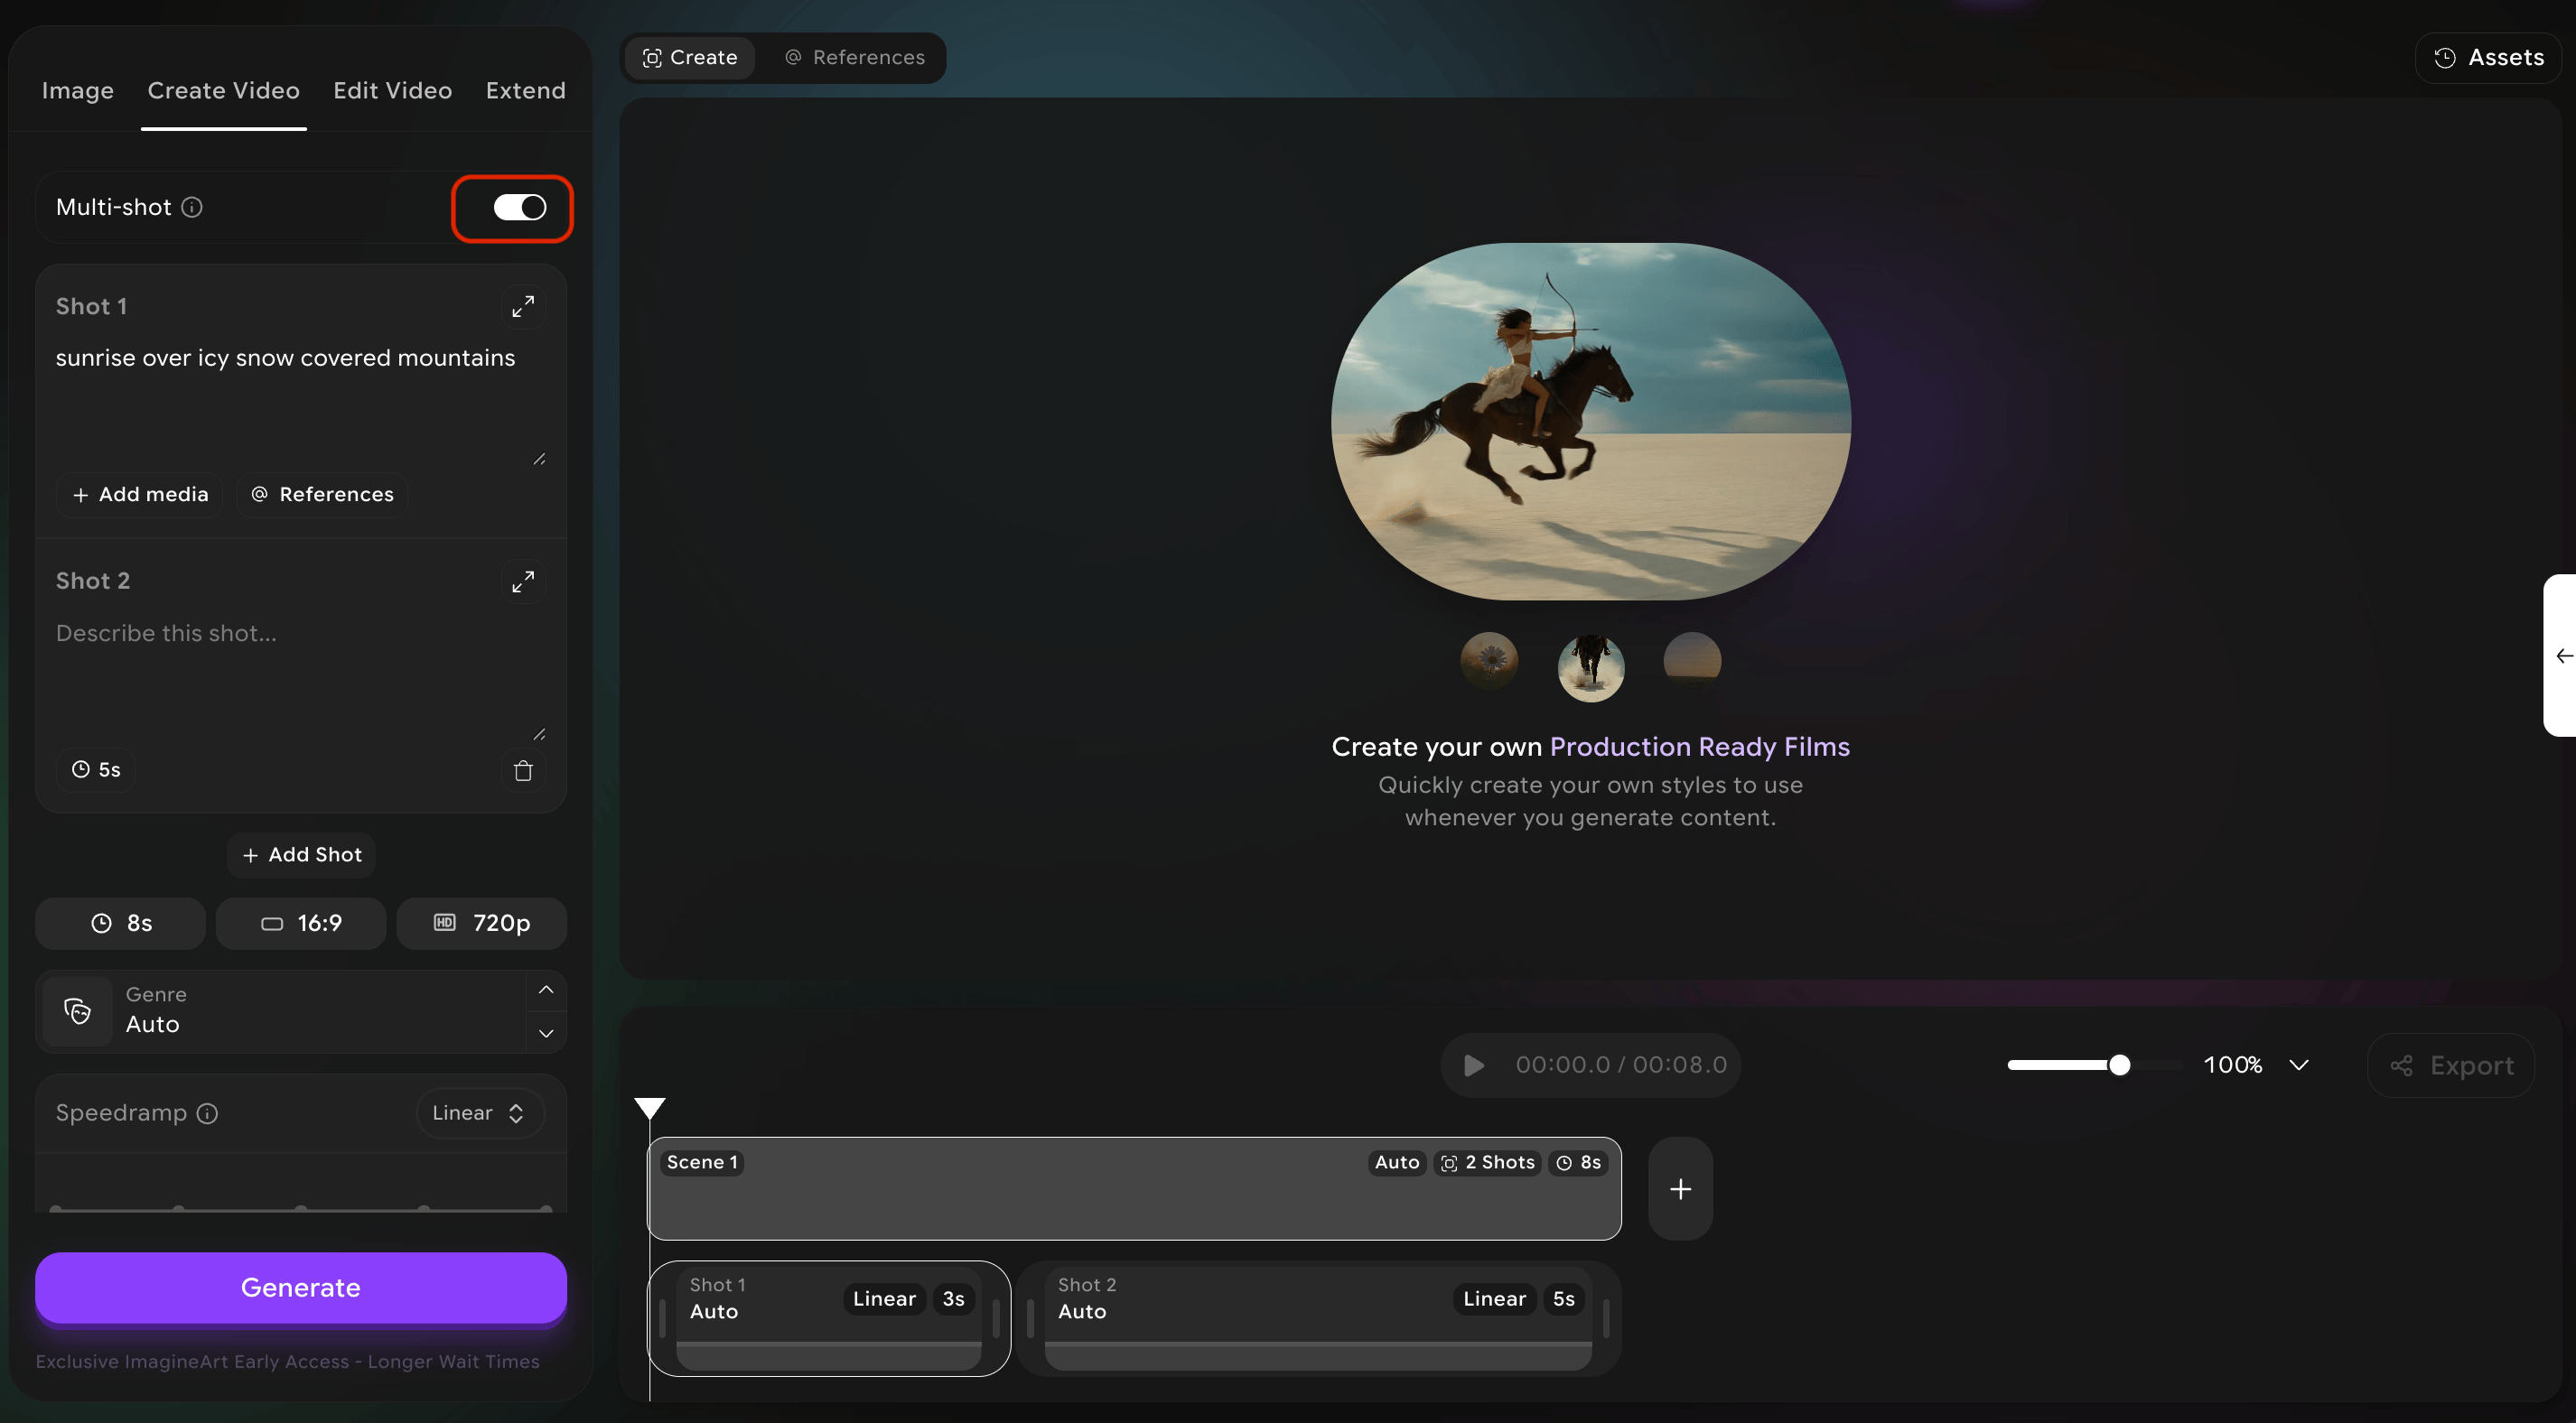
Write a prompt for each shot
For each shot, write its own prompt. Treat each as a complete brief for that moment.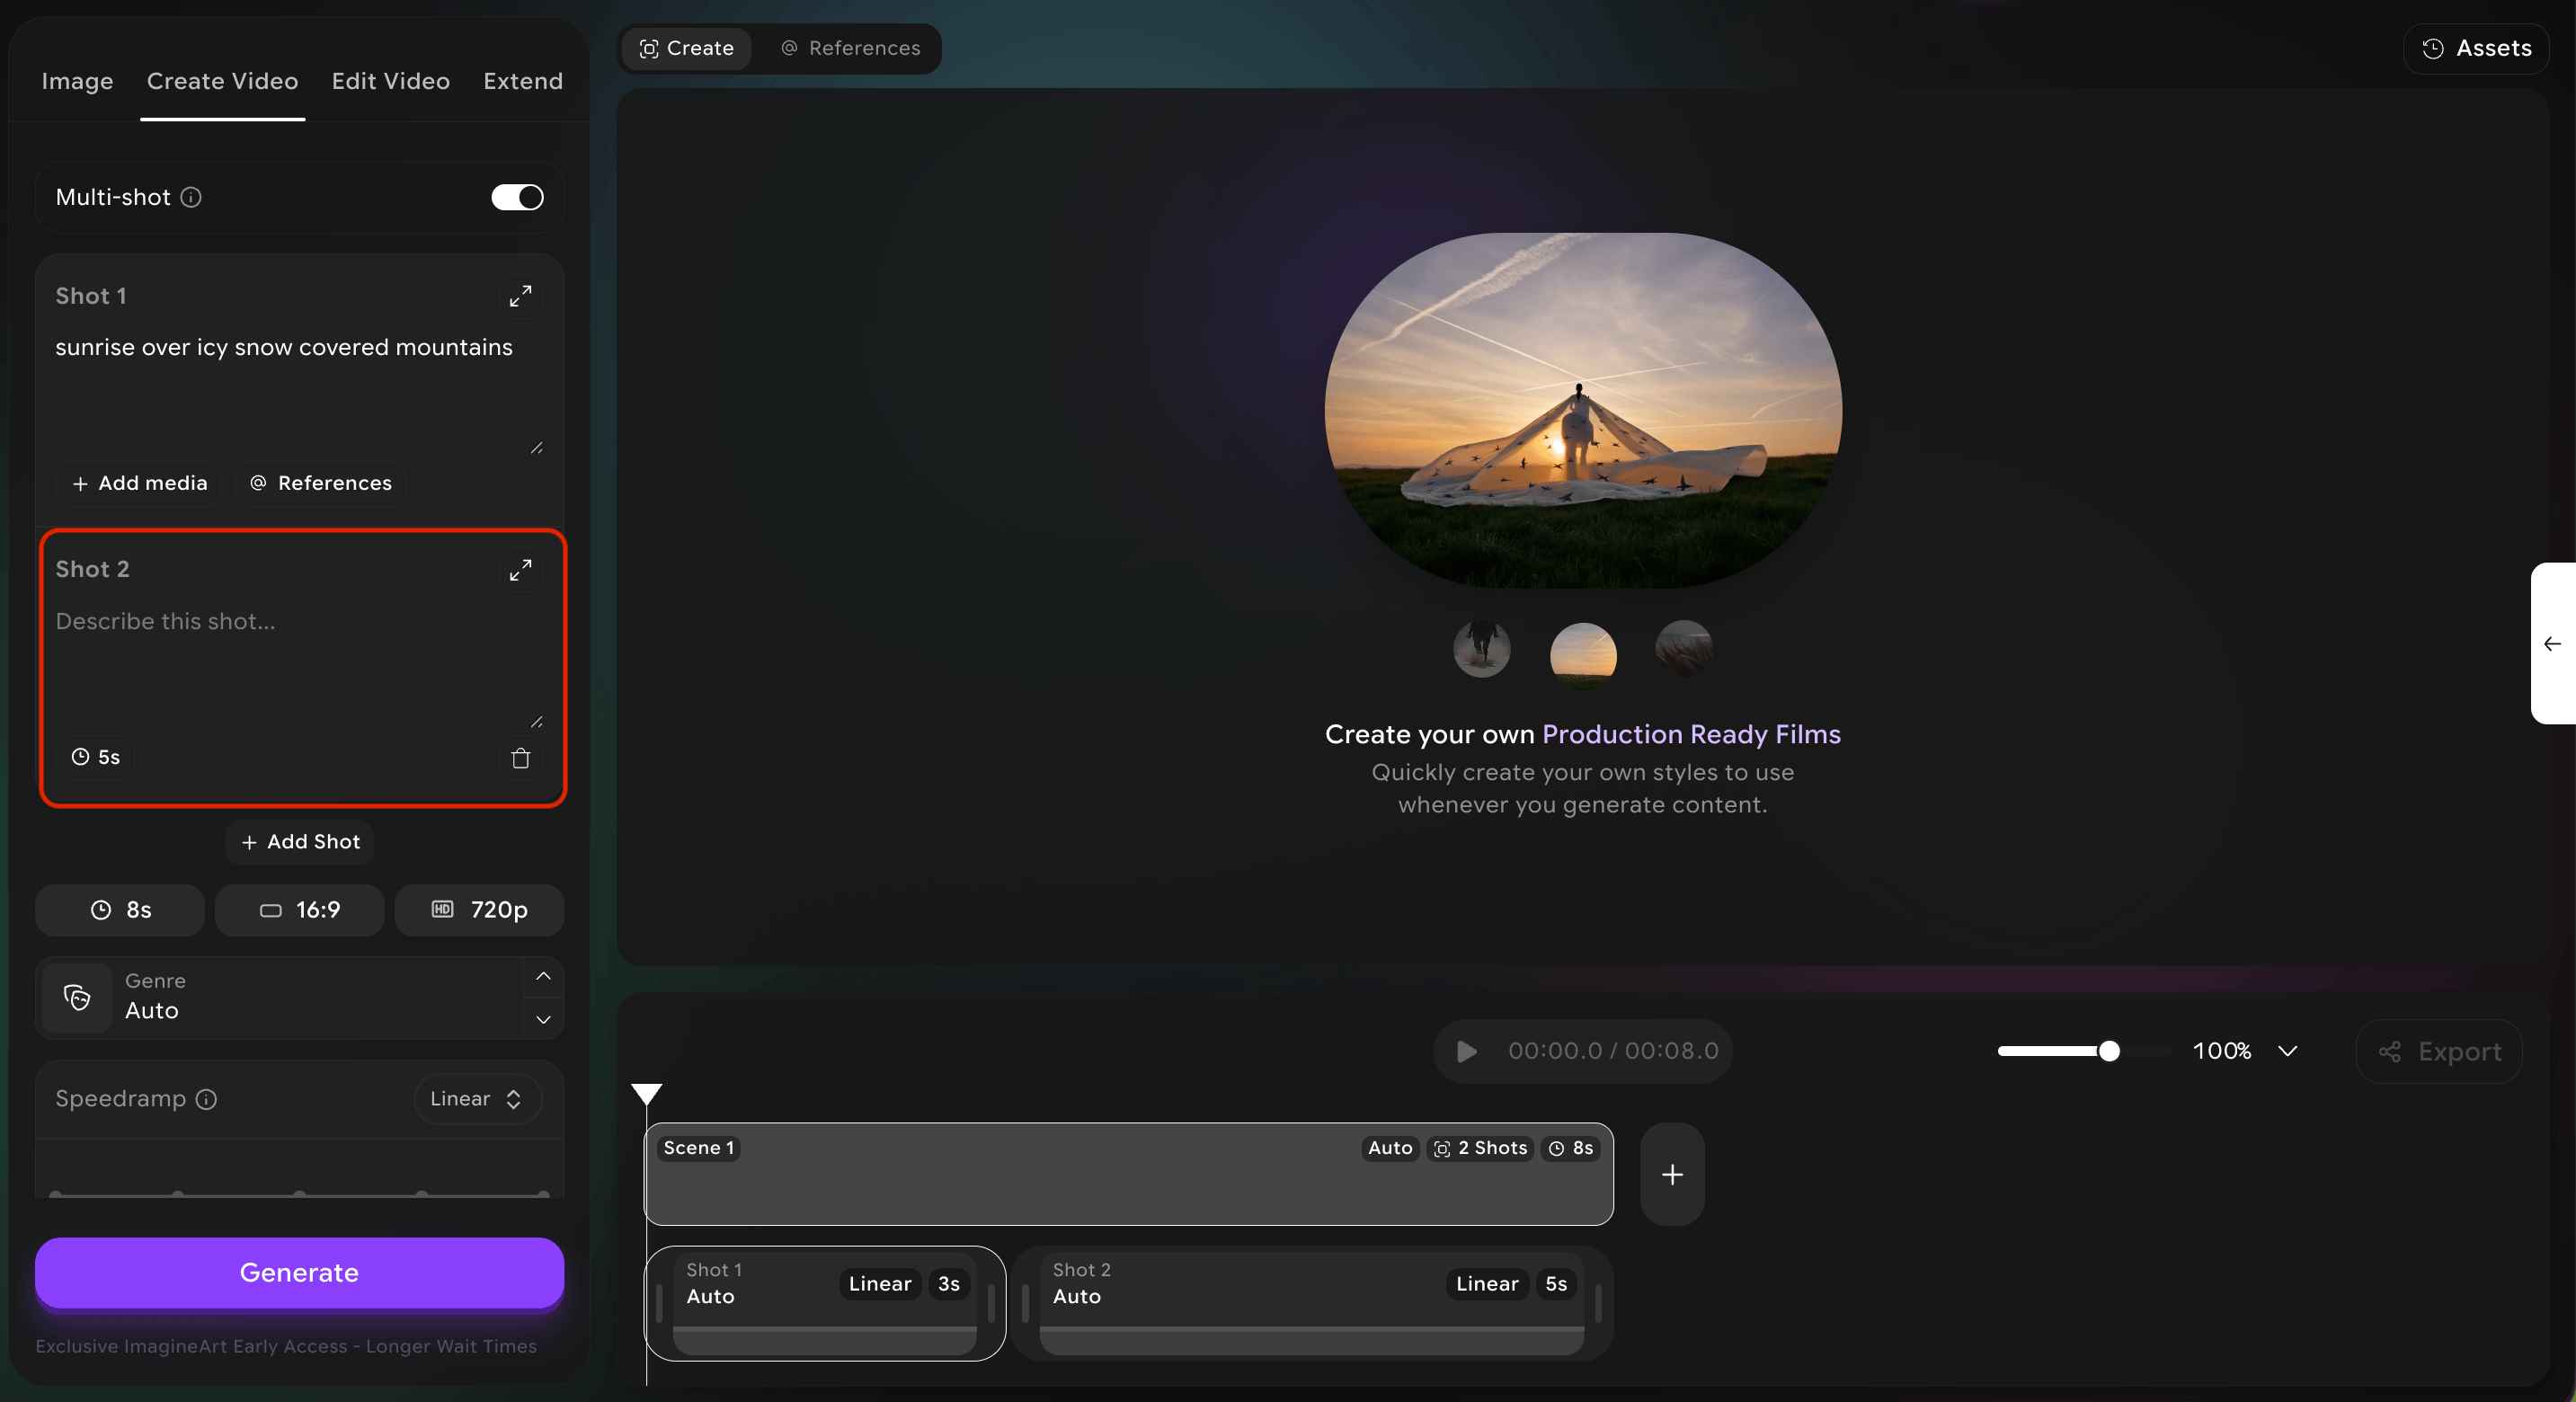
Set duration
For each shot, set the duration. The interface will show how many seconds are left in your 15-second budget.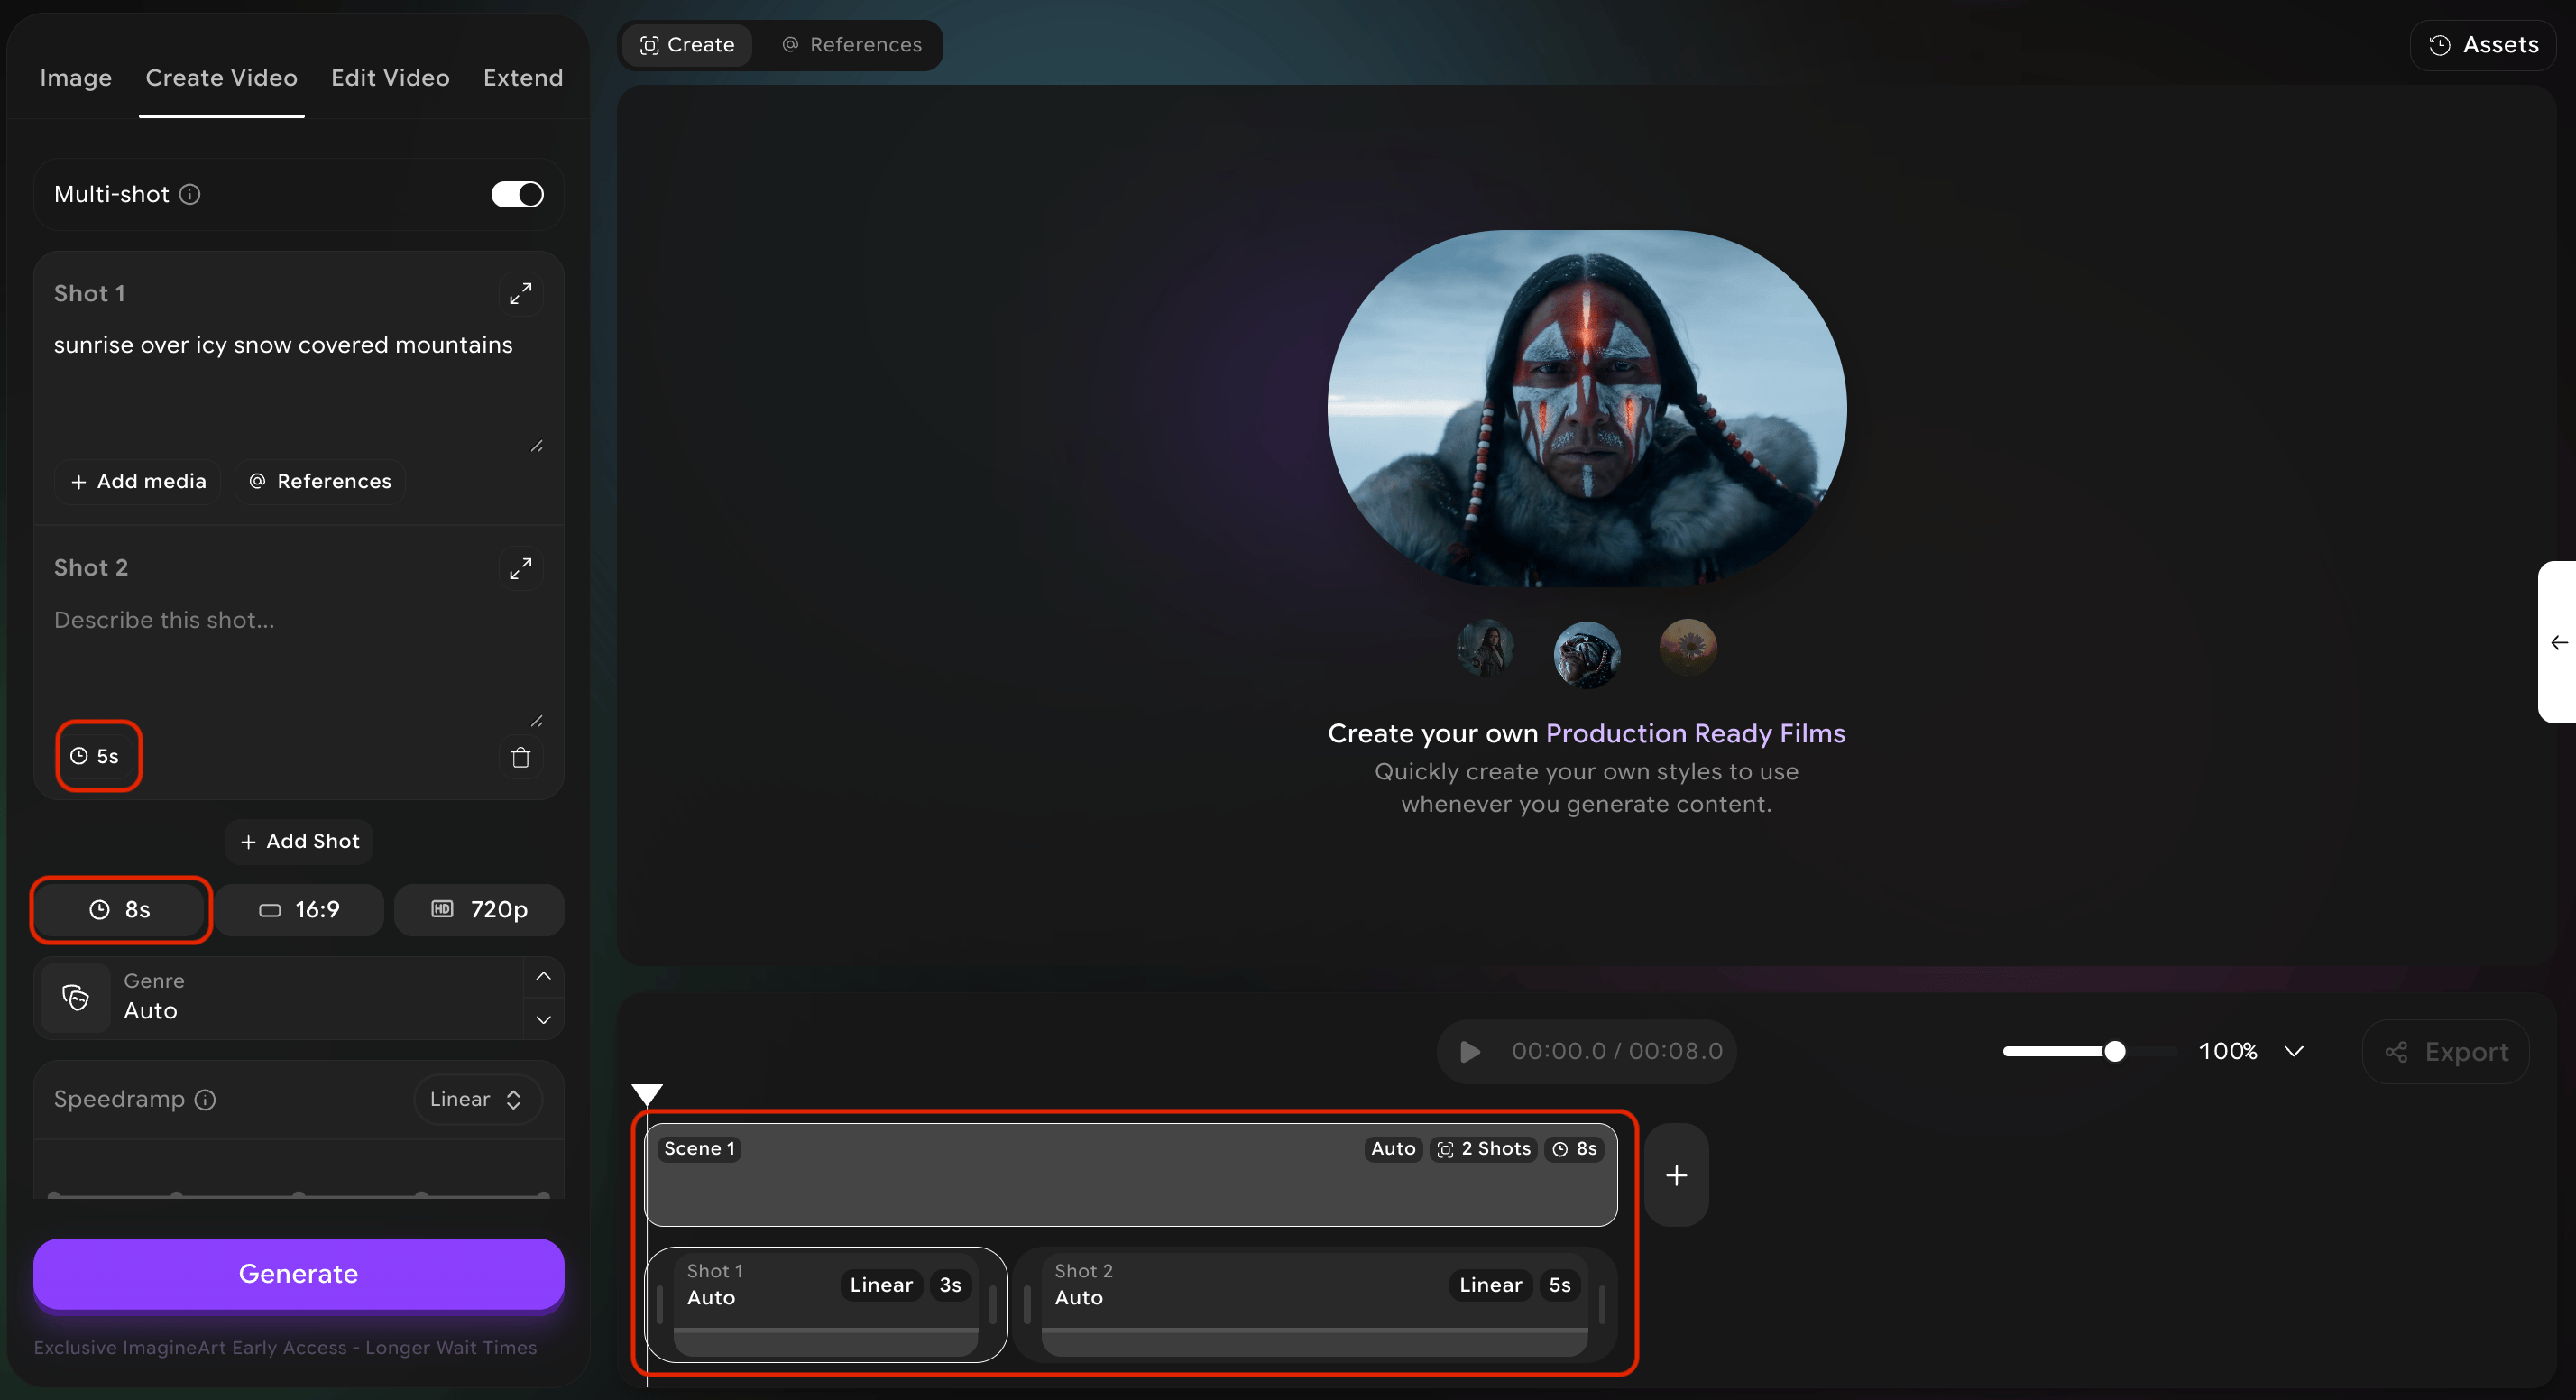
Add references and controls (optional)
For each shot, you can also add reference media and adjust cinematic controls (camera movement, speed ramp, etc.).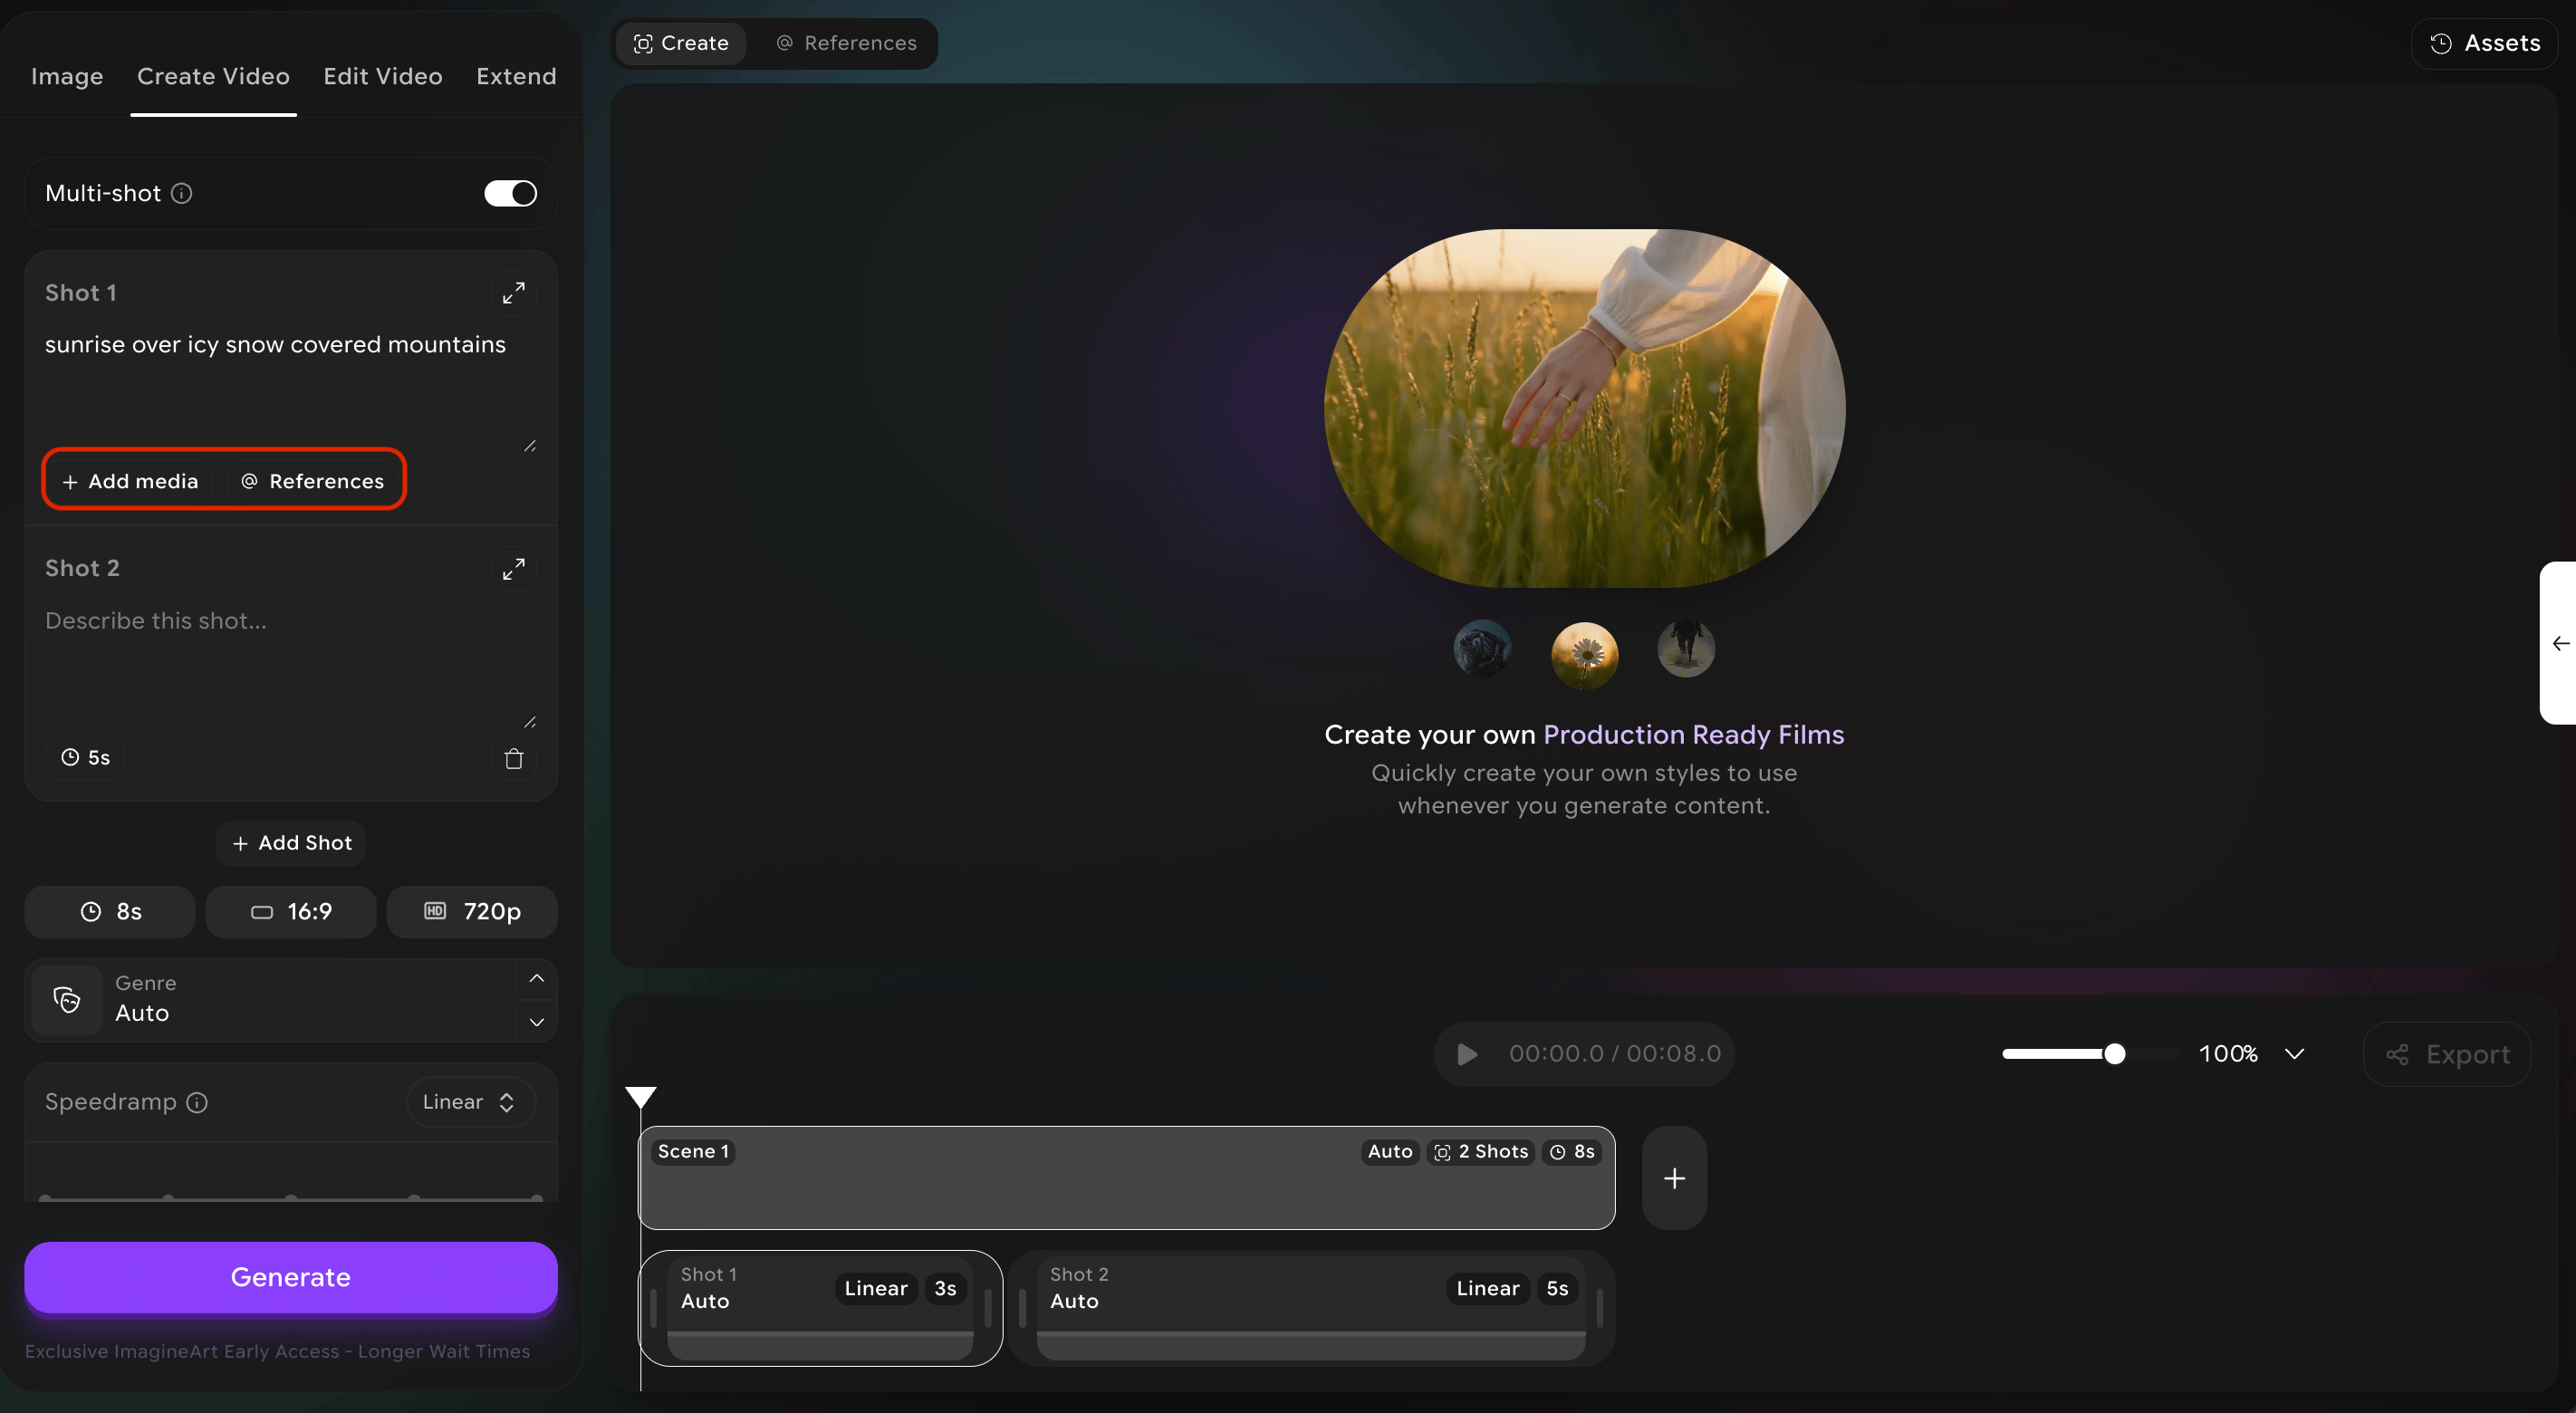
Genres
Selecting a genre tells the system what emotional and visual vocabulary to draw from. Genres are stylistic shortcuts — they change lighting, color palette, pacing cues, and reference material the system uses. Pick one that matches the story you are telling.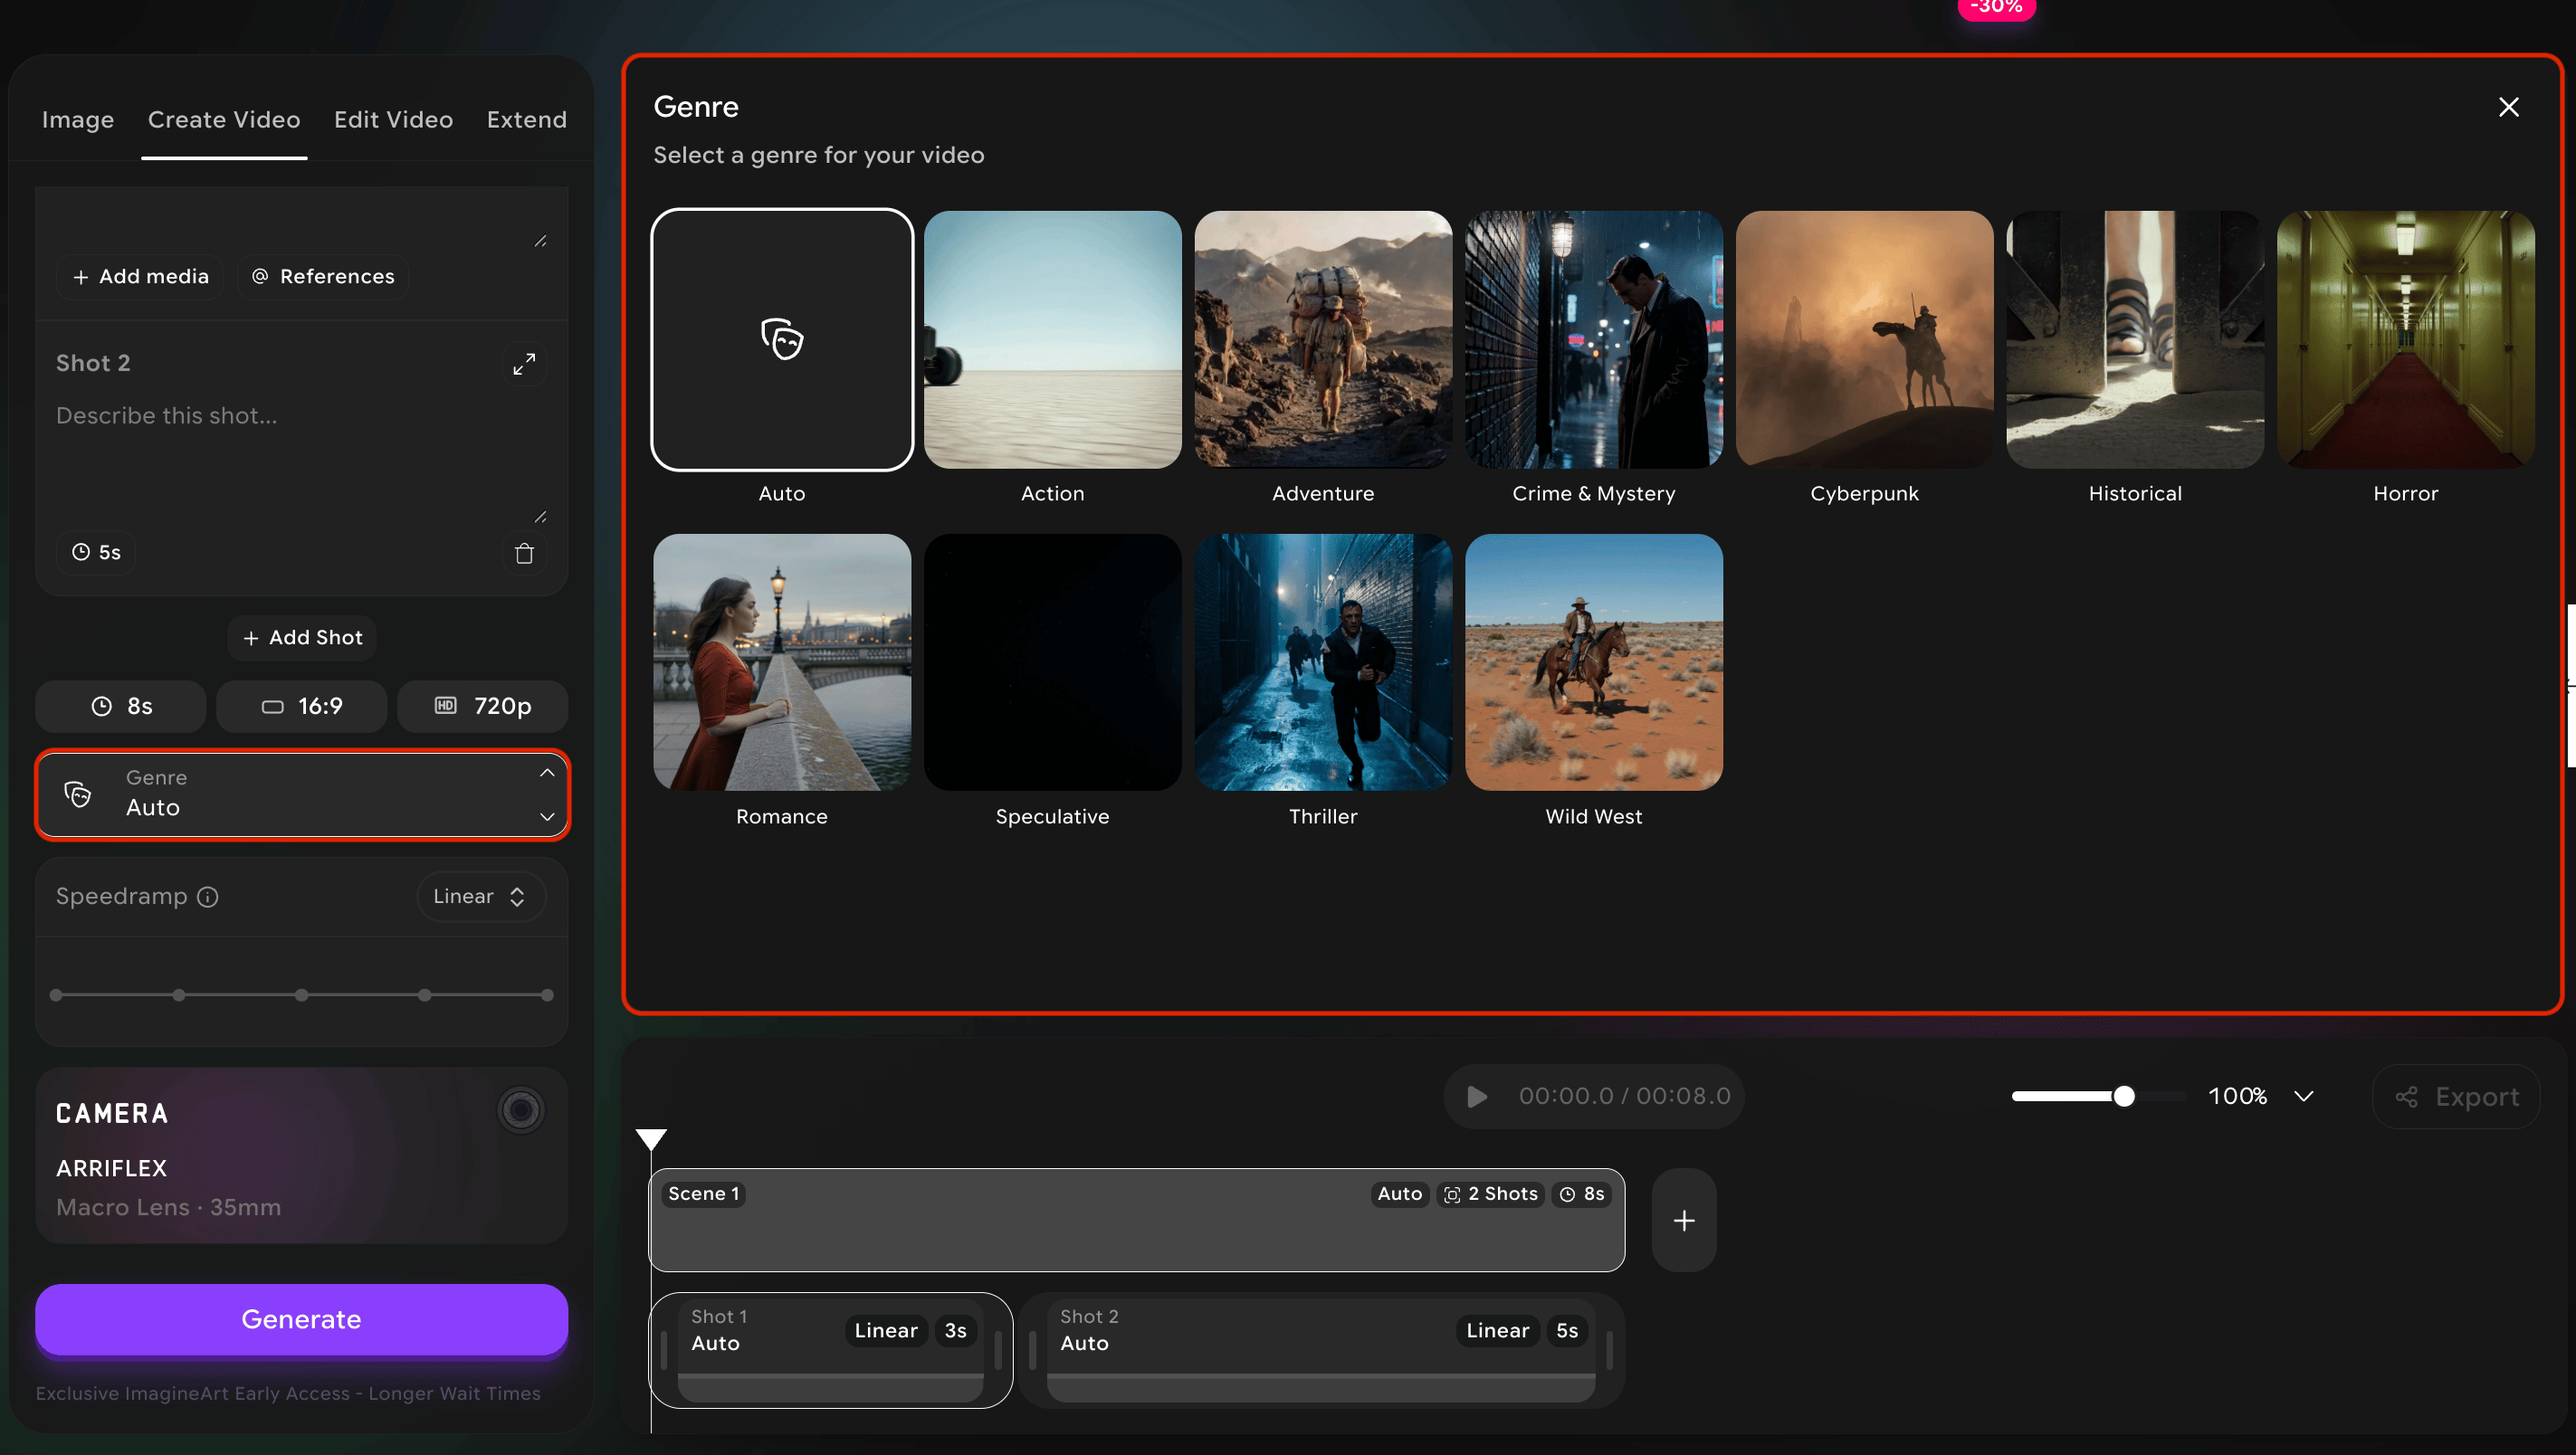
Action
Fast, kinetic, high-energy.Visuals: Sharp contrast, bold color, hard light, motion blur. Use for: chases, fights, sports.
Adventure
Larger than life, journey-driven.Visuals: Wide vistas, golden hour, rich earthy palette. Use for: exploration, hero’s journey moments.
Crime & Mystery
Tense, investigative, shadowed.Visuals: Low-key lighting, muted colors, hard edges. Use for: detective scenes, noir.
Cyberpunk
Neon-soaked, urban dystopian future.Visuals: Magenta & cyan, rain, holograms, dense cities. Use for: sci-fi cities, hacker scenes.
Historical
Grounded, period-accurate, classical.Visuals: Restrained color, soft natural light, era-correct detail. Use for: period pieces, biographical drama.
Horror
Dread, unease, claustrophobic.Visuals: Deep shadows, desaturated palette, off-balance framing. Use for: scary scenes, suspense.
Romance
Warm, intimate, soft.Visuals: Warm light, soft focus, pastel and golden palette. Use for: love scenes, tender moments, dreamy memories.
Speculative
Imaginative, otherworldly, “what if.”Visuals: Surreal color, unusual physics, dreamlike composition. Use for: fantasy, sci-fi, magical realism.
Thriller
Psychological tension, simmering dread.Visuals: Cool tones, tight framing, restrained motion. Use for: suspense, slow-burn dread, paranoia.
Wild West
Dusty, sun-baked, mythic.Visuals: Warm yellows and oranges, harsh sun, wide vistas. Use for: westerns, frontier scenes, desert showdowns.
Camera movements
How the camera moves is part of how your scene speaks. A pan reveals. A dolly emphasizes. A handheld engages. A static shot pauses. Pick the movement that matches the feeling of the moment, not just the geography of it.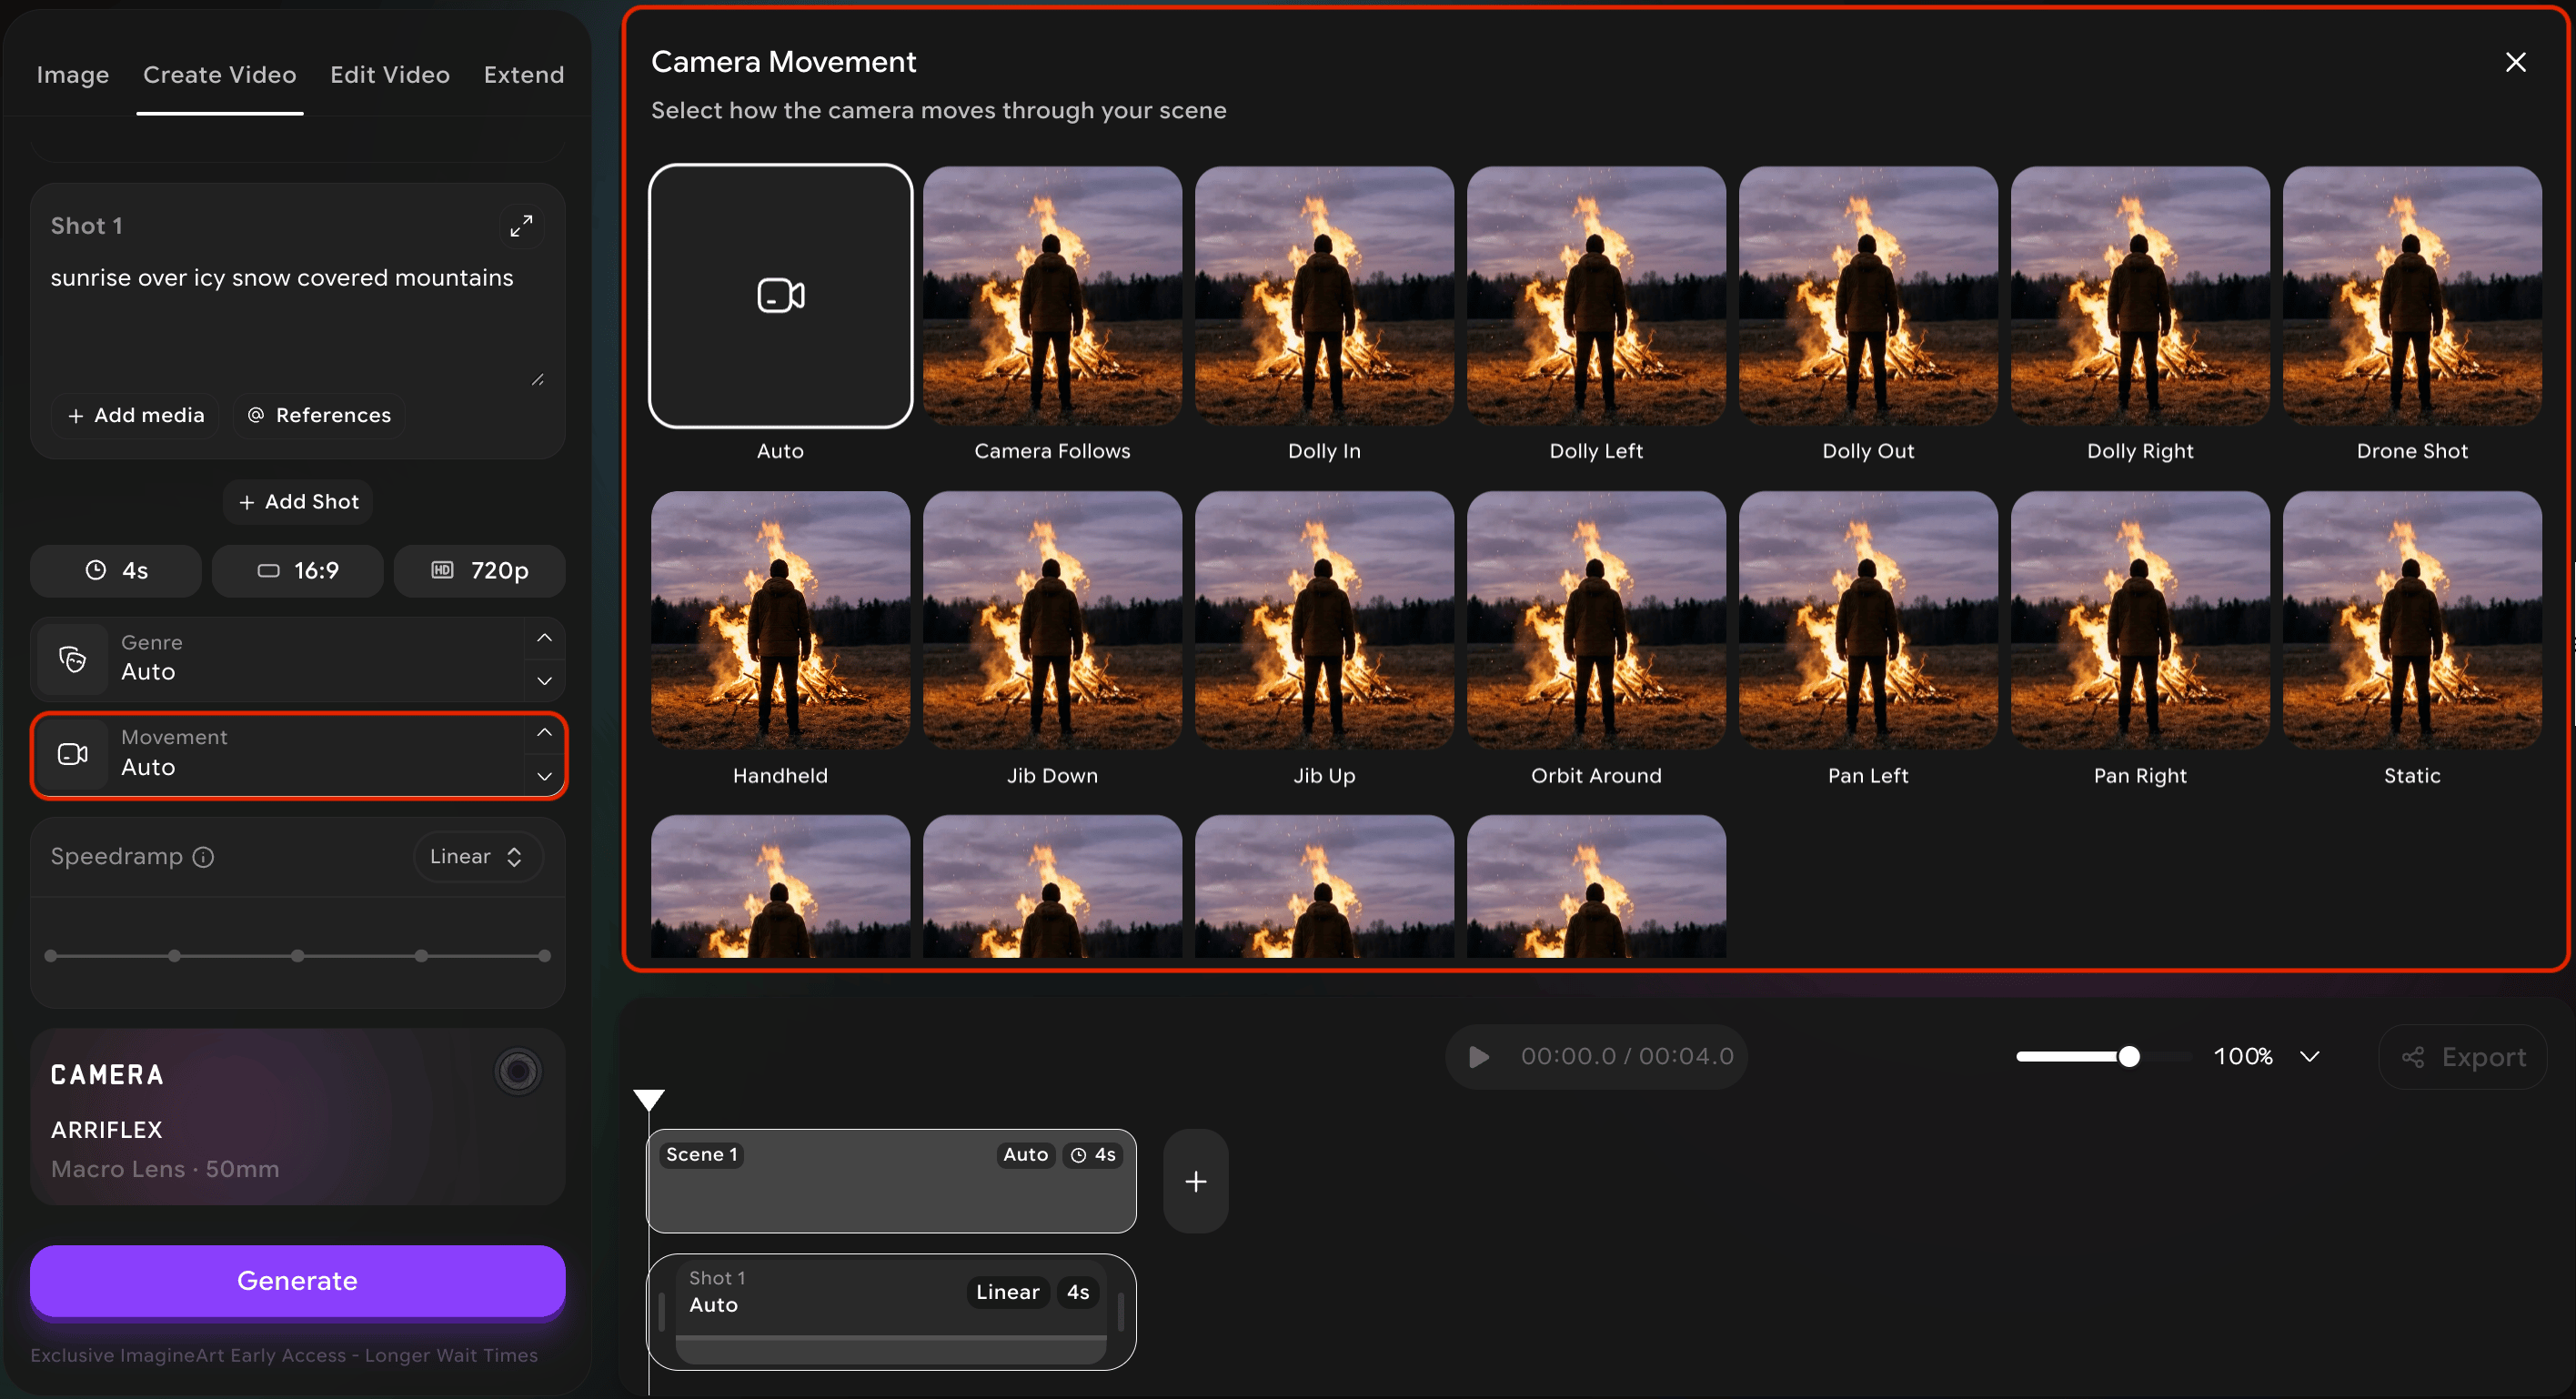
| Movement | What it does | Use it when you want to… |
|---|---|---|
| Static | No camera movement at all. | Hold a quiet moment, signal control or stillness, let action move within the frame. |
| Camera follows | The camera tracks alongside a moving subject. | Show someone moving through space — running, walking, driving — and stay with them. |
| Dolly in | The camera moves forward toward the subject. | Build tension, focus the audience, signal that something important is happening. |
| Dolly out | The camera moves backward, away from the subject. | Reveal context, signal isolation, end a scene or a thought. |
| Dolly left / right | The camera slides sideways while staying parallel to the subject. | Show parallel motion, reveal something hidden offscreen, add gentle motion to a static scene. |
| Drone shot | A high aerial view from above, often moving. | Establish scale, open a film, geographic reveal. |
| Handheld | Camera operated by hand — slightly shaky, organic. | Add intimacy, urgency, or chaos. Documentary and action. |
| Jib up | The camera rises smoothly on a crane. | Build hope, reveal what is above, end on a sweeping note. |
| Jib down | The camera descends smoothly on a crane. | Reveal what is below, descend into a scene, ground the audience. |
| Orbit around | The camera circles the subject. | Examine a subject from all sides, emphasize importance, add motion to a static figure. |
| Pan left / right | The camera rotates horizontally on a fixed axis. | Follow action across a space, reveal something to the side, scan an environment. |
| Tilt up | The camera angles upward. | Convey grandeur, scale, intimidation, or hope. |
| Tilt down | The camera angles downward. | Convey power dynamics, reveal something below, end on a grounded note. |
| Zoom in | The lens zooms in toward the subject. | Snap audience attention, mark an emotional beat, hint at obsession. |
| Zoom out | The lens zooms out away from the subject. | Provide context, reveal scale, isolate a subject within a larger world. |
Speed ramps
A speed ramp is a controlled change in playback speed over the course of a shot. Speed ramps are a hallmark of modern cinema — used to emphasize an impact, stretch out a beautiful moment, or accelerate through a transition.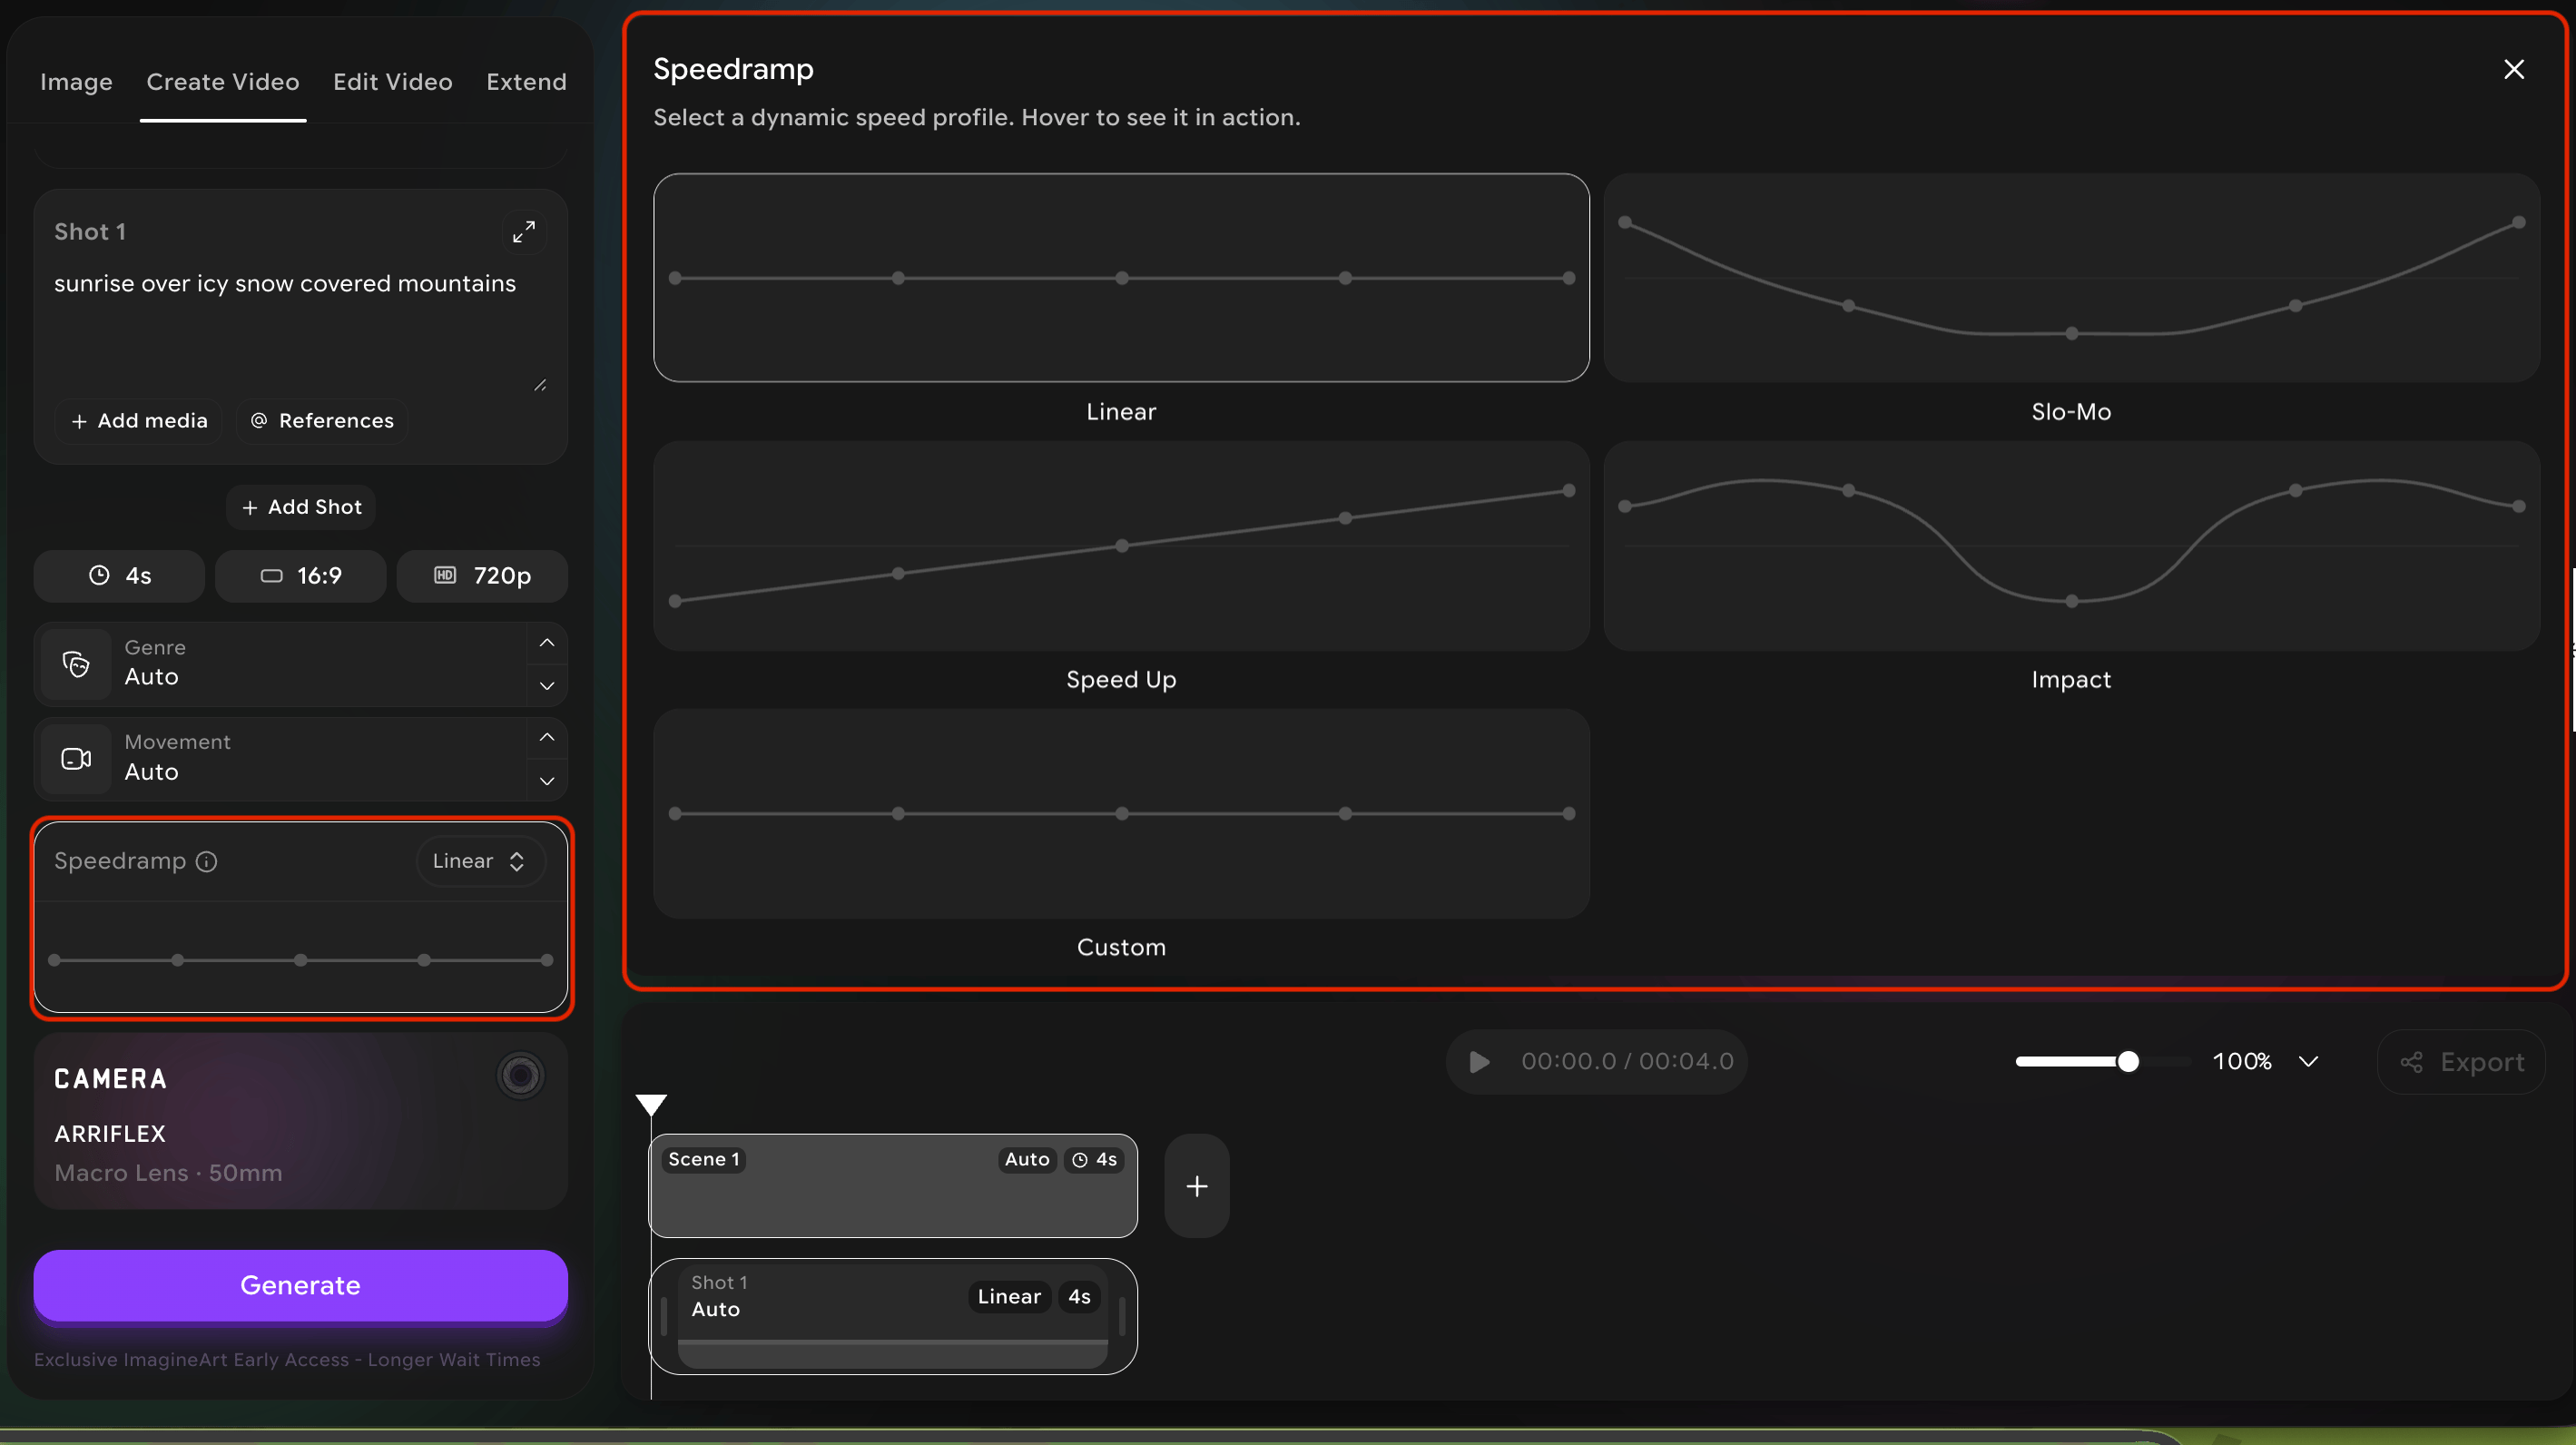
| Speed ramp | What it does | Use it when… |
|---|---|---|
| Linear | Constant speed for the entire shot. No ramping. | You want a natural, even pace — the default for most scenes. |
| Slo Mo | The whole shot plays in slow motion. | You want a beautiful, dramatic moment — the lead-up, the reveal, the kiss, the punch. |
| Speed Up | The whole shot plays faster than real time. | You want energy, urgency, compressed time — montages, transitions, action. |
| Impact | The shot ramps sharply at a key moment — typically slow on either side of a fast burst. | You want to emphasize one specific frame inside the shot — the hit, the explosion, the snap. |
| Custom | You define your own speed curve across the shot. | You have a specific rhythm in mind that the presets do not match. |
Scene & shot timing
At the bottom of the workspace you will see your timeline — one card per scene, with each shot laid out inside the scene. The timeline is where you control pacing. From the timeline you can:- Adjust the duration of any individual shot by dragging its edges.
- Reorder shots by dragging the cards.
- Add new shots with the ”+” button.
- Delete shots you no longer want.
- Rename scenes for your own organization.